
Making my Wedding Dress - Part V - Making the Dress
Welcome back to Making my Wedding Dress. Today I’m finally getting down to the real deal, making the actual dress. It’s a wordy one, since looking back at my photos, there’s a lot of tea and not a lot of step by step technique! That kinda happens when you weren’t expecting to share your make with the world! But I remember every step so I’ll go through all the little details and hope that what I do show you will be useful if you are making your own.
If you missed the previous editions of this series, where I talk about the whole process so far from deciding to make my dress, to selecting the fabric, to making the toile, you can find them below:
Part I - Starting Point
Part II - The Fabric Hunt
Part III - Design Development and Making the Toile
Part IV - Cutting the Fabric
You will by now know that I was working towards a bias cut triple silk crepe gown, simple in shape but the devil would be in the construction detail. There’s no hiding bad fit with this fabric let me tell you! To ensure I did everything as well as I could, I had my trusty Clare Shaeffer book in hand to guide me through all the hand sewing couture techniques that I would require.
I started with the lining since I figured it would be a good way to get my hands and eyes in on the game before hitting the main fabric. Jedi mind tricks really! Getting the lining right is just as important as getting the main fabric right. After all, what lies beneath is the foundation of your garment. Since I didn’t want to overlock any edges and french seaming was going to be too bulky, I did a simple slip stitch all around the edges of my lining pieces to prevent fraying. Not as tedious as you’d think. Once I got into a rhythm, it was actually quite therapeutic. All the pieces had also been thread traced at this stage so it made joining seams a fair bit easier.

I basted the seams of the skirt together since they were the bias pieces, rather than pin them and risk damaging the fabric. With the bodice pieces I didn’t bother with basting since they were cut on the straight of grain so didn’t shift as much. With silk habotai being so light, I ran a stay stitch along the armholes and the neckline as well as the waist so that they didn’t stretch out of shape by the time they were joined to the main fabric.
It’s probably worth saying here that before I started sewing, I did lots of test patches to get the needle weight and tension correct. This took a bit of time but was vitally important to prevent any seam puckers. I used a universal needle size 70 and regular Guttermann polyester thread for lining and used needle size 80 for the crepe as there was a lot of body in that fabric.
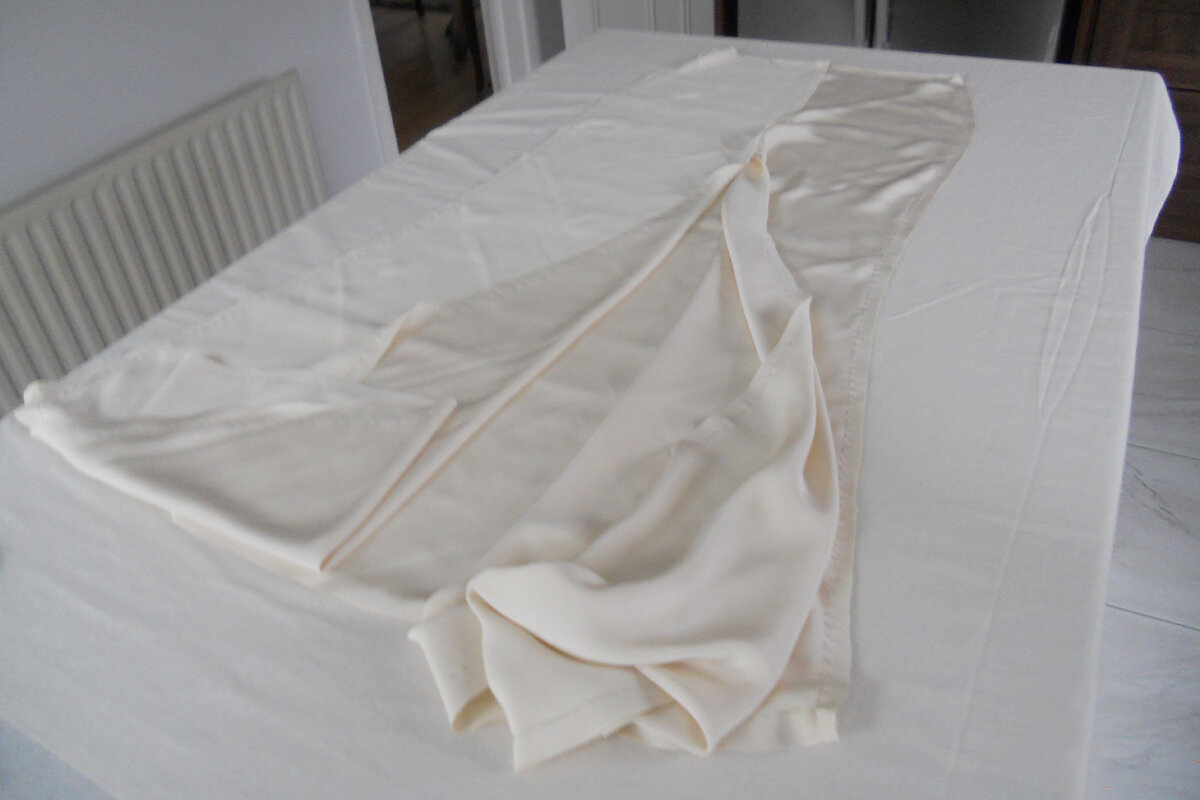
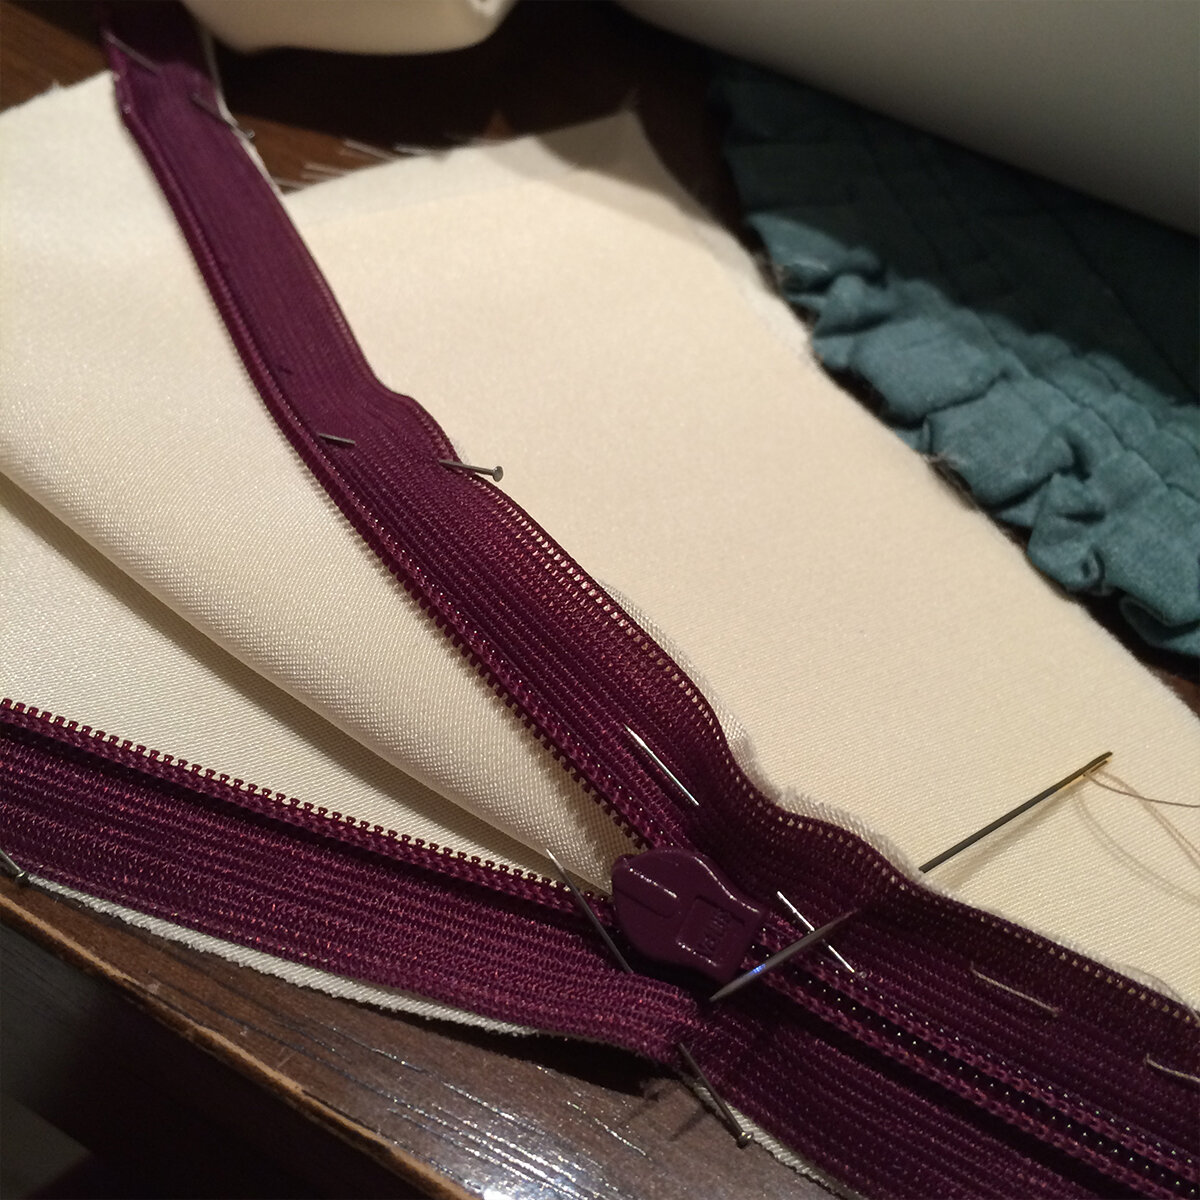
Joining the main fabric together took a little more work. The triple crepe has SUCH a gorgeous drape but with that, comes a bit of weight. With the side seams being such a long length on the skirt, I was concerned the weight of the skirt might pull the seamlines down slightly creating draglines. To prevent this, I decided to stabilise the seams using strips of lining fabric. To do this, I cut strips of lining on the straight of grain, about 1.5cm wide and basted them to the wrong side of the main fabric slightly over the thread traced line, just enough so that they would catch in the seam when sewn. By doing this, it meant that the seam would have more structure without added bulk. You could also use a stay tape for this, I just liked to use the fabric I had to hand since it was so light. With this in place, I joined the skirt together at the side seams and centre back. I basted the zip opening closed to prevent the fabric stretching until I was ready to add the zip.
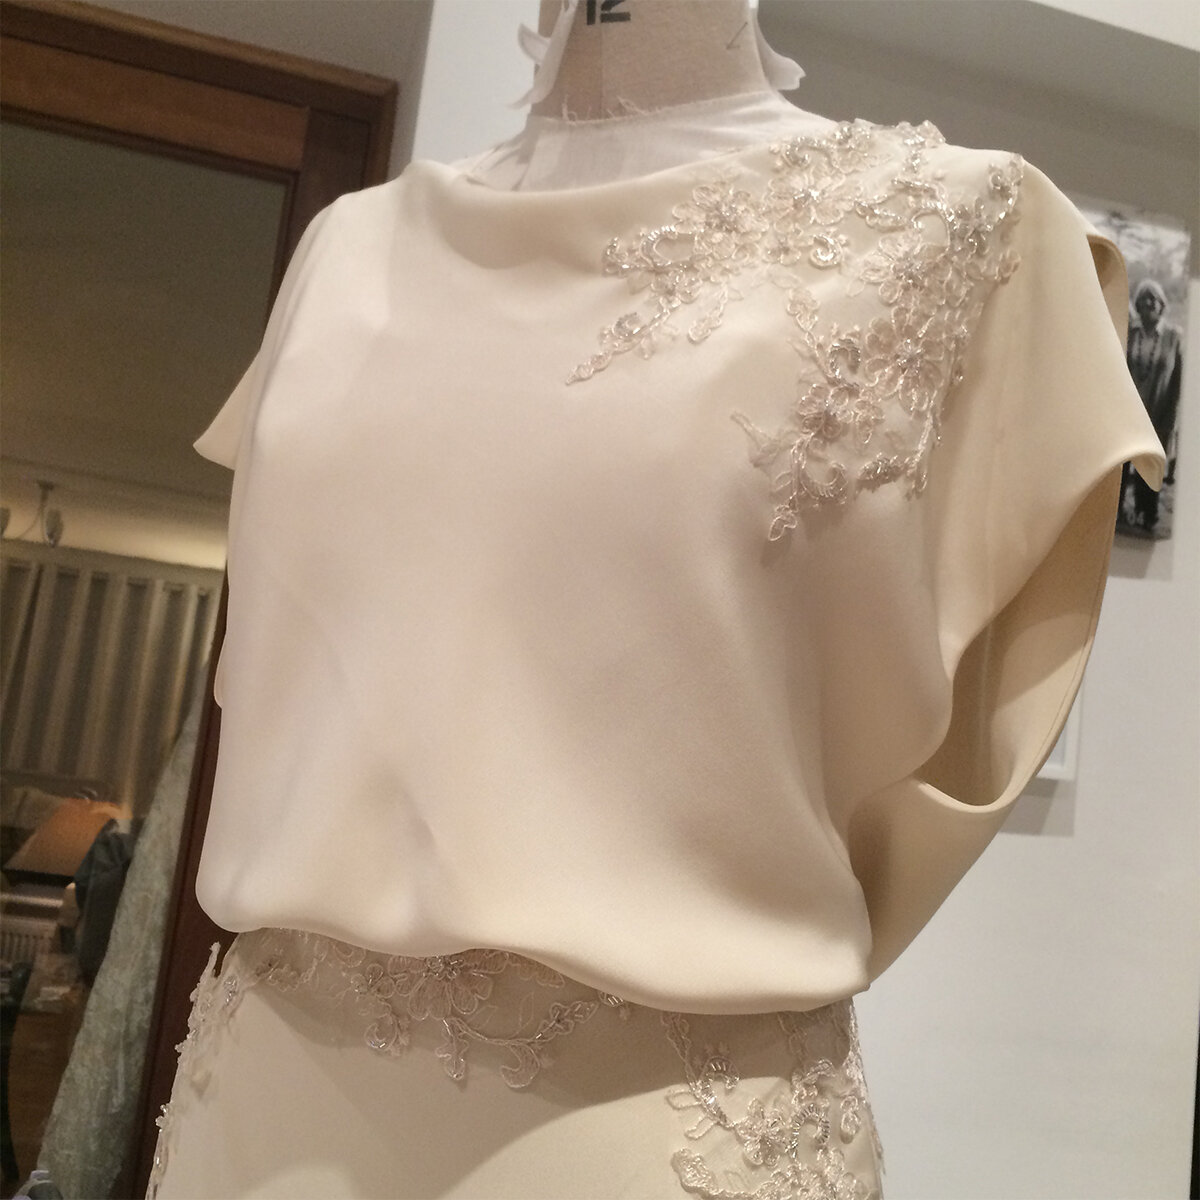
For the bodice, I interlined it with a layer of silk organza to give some structure without effecting the drape. This was done by layering the piece of organza onto the wrong side of the crepe, minus any darts to reduce bulk. I also added an extra strip of organza to the neck and armholes to strengthen the seams. You can see it clearly in my toile image.

From here, you just work with the 2 layers as if they were one. If you’re wondering if you could use synthetic organza instead of silk for this kind of technique (I’ll admit, it’s definitely cheaper!), personally I wouldn’t but I would say it depends on what your main fabric is. Synthetic organza does not have the same characteristics or hold the shape in the same way as silk. Silk will drape far more sympathetically to the main fabric. For example, if I were to drape my crepe over the silk organza over my hand and bent it around, it would create a beautiful flow. If I were to do the same over synthetic, it would be more bulbous, eliminating that all-important drape.
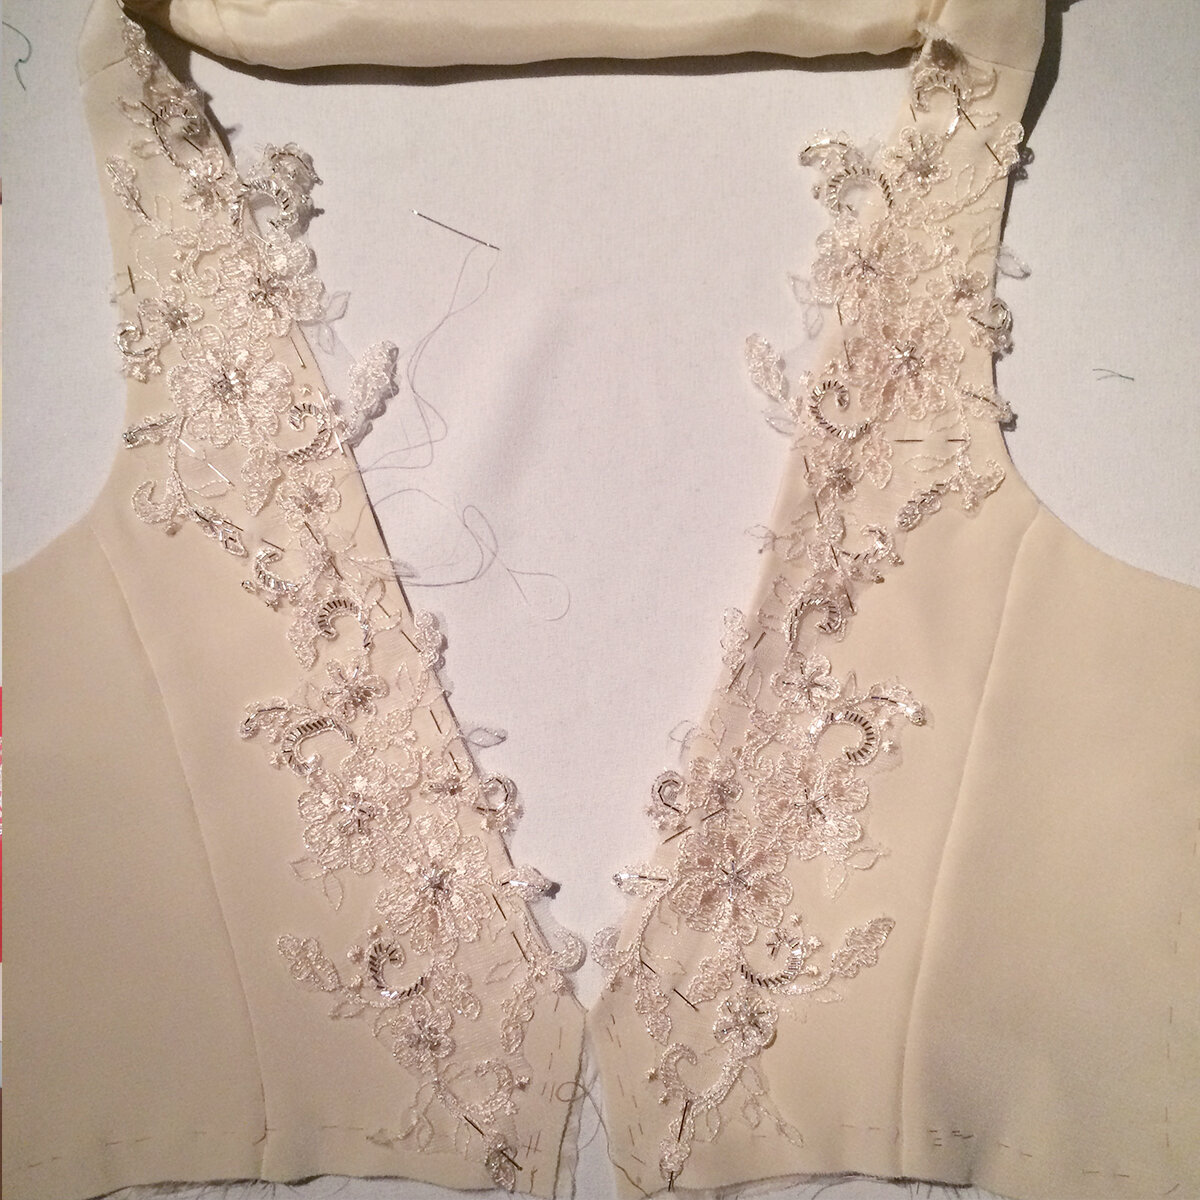
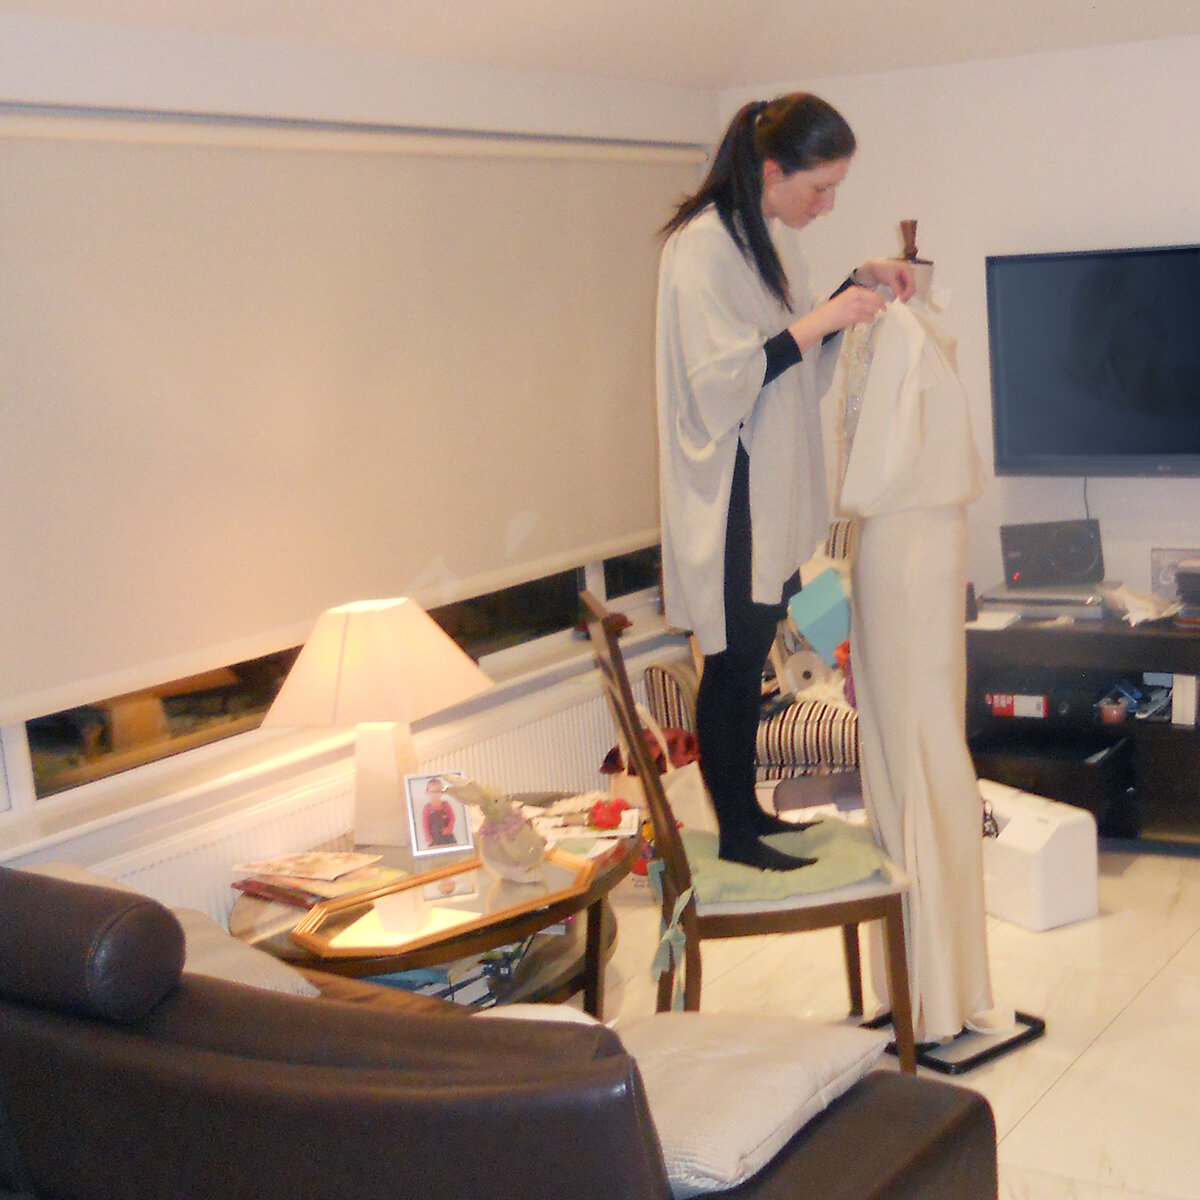
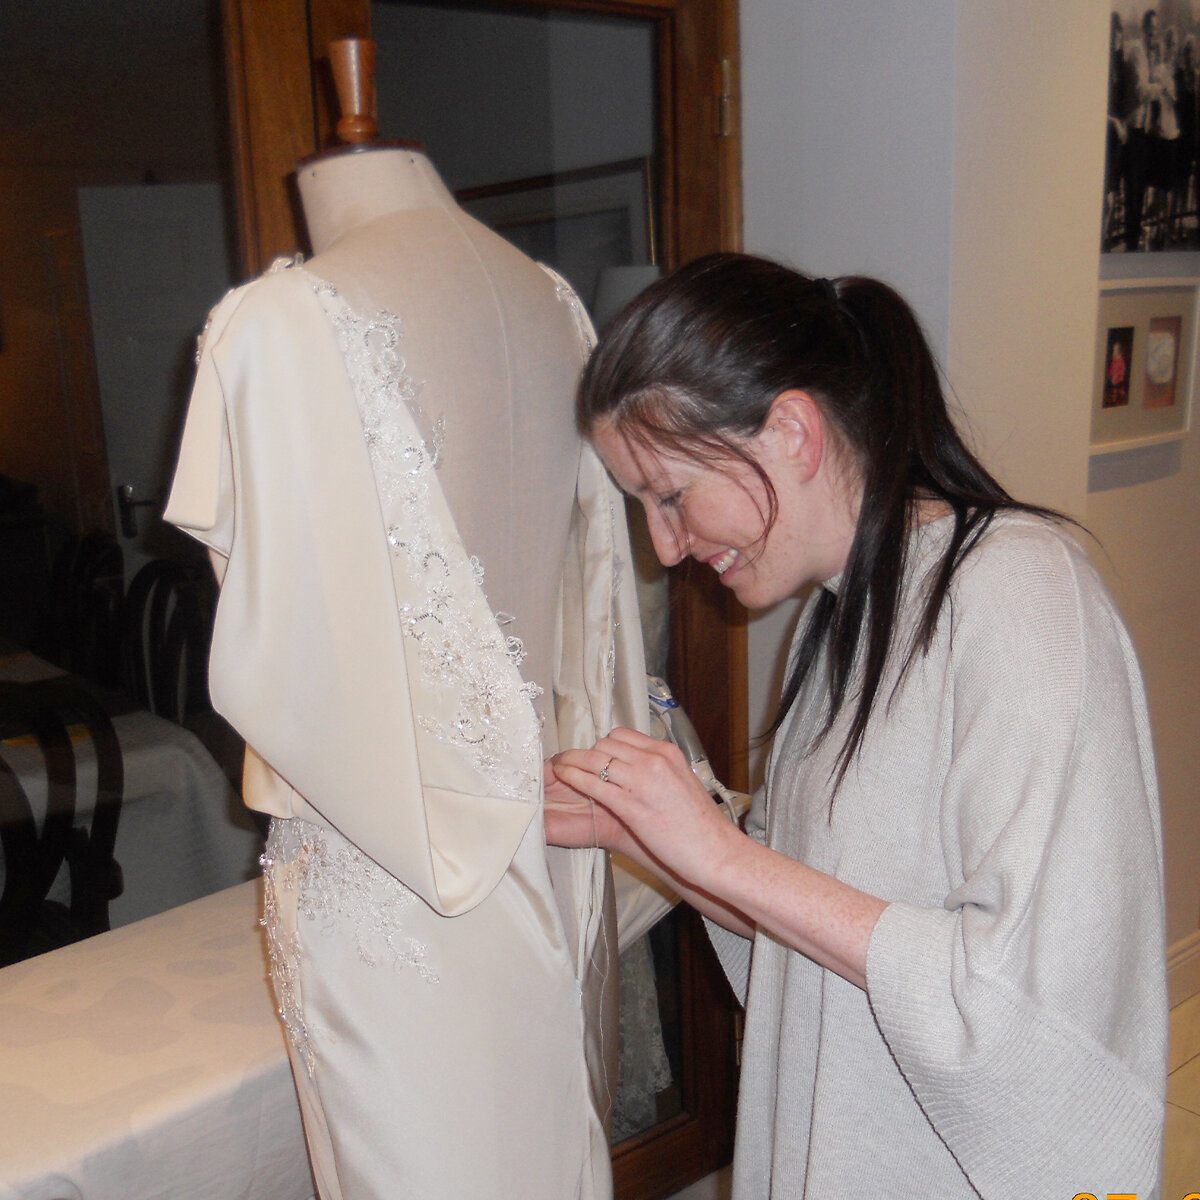
It was time to join the bodice to the bodice lining, leaving the centre back open for the zip later on. Once it was turned out, I was able to work out where I wanted to place my appliqués. I had played around a little with this at the toile stage so I knew roughly what look I was going for. It would simply be a case of hand stitching them all in place.
The blousy top of the dress was very simple. The front panel was lined in the habotai and the back panels were simply a single layer of crepe folded on the bias to create the draping open back. Attached at the shoulder and side seam, it would simply be a matter of trapping it between the bodice and the skirt to join them all and finally have the actual dress ‘together’.

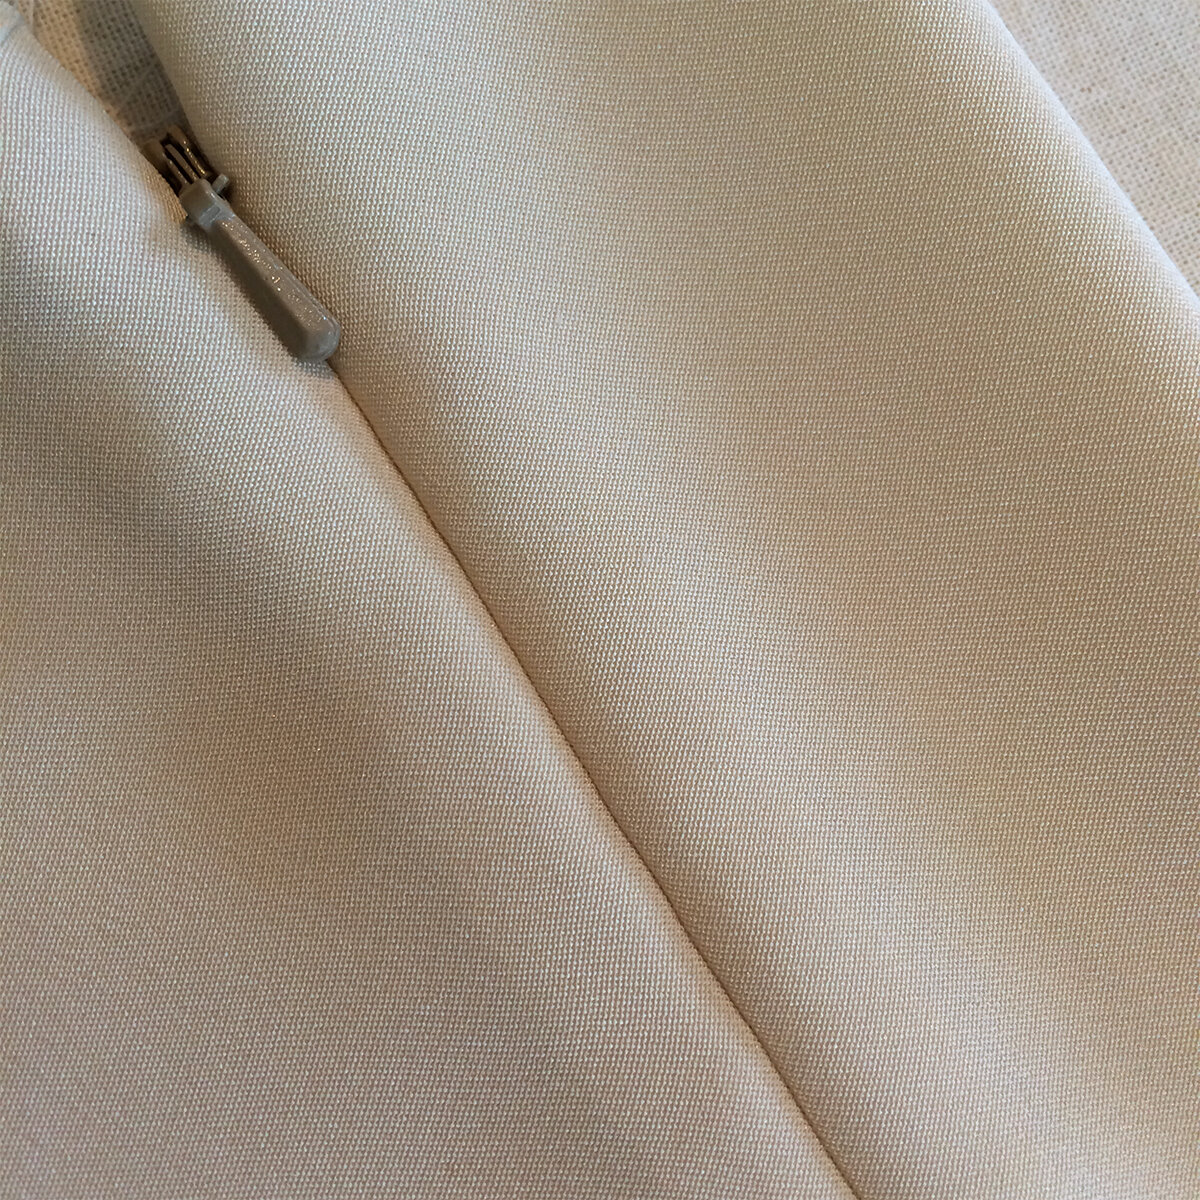
Of course you can’t get this far without admitting that the invisible zip will have to be tackled at some point! Well makers, that is where practise, practise, practise rules the day! I did a good few attempts prior to inserting the zip on the real thing. I wanted to make sure it was right and even with all that practise, I felt that my C/B seam below the zip still dragged a little but what’s a little wrinkling amongst friend eh?! I even included an extra strip of lining tape in the hopes that the train wouldn’t pull the seam but the zip itself went in perfectly! You win some you lose some eh?!
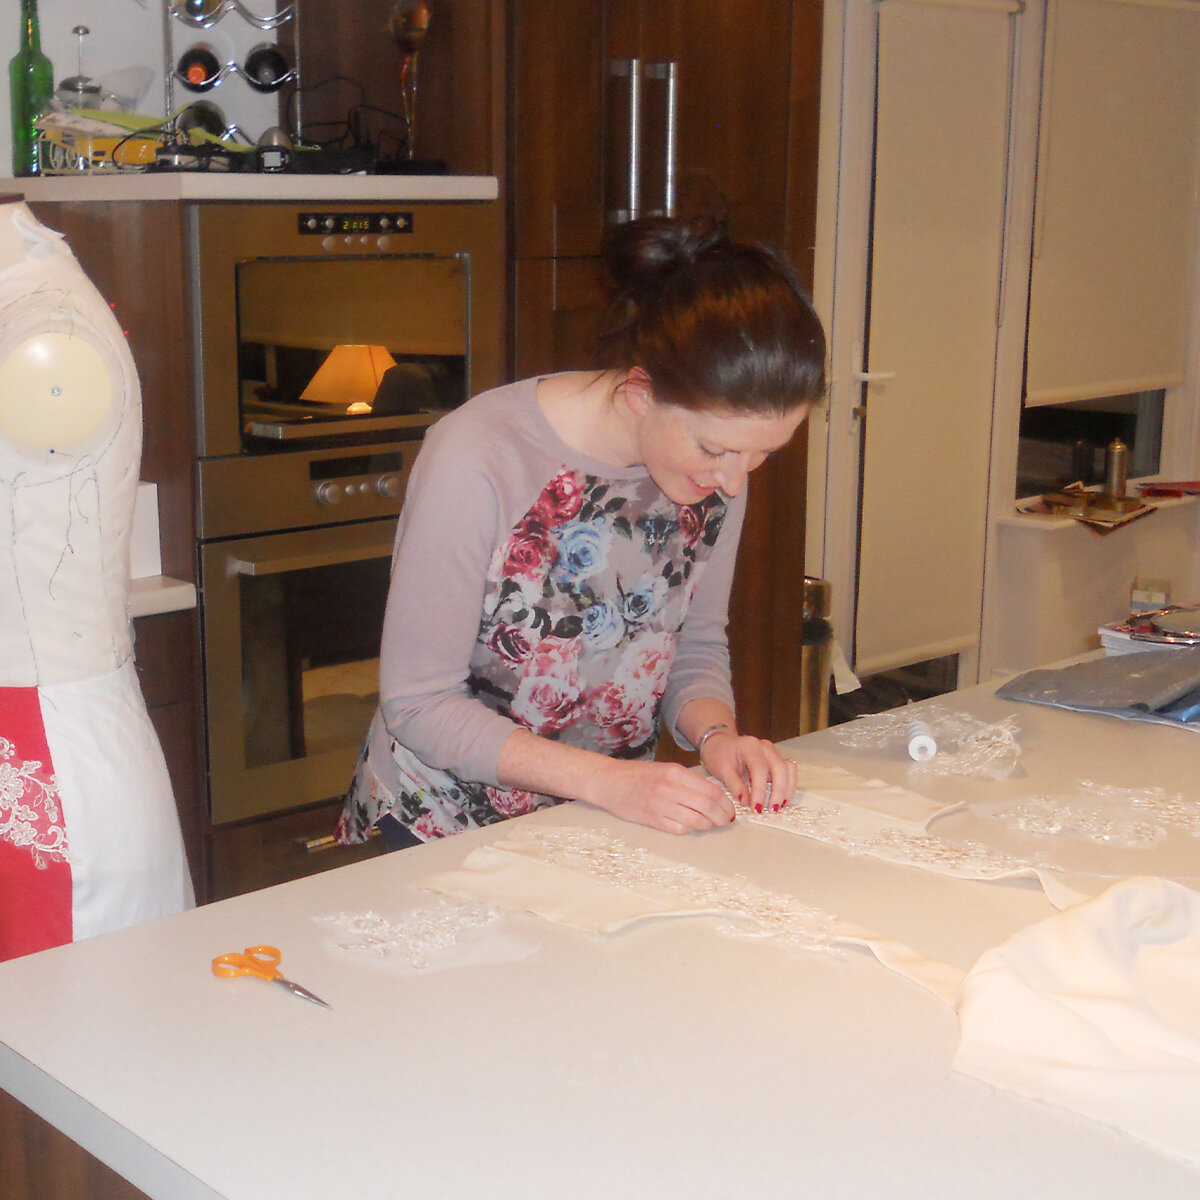
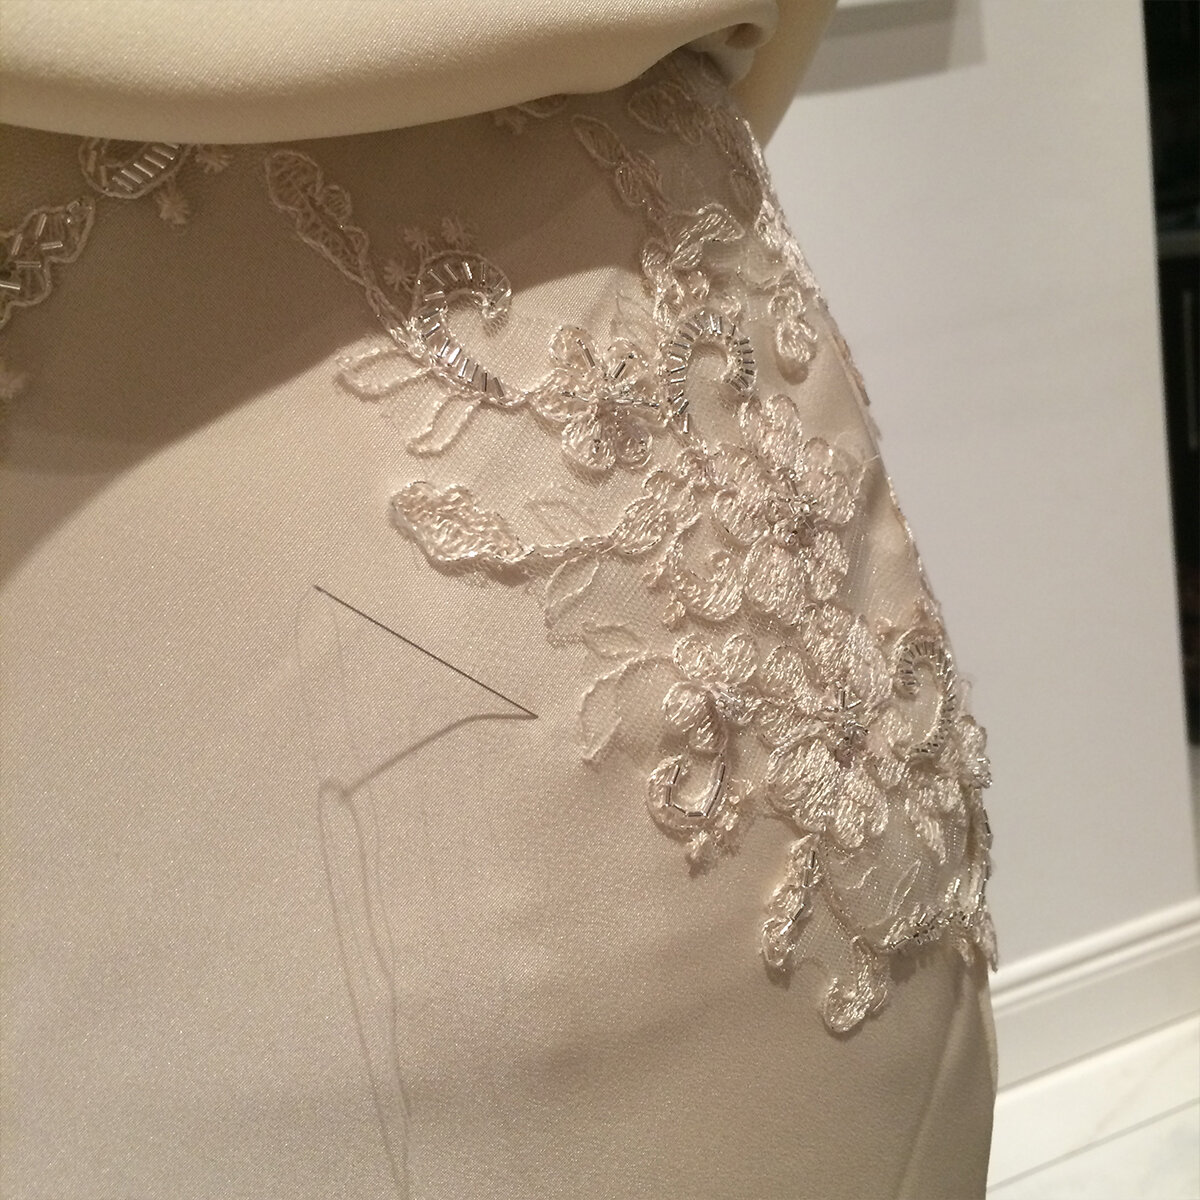
With the dress finally looking like, well, a dress, I was able to add the rest of the embellishment. I had planned to hand embroider the details using a technique called tambour embroidery, but as I did it, I realised fairly early on that it would be too much work so I went with some pre-made appliqués instead which I embellished with extra beads. I went with just a few bits along the centre back, the shoulder and the hips. Not too much, just a little bit of texture to lift the design.
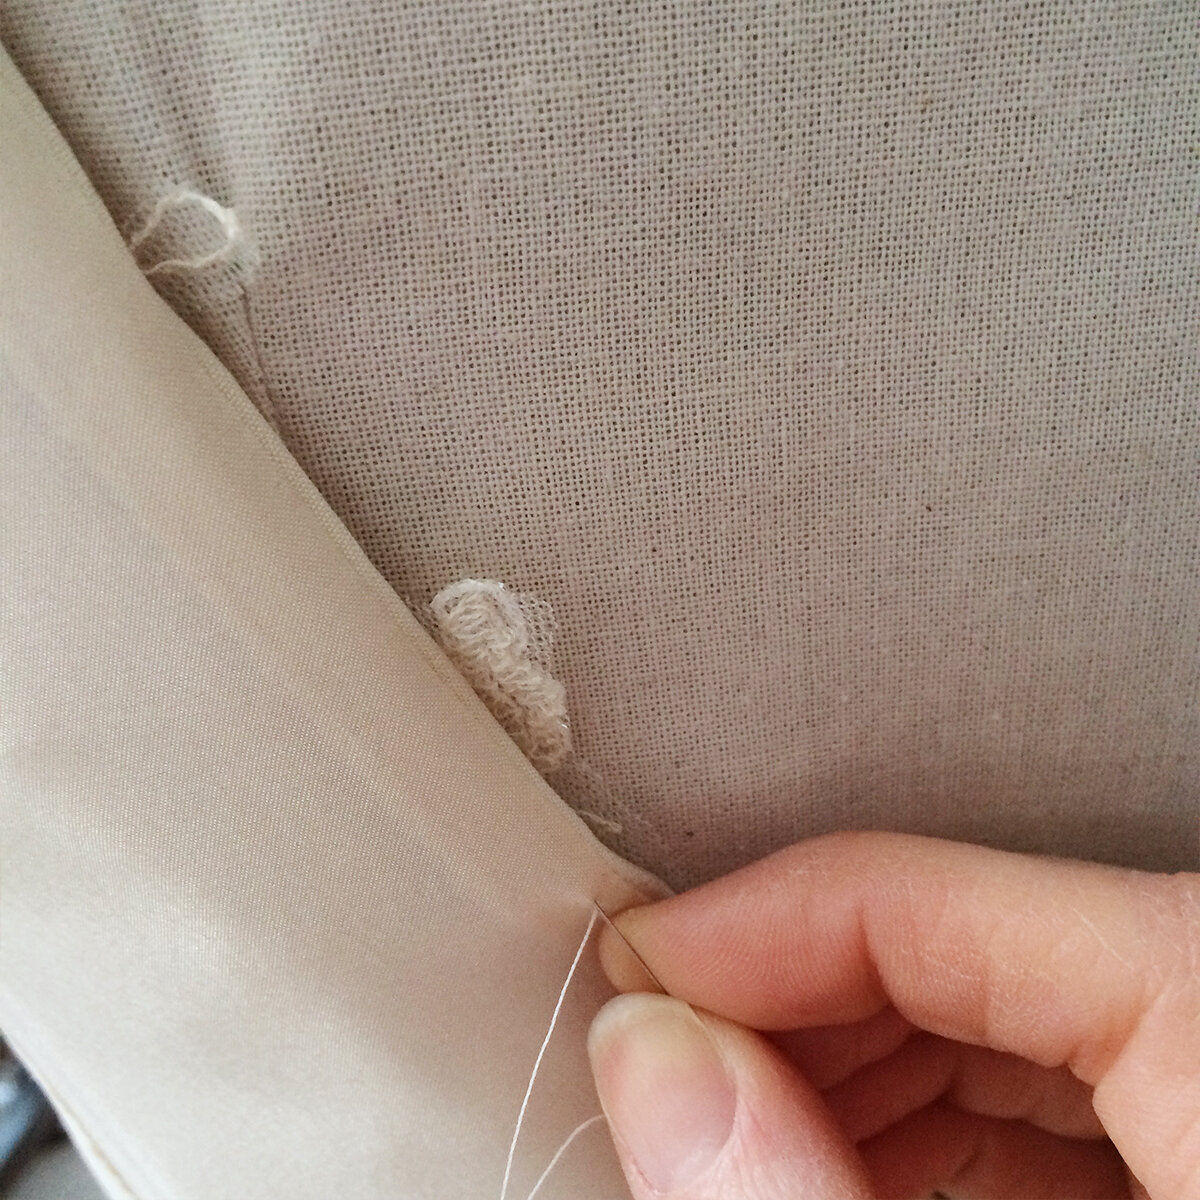
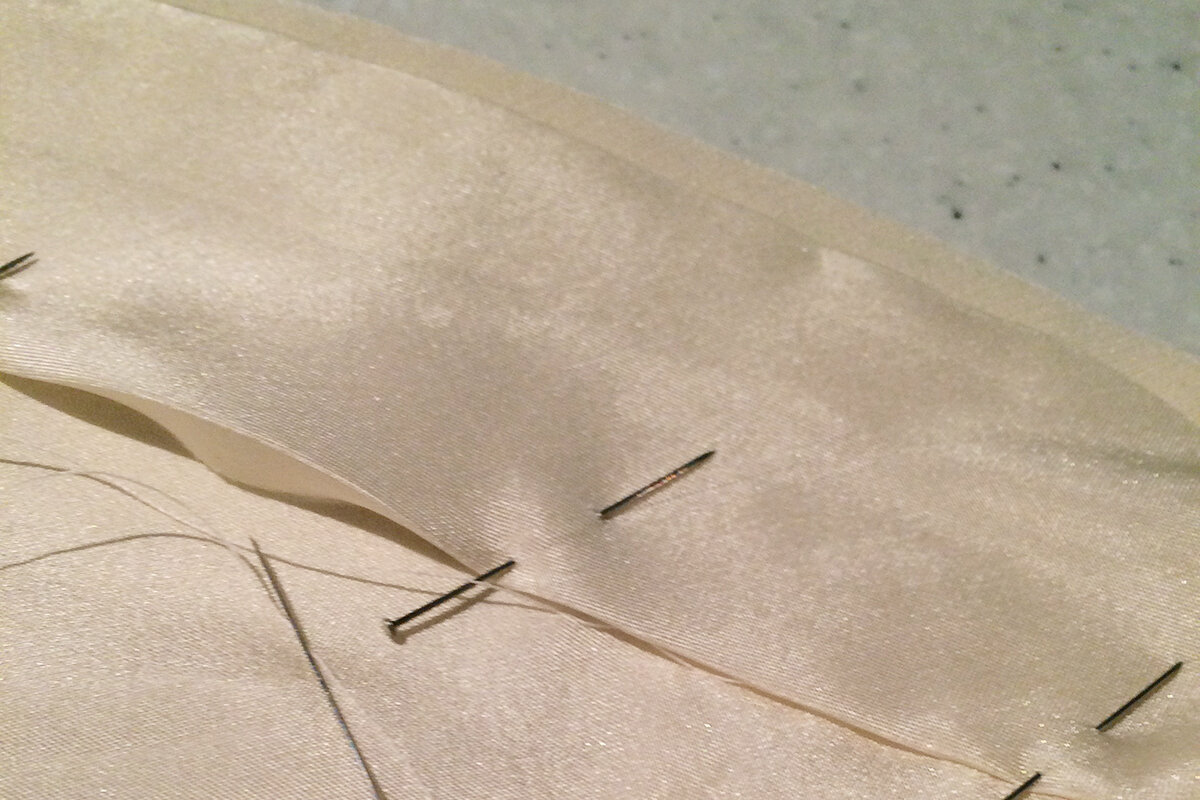
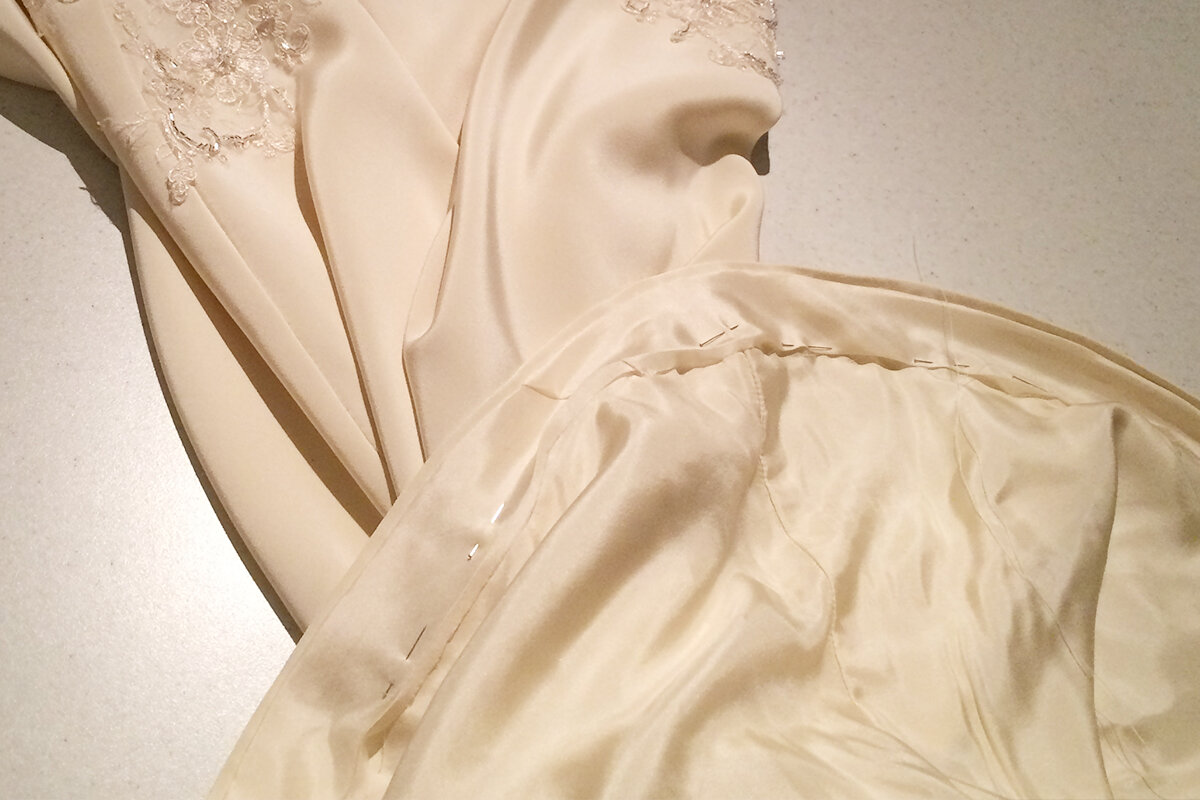
To close up the lining, I made a bias strip to sit on top of the the lining and the turned up hem which I then hand stitched in place. I used this technique to prevent any harsh edges at the hem as I wanted it almost roll rather than be squished flat. I folded the hem up and pressed it in place before very carefully hand hemming up by catching 2 or three threads as I went, to gently anchor the hem up before laying the bias strip over the raw edges of the lining and the hem turn up. The images will help explain!

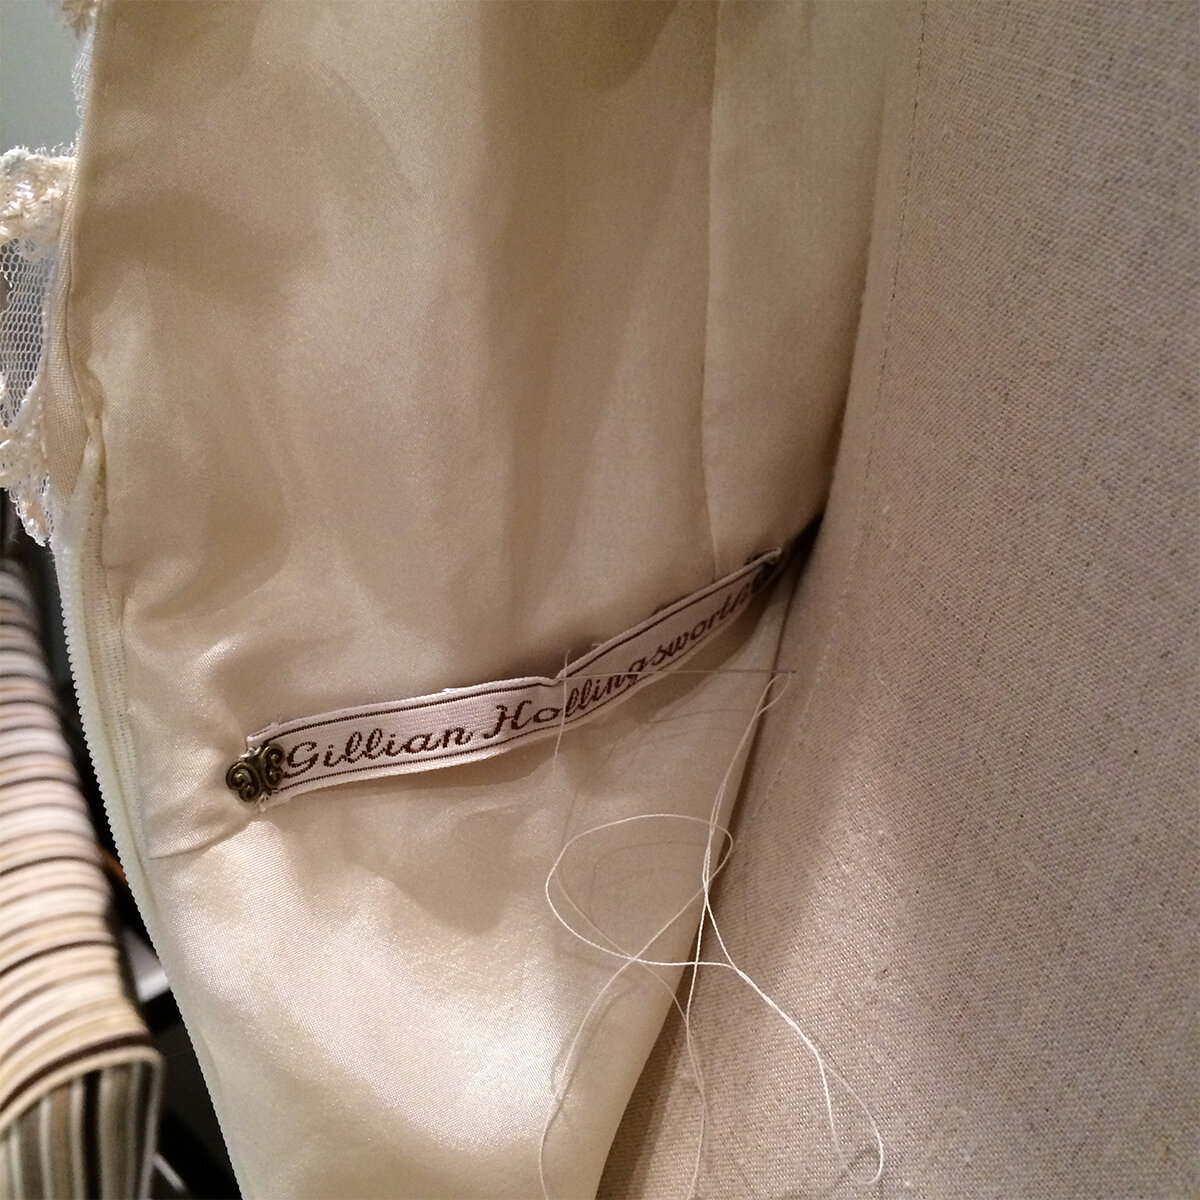
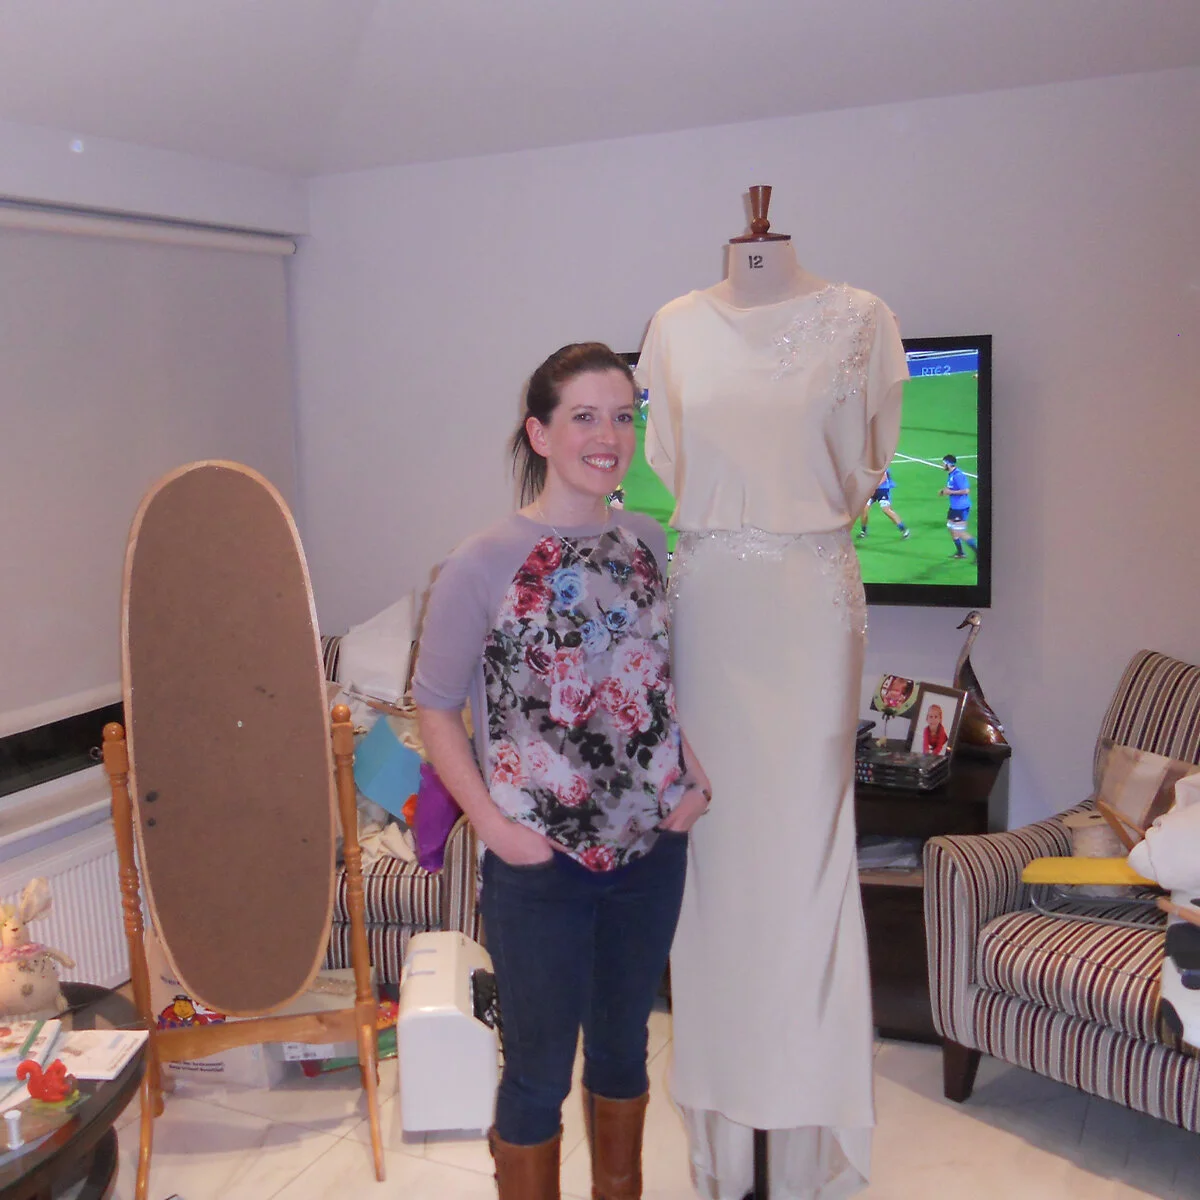
One final addition of my name tag into the back of the dress and would you believe it, I had a fully finished, incredibly satisfying, finished a head of schedule wedding dress! But there was something missing…Veil or no veil? Personally I hadn’t wanted a veil. Flash backs of my First Holy Communion were haunting me and I wasn’t sure I could do it to myself! HOWEVER, my 7 year old self was not aware of the wonders of silk tulle and I’m happy to admit that up until that point, nor was I!
Stay tuned for the next edition, Part VI where I discuss choosing my perfect veil fabric and how super simple it is to construct. Until next time!
Nearly There!