
Making my Wedding Dress - Part VI - Veils
Welcome to Part VI of Making my Wedding Dress where today I’m going to quickly bring you through my thought process and construction of my veil.
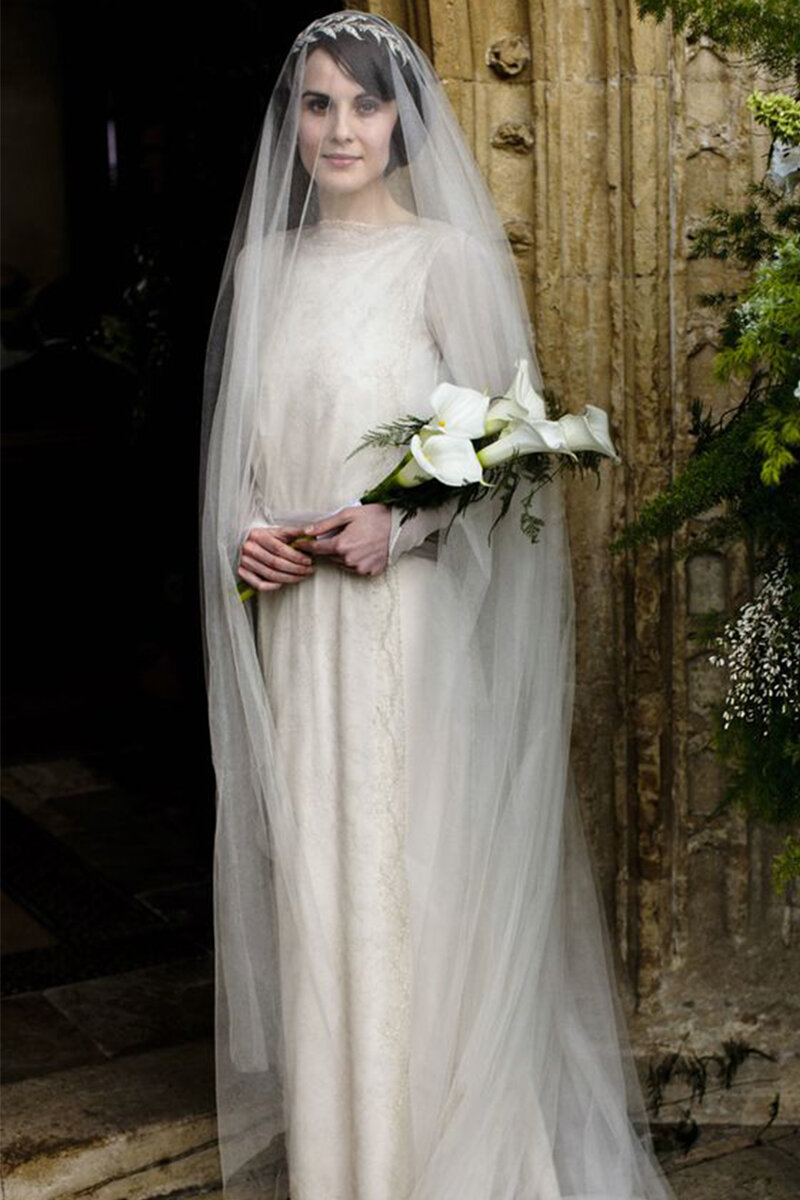
As I mentioned in the previous edition, Part V - Making my Dress, flashbacks of my Communion day were not going in favour of me wearing a veil! It’s not that I don’t like veils, I do, I think they can look amazing. I just wasn’t sure a veil was for me. Back when I went in to try on different dress styles, the shop owners would bring out a veil to ‘finish off the look’ and each time I just felt like it was too much, like a shining neon arrow stating BRIDE APPROACHING! So that was also another point for team no-veil. Back to my initial inspiration ideas of the 1930s / 1940s and I looked into what kind of veils would have been worn then. Turns out I was into the 20’s veils too…you can’t go too far wrong when a Downton Abbey inspo shot steps in can you?
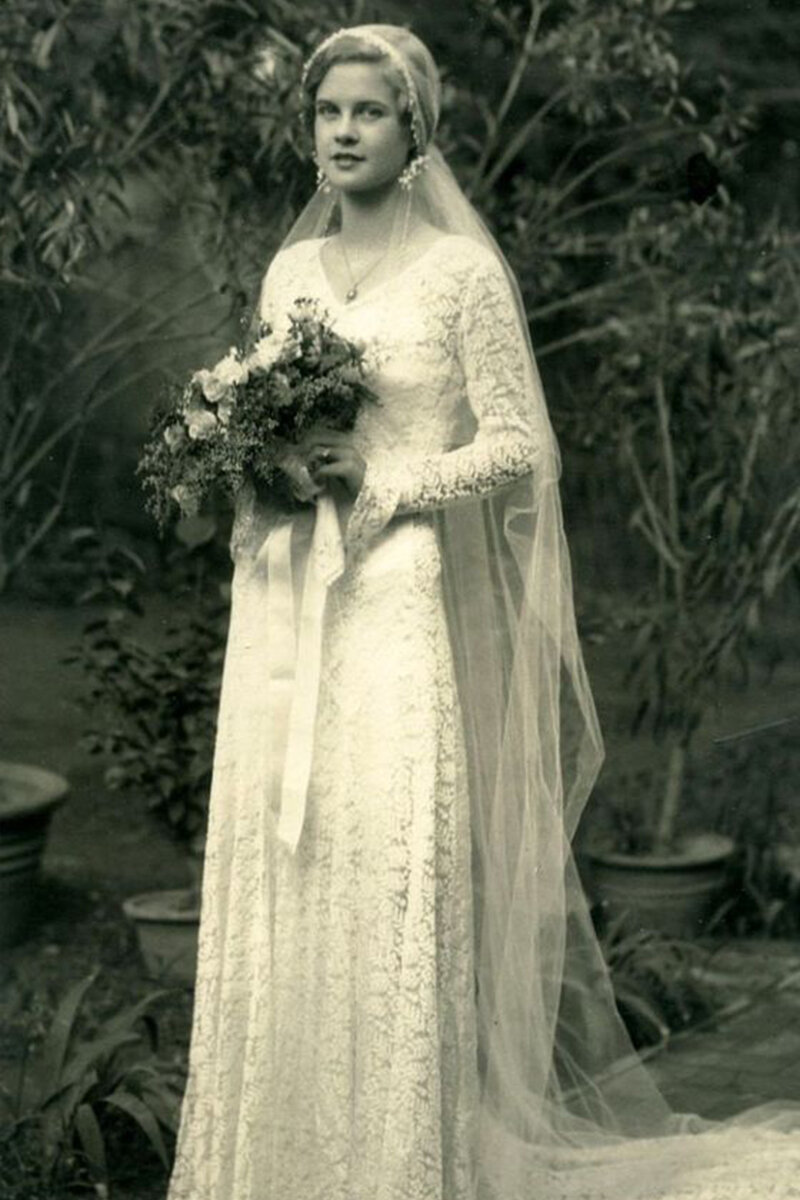
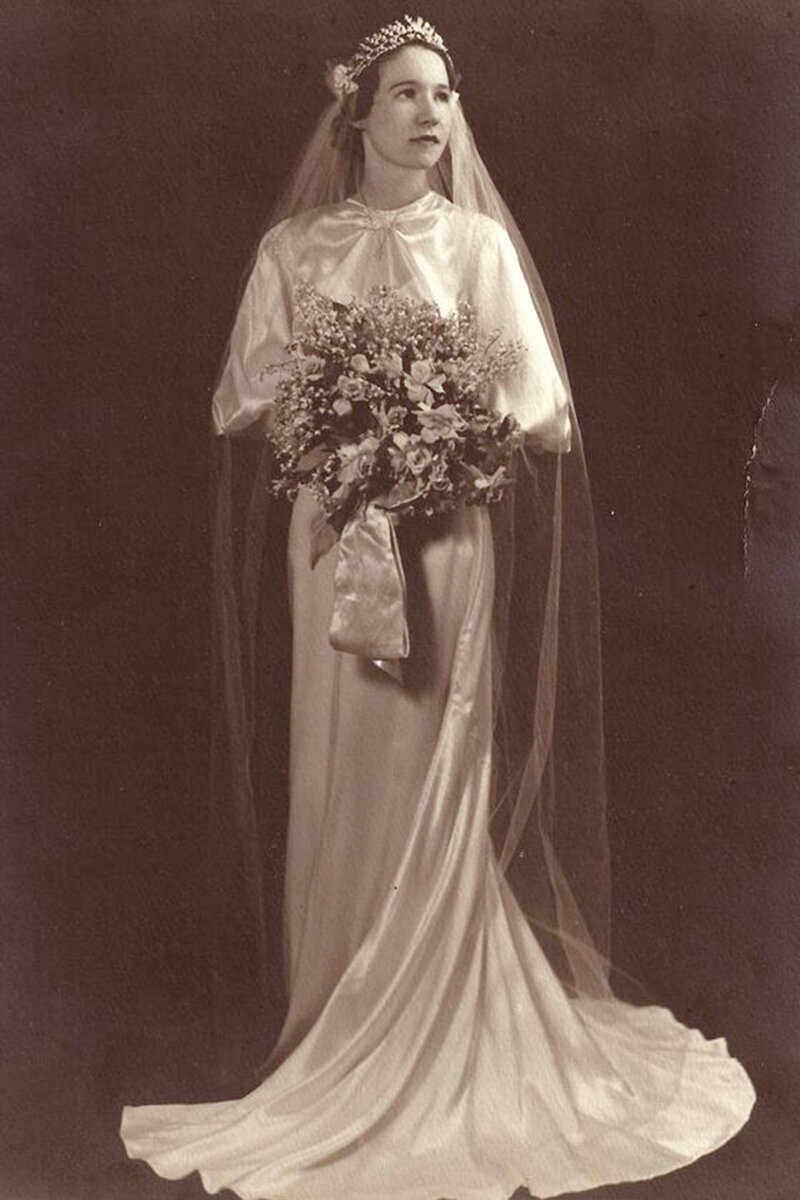
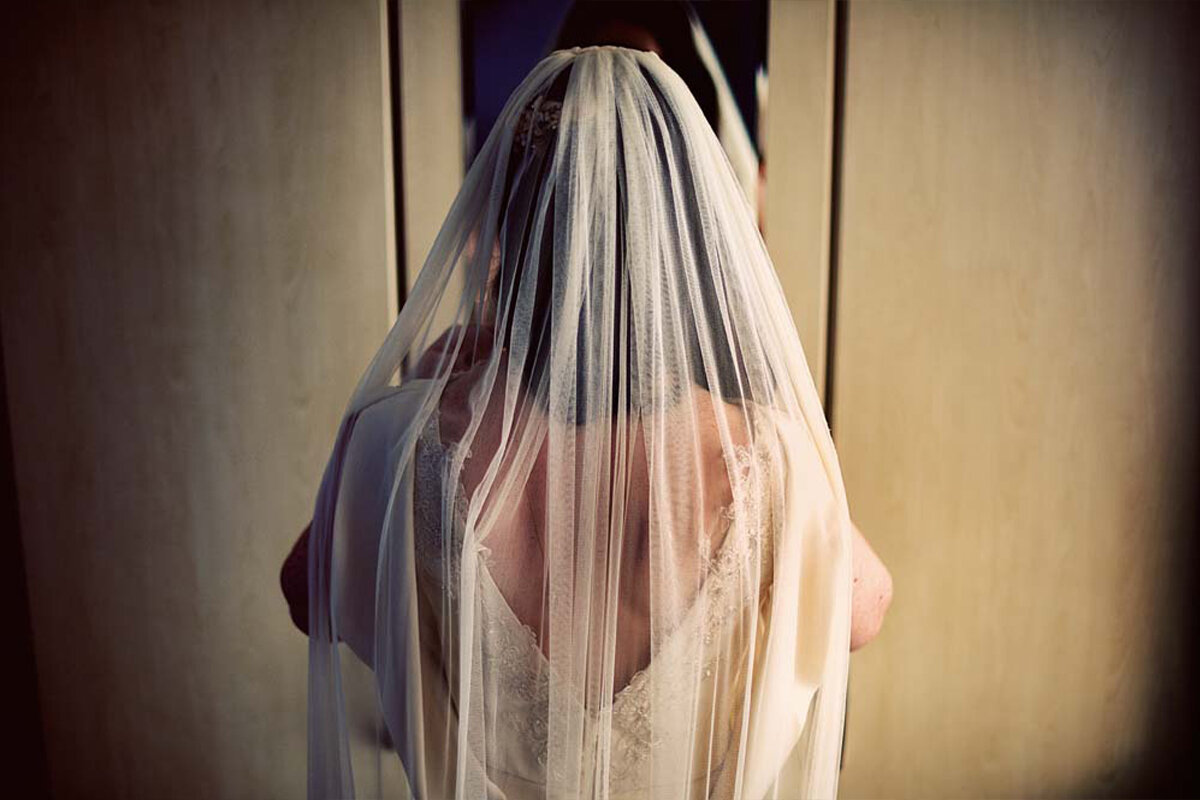
I was being drawn towards something long and barely there, something whispy that sort of melts into the background. I love the idea of it just being a sheer veil, with no embellishments, just simple. This was great because it meant it’d be super easy to construct. The main hurdle I felt, would be down to getting the right fabric.
I went around the shops in Dublin (no more trips to London for me at this point!) and was basically just being offered different weights of nylon tulle and being assured that it was bridal tulle and that it’s what was used in ALL the veils I’d find out there…Thanks love but doesn’t mean it’s what I’m looking for! Why do you think I want to make my own rather than settling for ‘what’s out there’?! Nope, I wasn’t having any of it. It just wasn’t right. I eventually came across a gorgeously soft fine French silk tulle from Róisin Cross Silks and knew straight away that this was the one. It just fell beautifully and moved so freely. I’ve since discovered this great description of the difference between ‘Bridal Tulle’ and silk tulle.

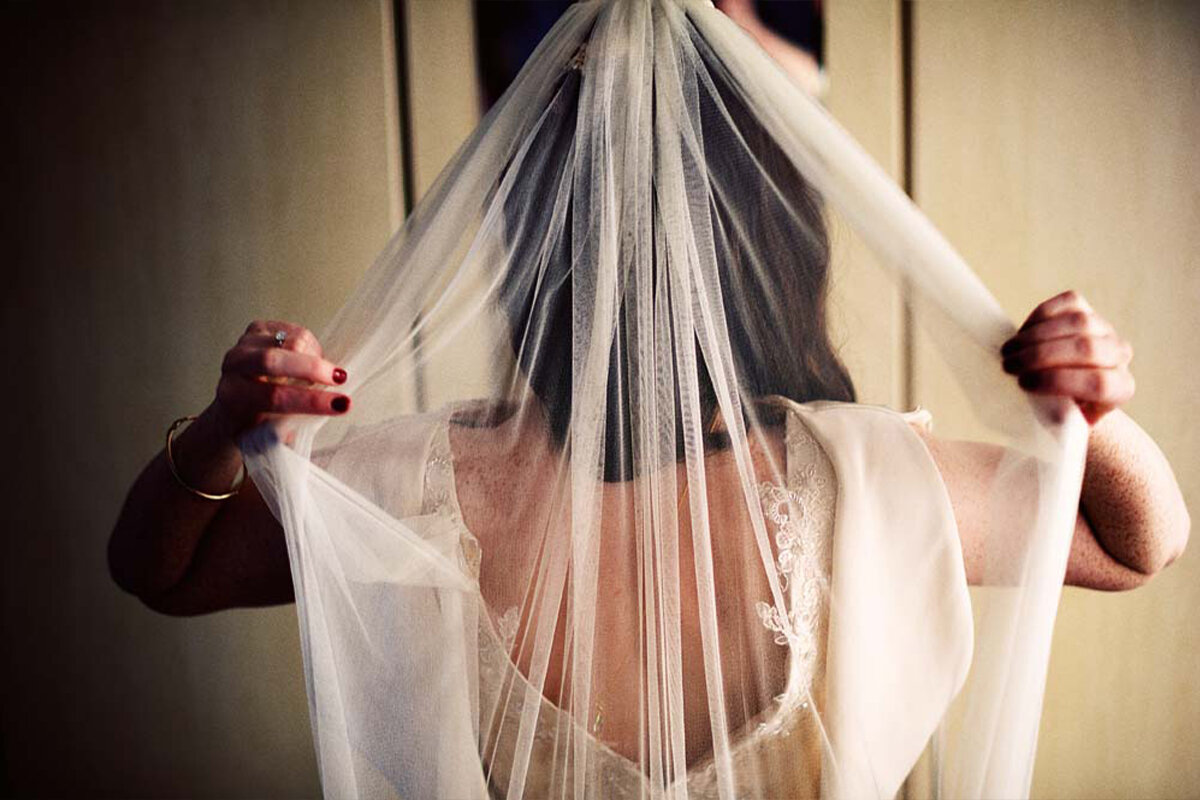
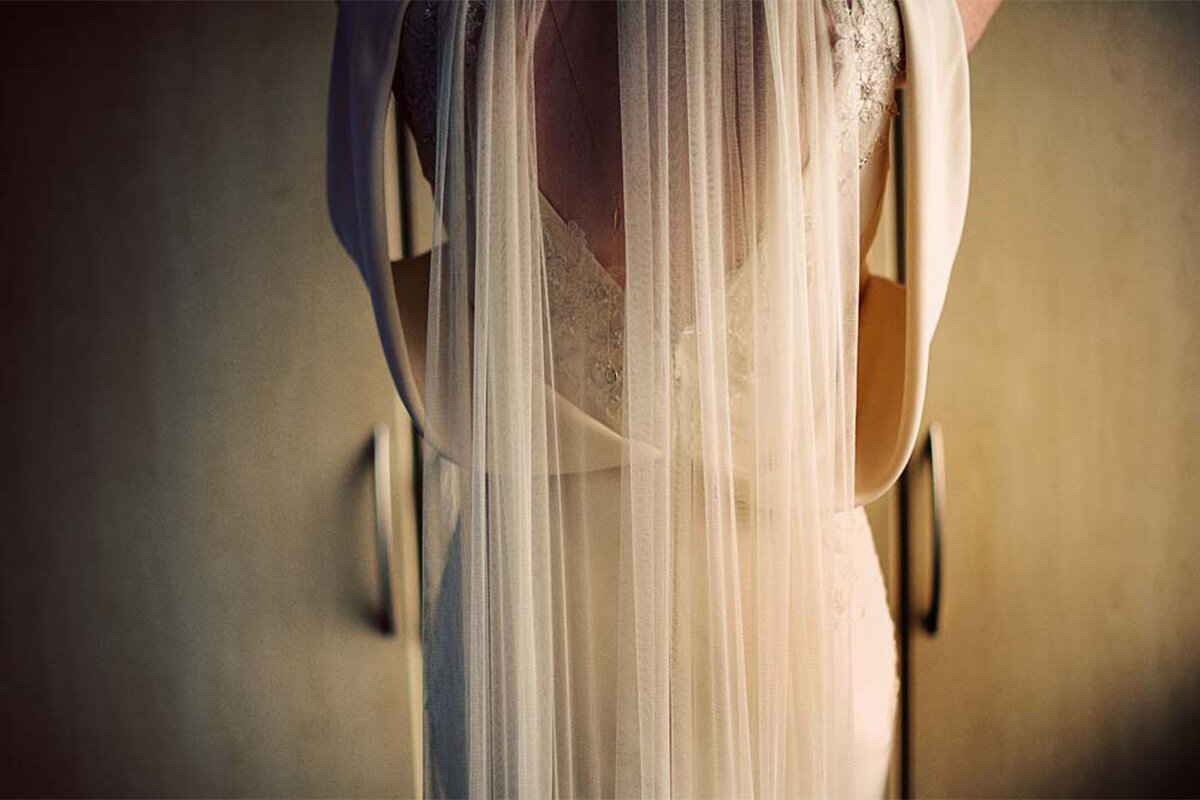
In terms of making the veil, I kept it the full width of the fabric and folded it in half so it was double layered. I knew I didn’t want it coming from the top of my head, rather lower from the back so I judged the length from there. Cutting away the corners at the base gave it a nice shape and helped it to sit properly when over the dress and I cut the top layer maybe about a half foot shorter than the bottom layer. I simply left the edges raw since tulle doesn’t fray.
Taking a clear hair comb which I picked up in Hickey’s, I simply hand stitched the folded end of the veil along the top of the comb and bound it in place with thread. That was it, veil done! I had a long veil that was so floaty in the wind that it gave me this shot!

I have made other veils for people and they can be far more involved than my one was. For example, if you were to add a lace all the way around the hem, that’s a hell of a lot of lace. It can look beautiful though and sometimes it’s totally worth it! Or you can just dot some appliqués around randomly. Or a cute little fascinator style veil or sure none at all like I was going to do! The choices are endless. Here’s a post from onefabday.com to give you some ideas.
I hope you have fun deciding on what to do yourself.
Next time, I’ll be doing a quick round-up of the whole experience, what I loved, what I wasn’t too keen on, what I’d do again or differently and of course, a few final pictures from the big day.
Until then!
Photography by We are the Mastersons.