
Making my wedding dress - Part III - Design Process and Making the Toile
Last edition, I talked about my trip to London to find the perfect fabric. Read all about it here.
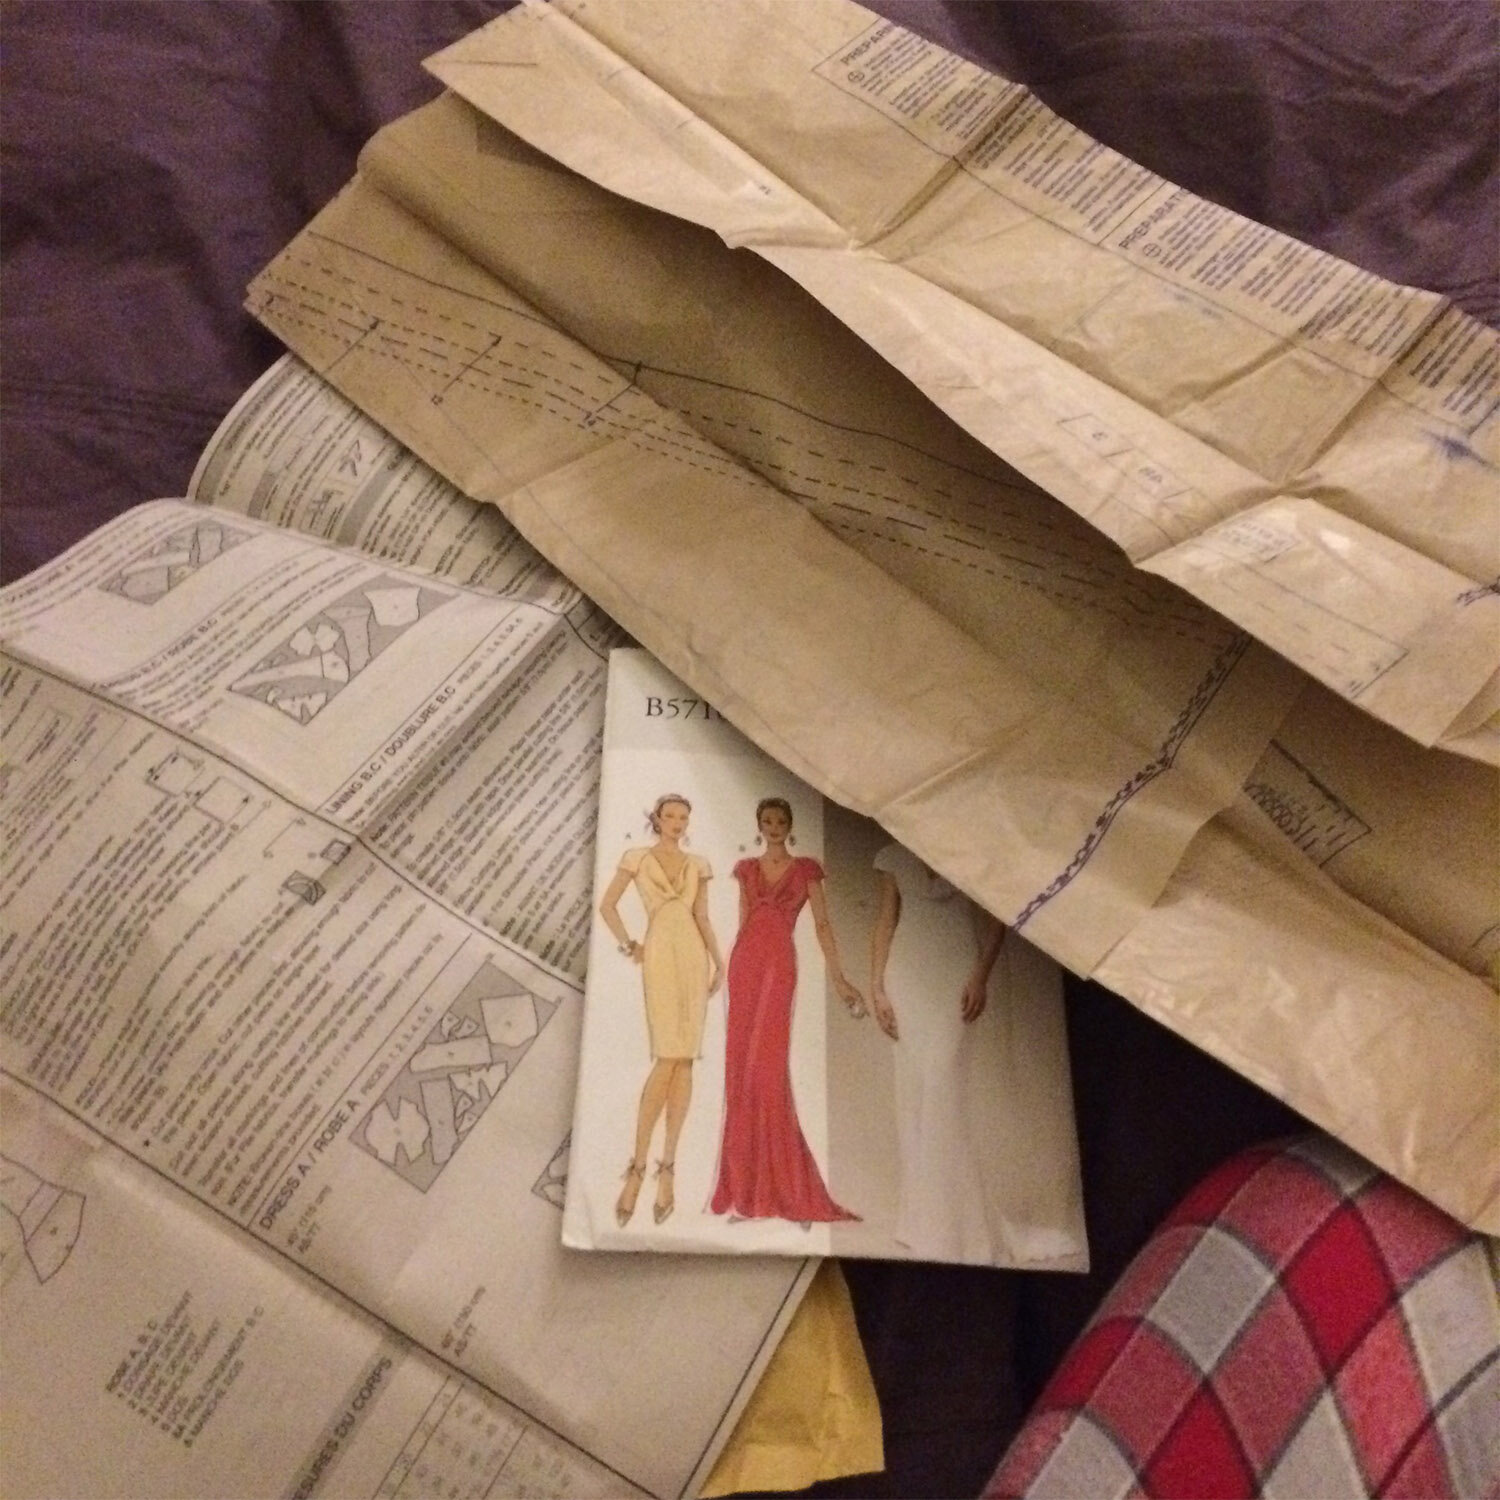
I had chosen a stunning silk triple crepe in a buttery champagne colour as my main fabric but that was the easy bit. I still had to actually design the dress.
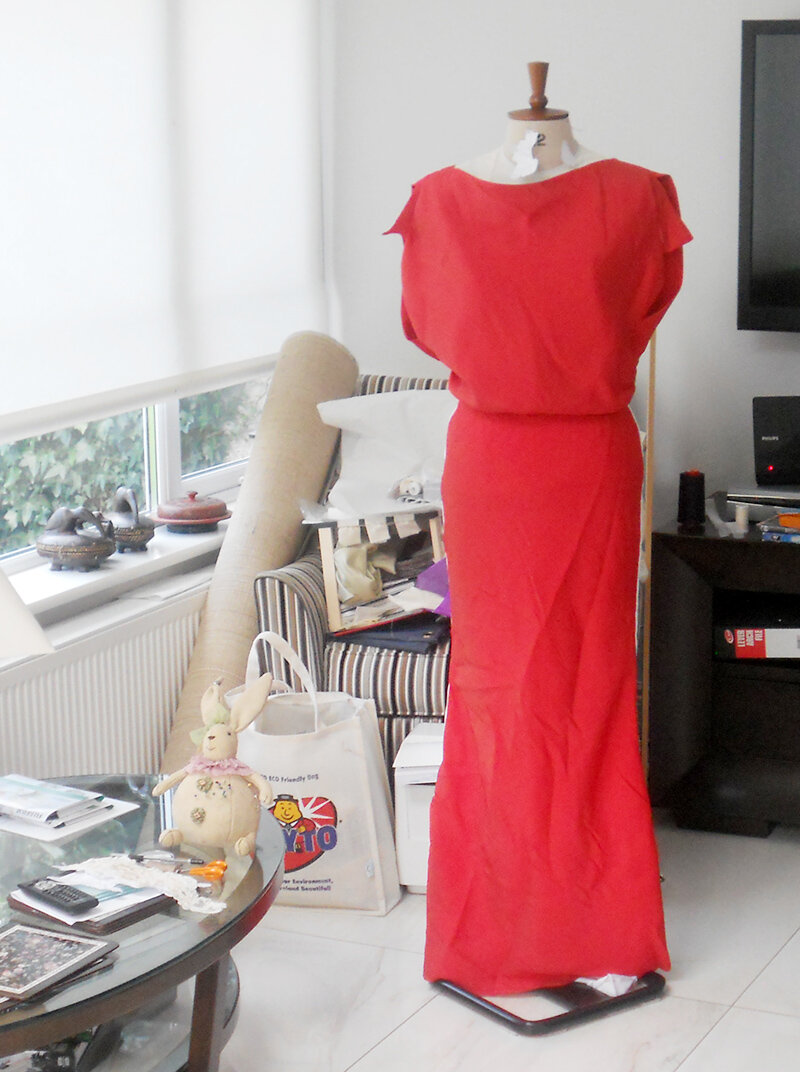
I’d visited a handful of bridal shops to try on different dresses and this is what I’d come up with. I wanted something relatively plain, column shaped, possibly bias cut, a high neckline and a blouse style waistline. Let the designing begin!
In part I, I mentioned how I looked at some magazines and sites but nothing really jumped out. I looked at Pinterest for a bit until I was constantly seeing the same thing over and over again. Sometimes algorithms get it very wrong! Instead, I got to draping so that the design might evolve naturally. Do you ever find the more inspiration you look for the more confused you get? I certainly did.

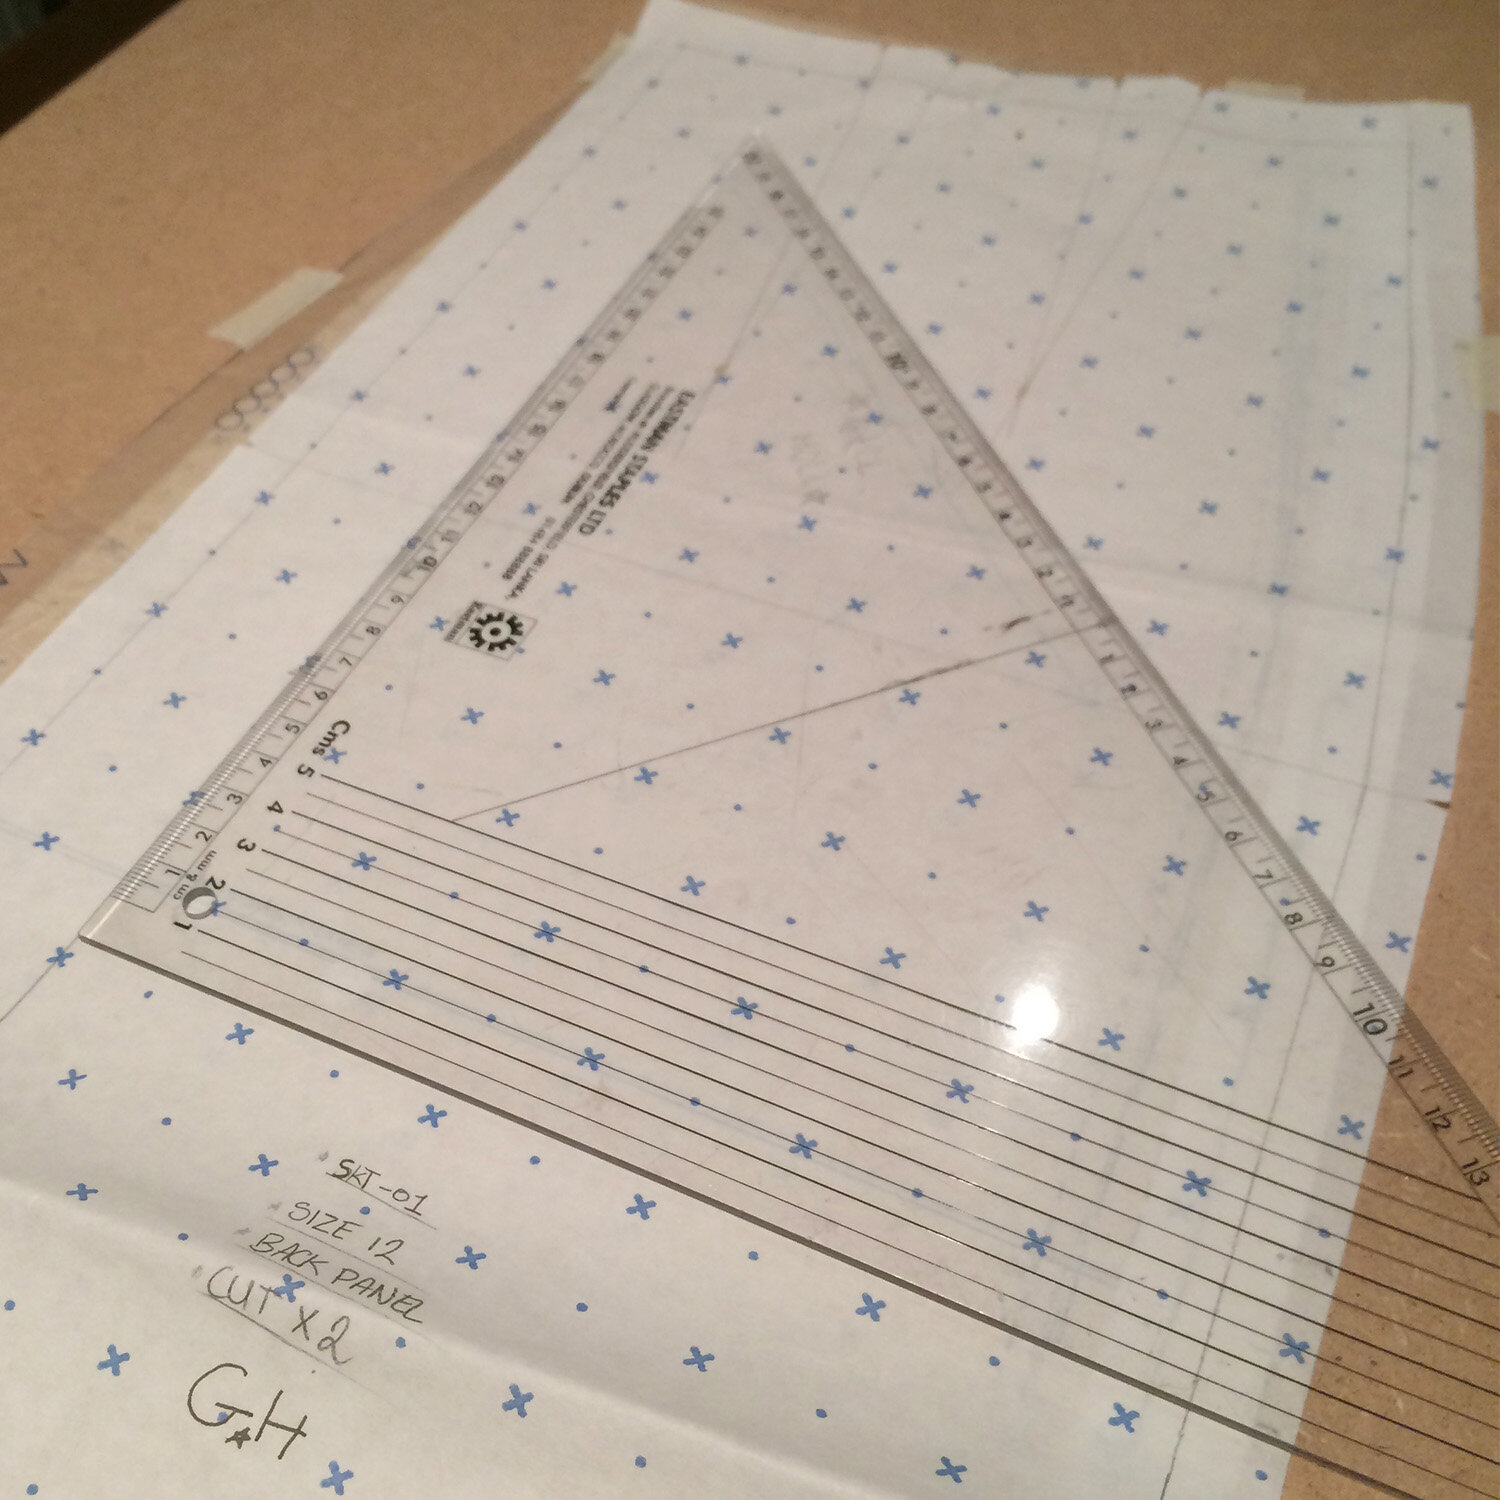
I found a dress pattern that looked like the skirt could work. I figured this might save the hassle of drafting one from scratch. I simply worked from the waist line making slight adjustments to the hip measurements and the length. I wanted a slight train but nothing I’d need to hook up as the night went on. To do this I just extended the centre back to the length I felt comfortable with and smoothed out the curve from the front hem around to the new C/B hemline.
The skirt however was the easy part. Working out the top was like opening up a brand new notebook and staring at that bright blank page. I tried draping lots of different things, knowing I needed it to fall into that tucked-in blouse idea. I liked the idea of using the drape of the fabric to create the design details but was unsure of the heaviness that some of these ideas were giving.
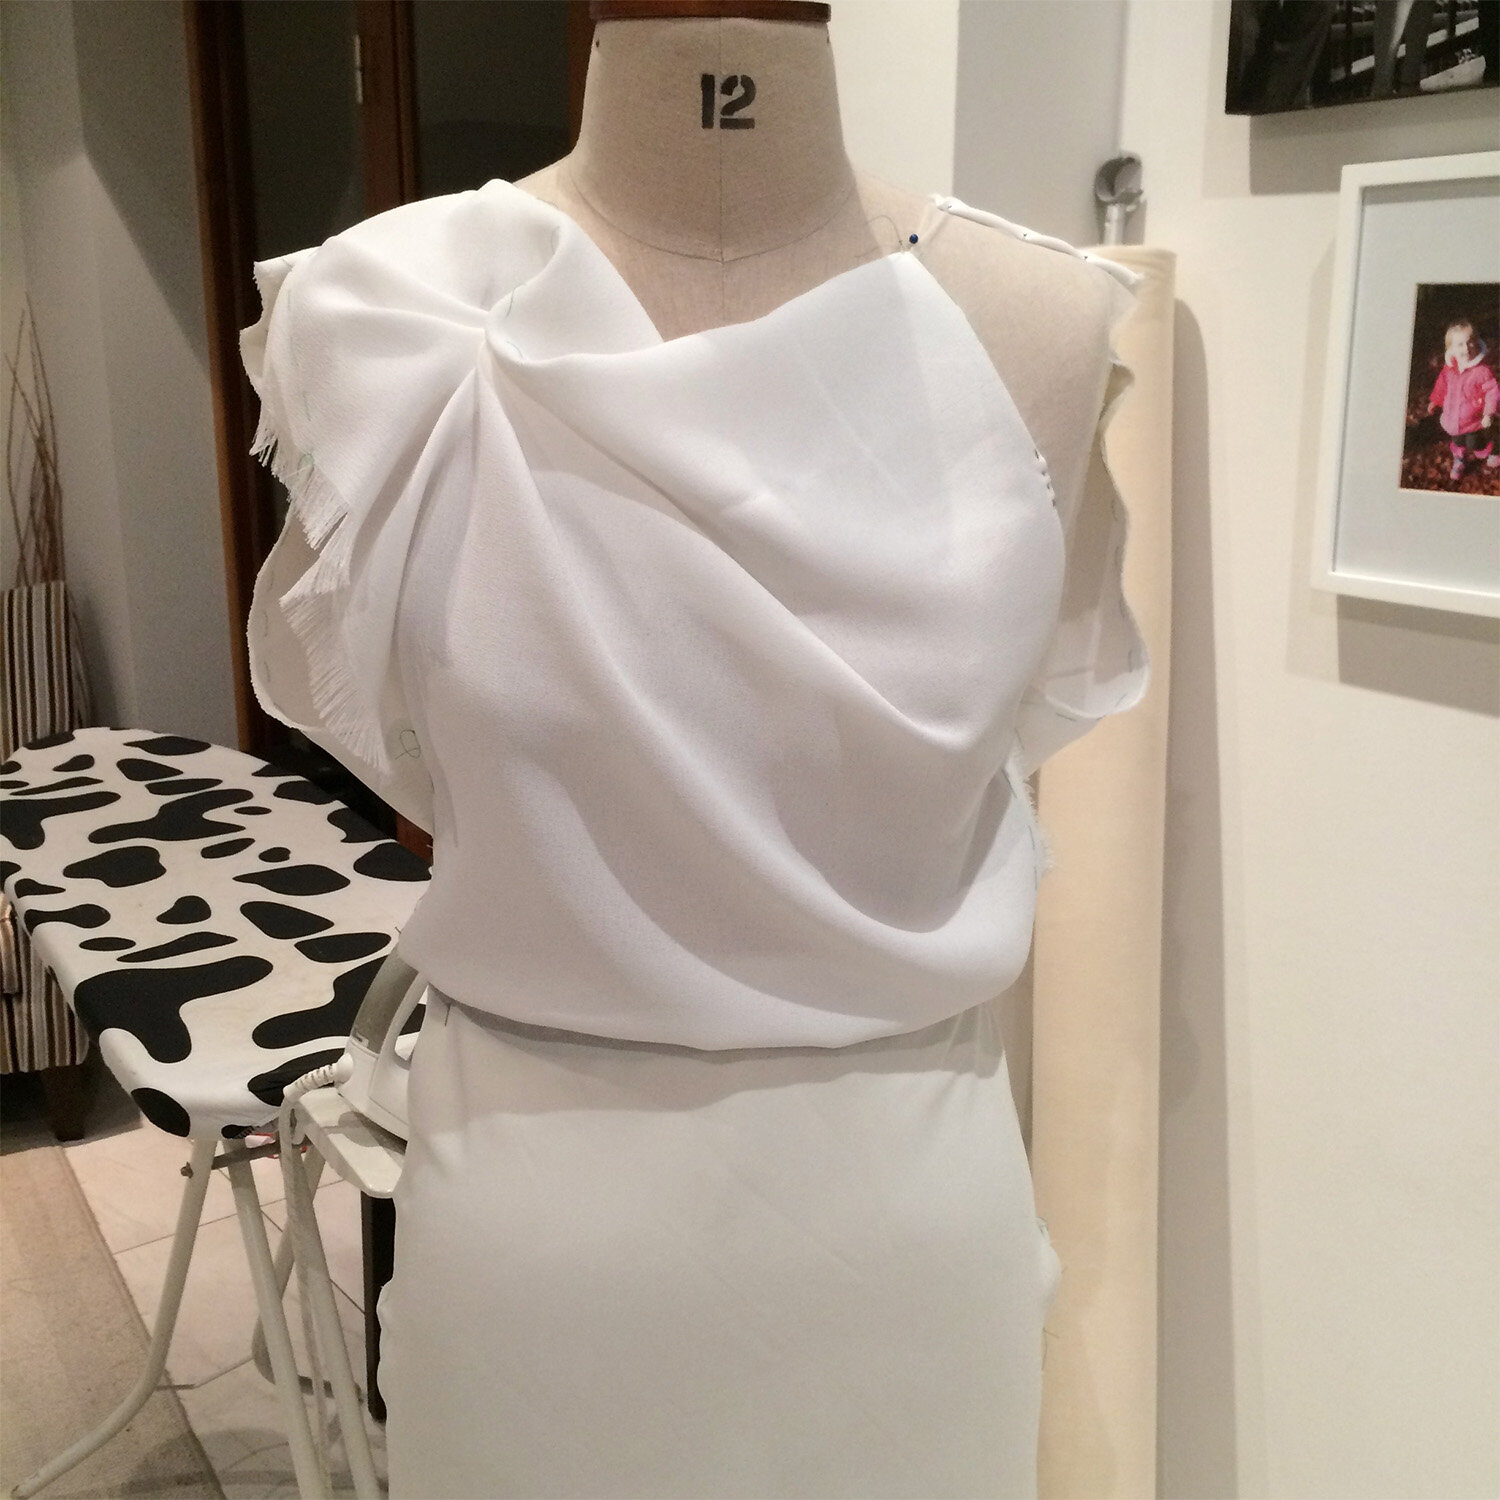
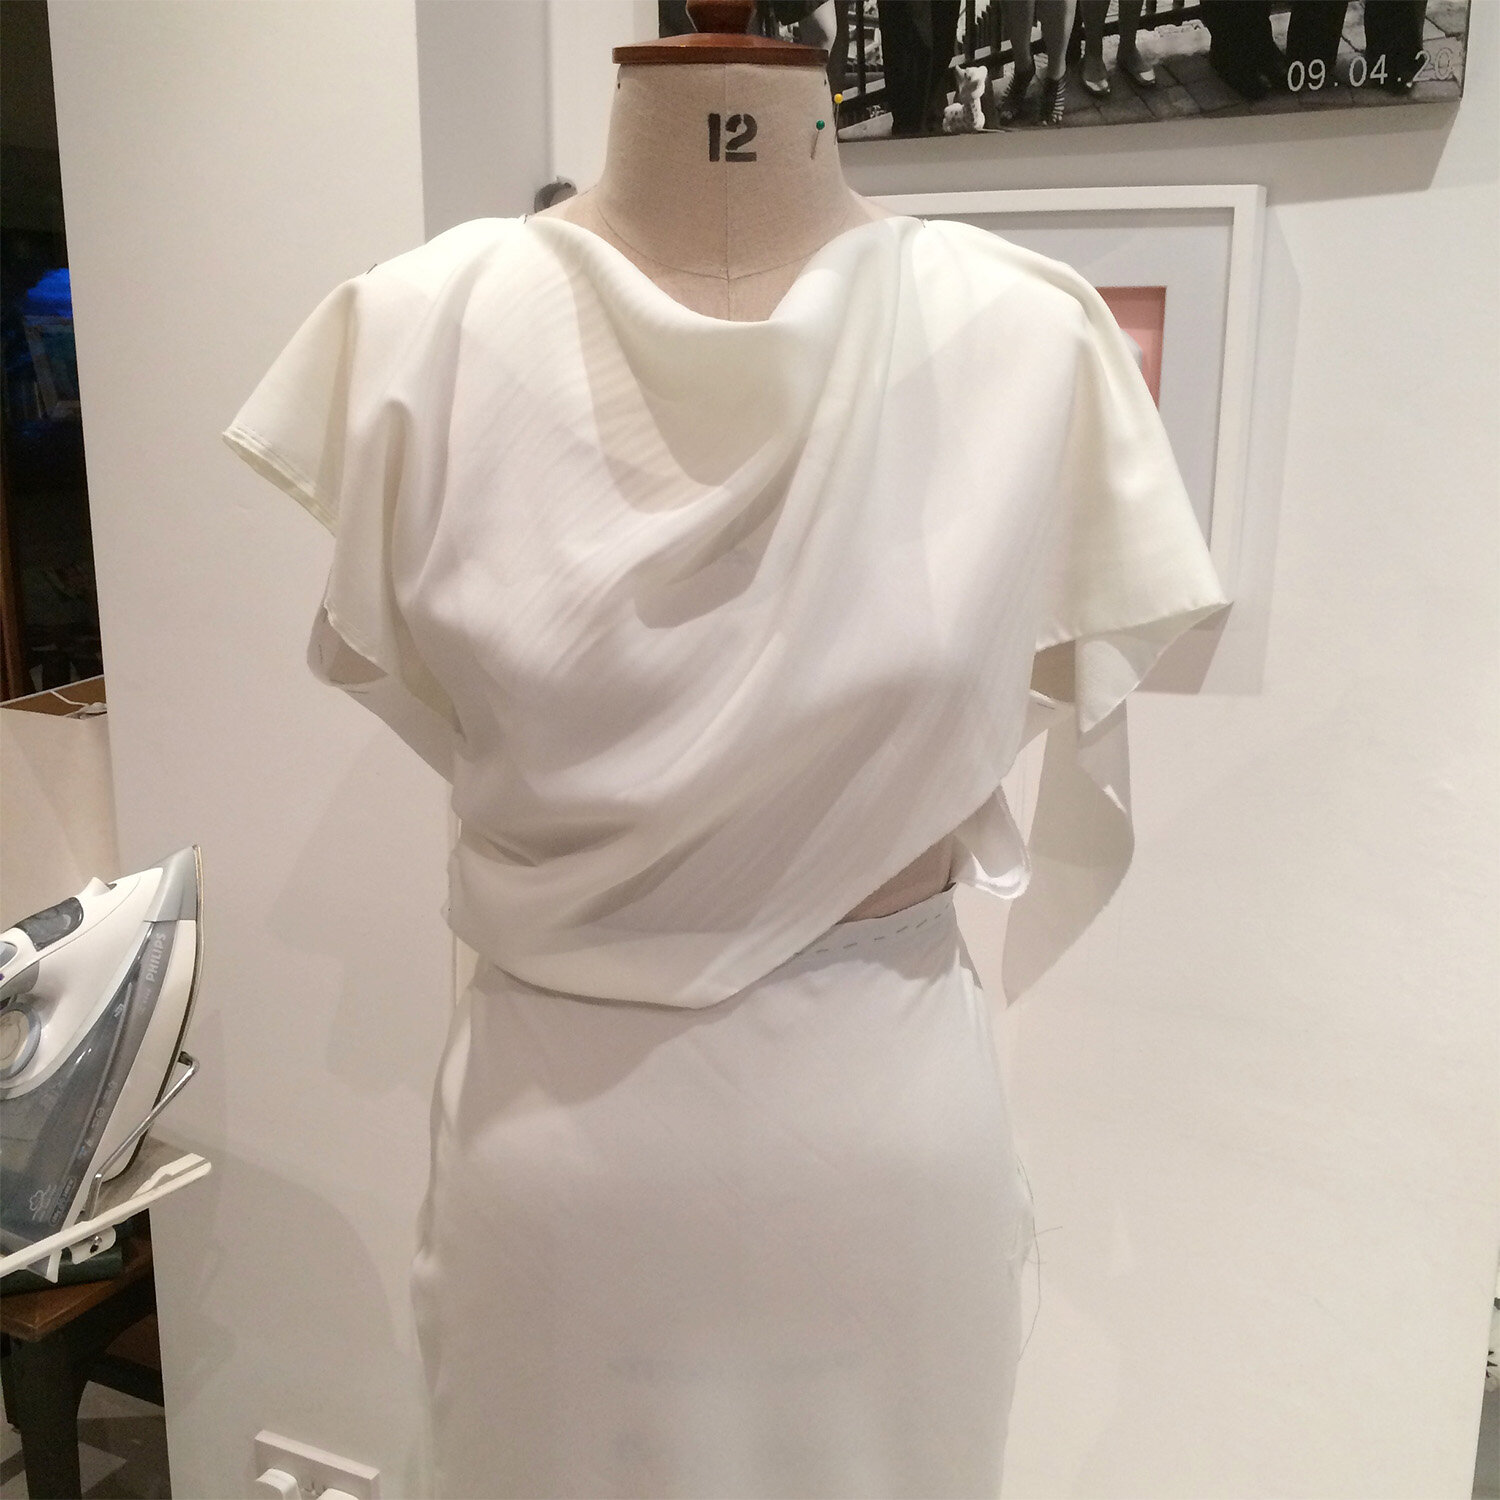
I had tried on a dress with a gorgeous back detail and this had stuck in my mind. Perhaps it was the back that needed to give the impact, after all, isn’t that what everyone sees during the ceremony! If the back was to give the impact, the front needed to balance that, so I went with a very simple front, cowling slightly at the neck and tucking in nicely at the waist.
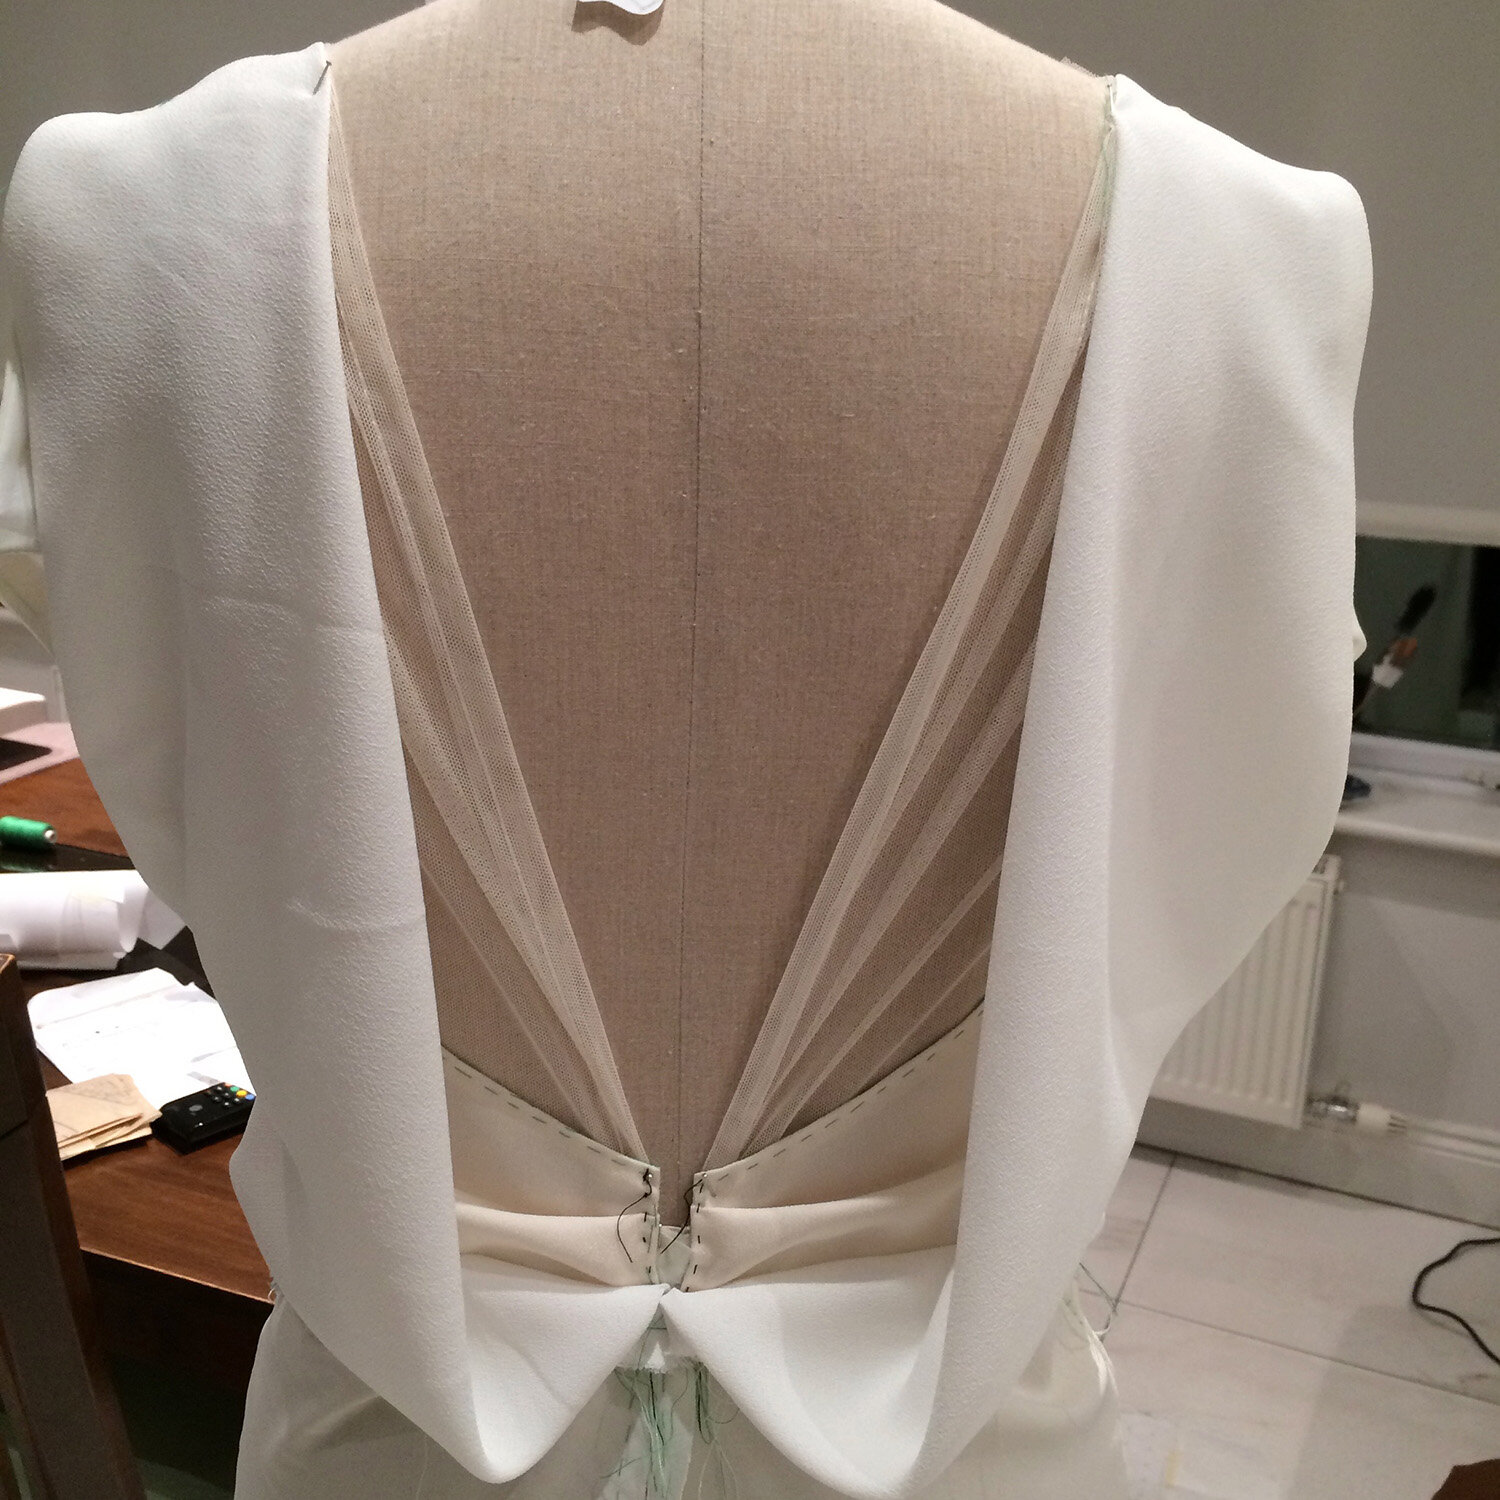
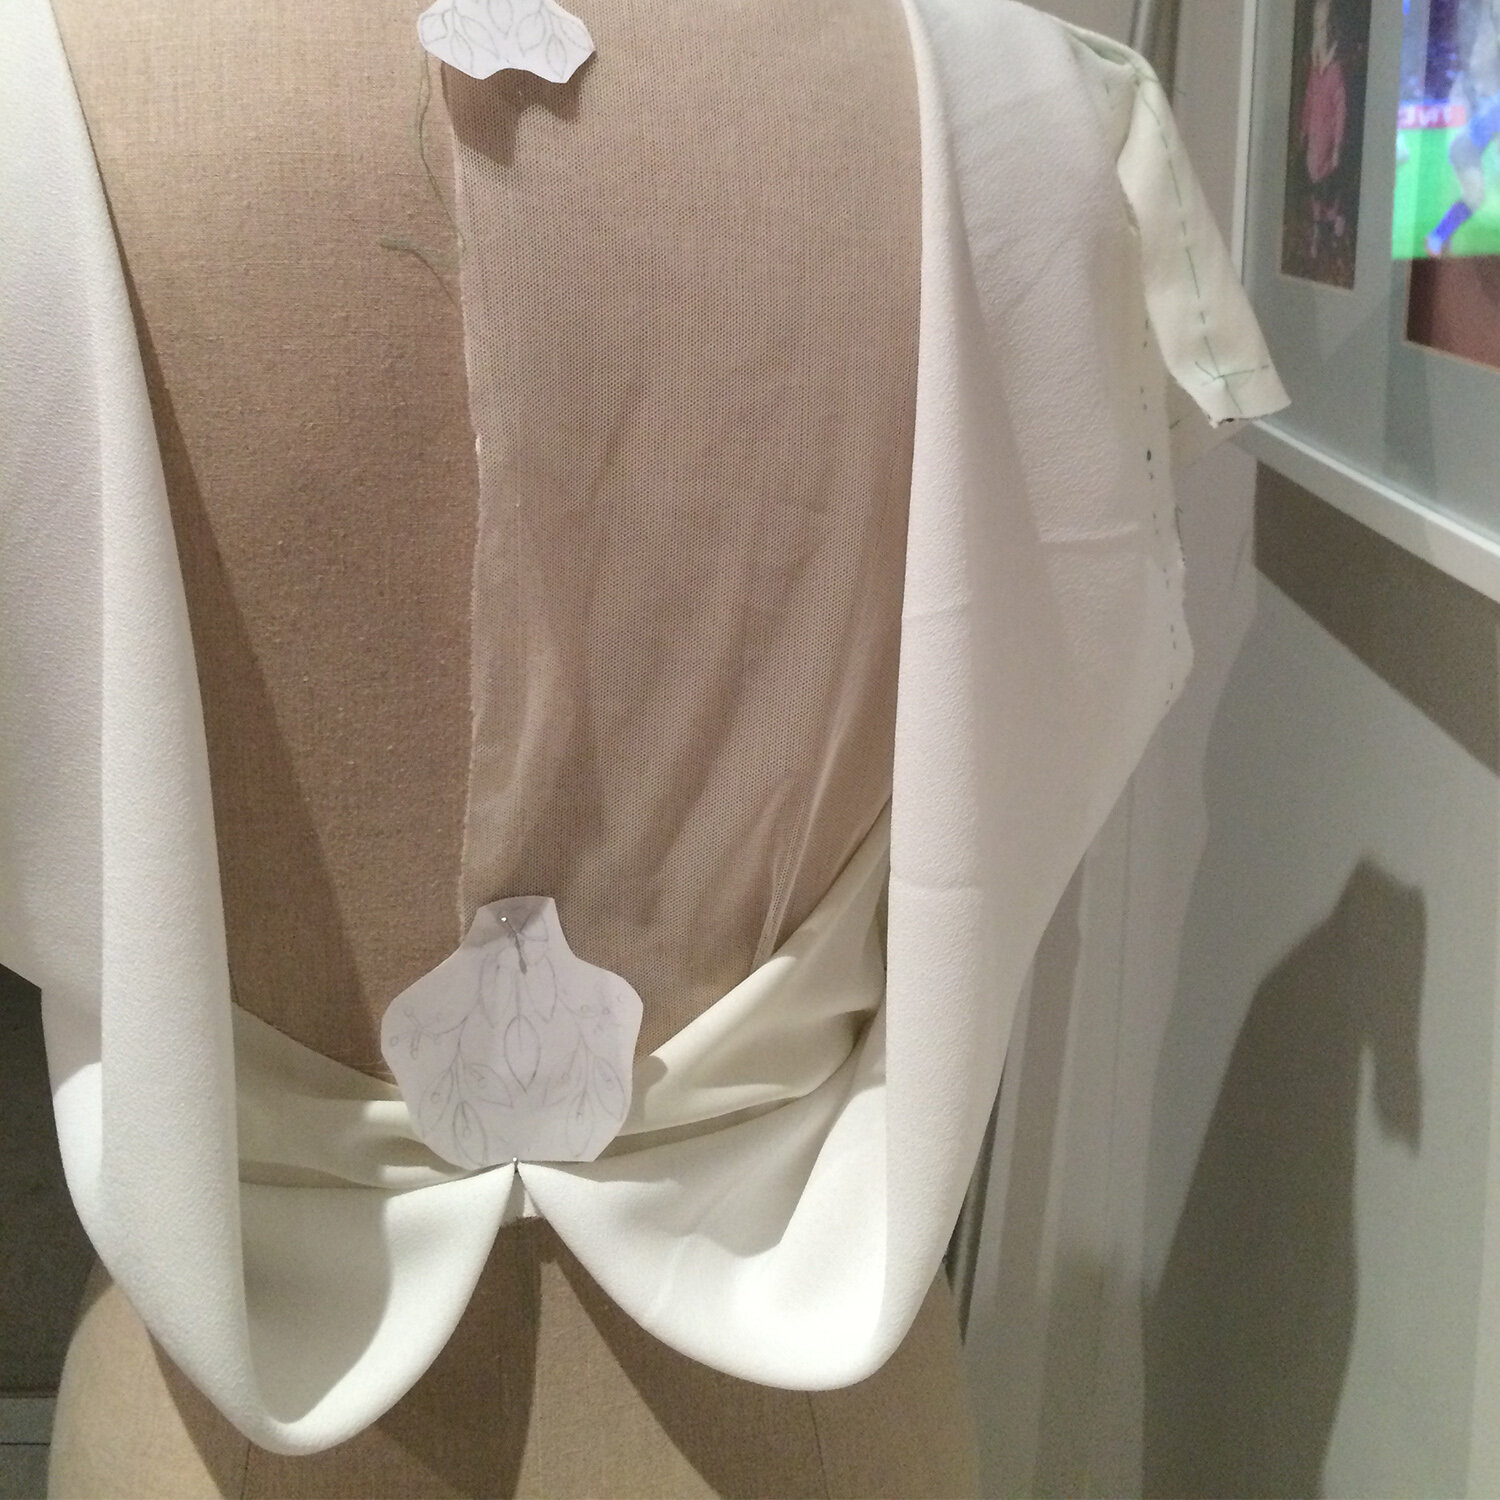
The back detail I saw in the shop was a beautiful ribbon effect coming from the side seams an joining again at the C/B waist. It was an interesting detail that I really wanted to bring into my own design I wanted it to be slightly more exaggerated however and for it to be more separate to the bodice than the shop version was. This would give a better sense of movement and ease. I created the front and back as an outer layer that would sit on top of a closer fitting bodice. Following the drape lines at the back meant I wanted the back bodice to sit in a low V.
My idea was starting to come together. Minor details would be worked out as I went along but for now, I needed to start the toile.
I started with the skirt since I figured this would be straightforward. The toile fabric I used was just a mix of what I had in my stash! Bright orange, burgundy, white - anything that had a semi-close drape to the actual fabric to get a sense of how things might look.
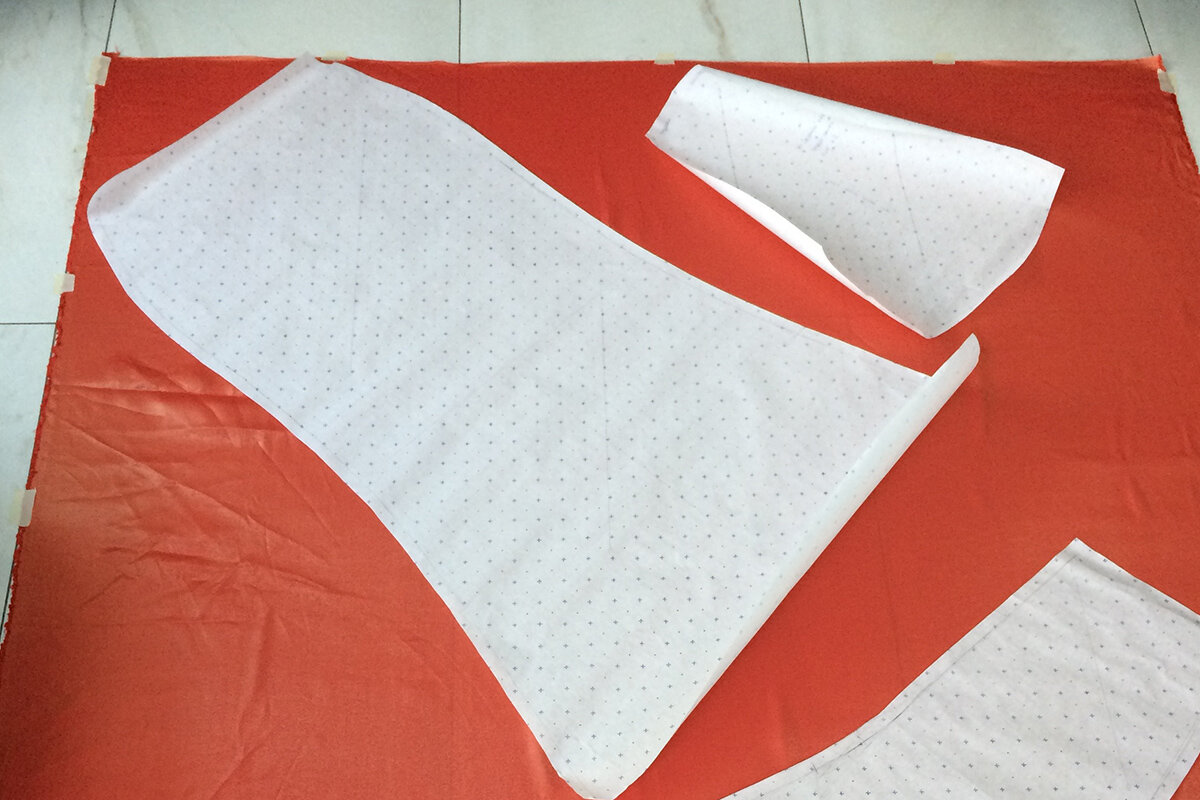
As mentioned in my previous post, I hacked a dress pattern for the skirt. I just traced it from the waist and added a very slight train. I knew I didn’t want a long train as I didn’t want to have to hook it up. I’ve been to so many weddings where the train hook or button snaps and I really wasn’t arsed having to deal with that while I was having fun!!! So I went with a small puddle train.
To do this, I drew a line across the knee line and made some cuts vertically into the hem then cut and spread to where I thought would work. I re-drew the new hem line which meant adjusting the front panel hem slightly so that the hem line ran smoothly all the way around.

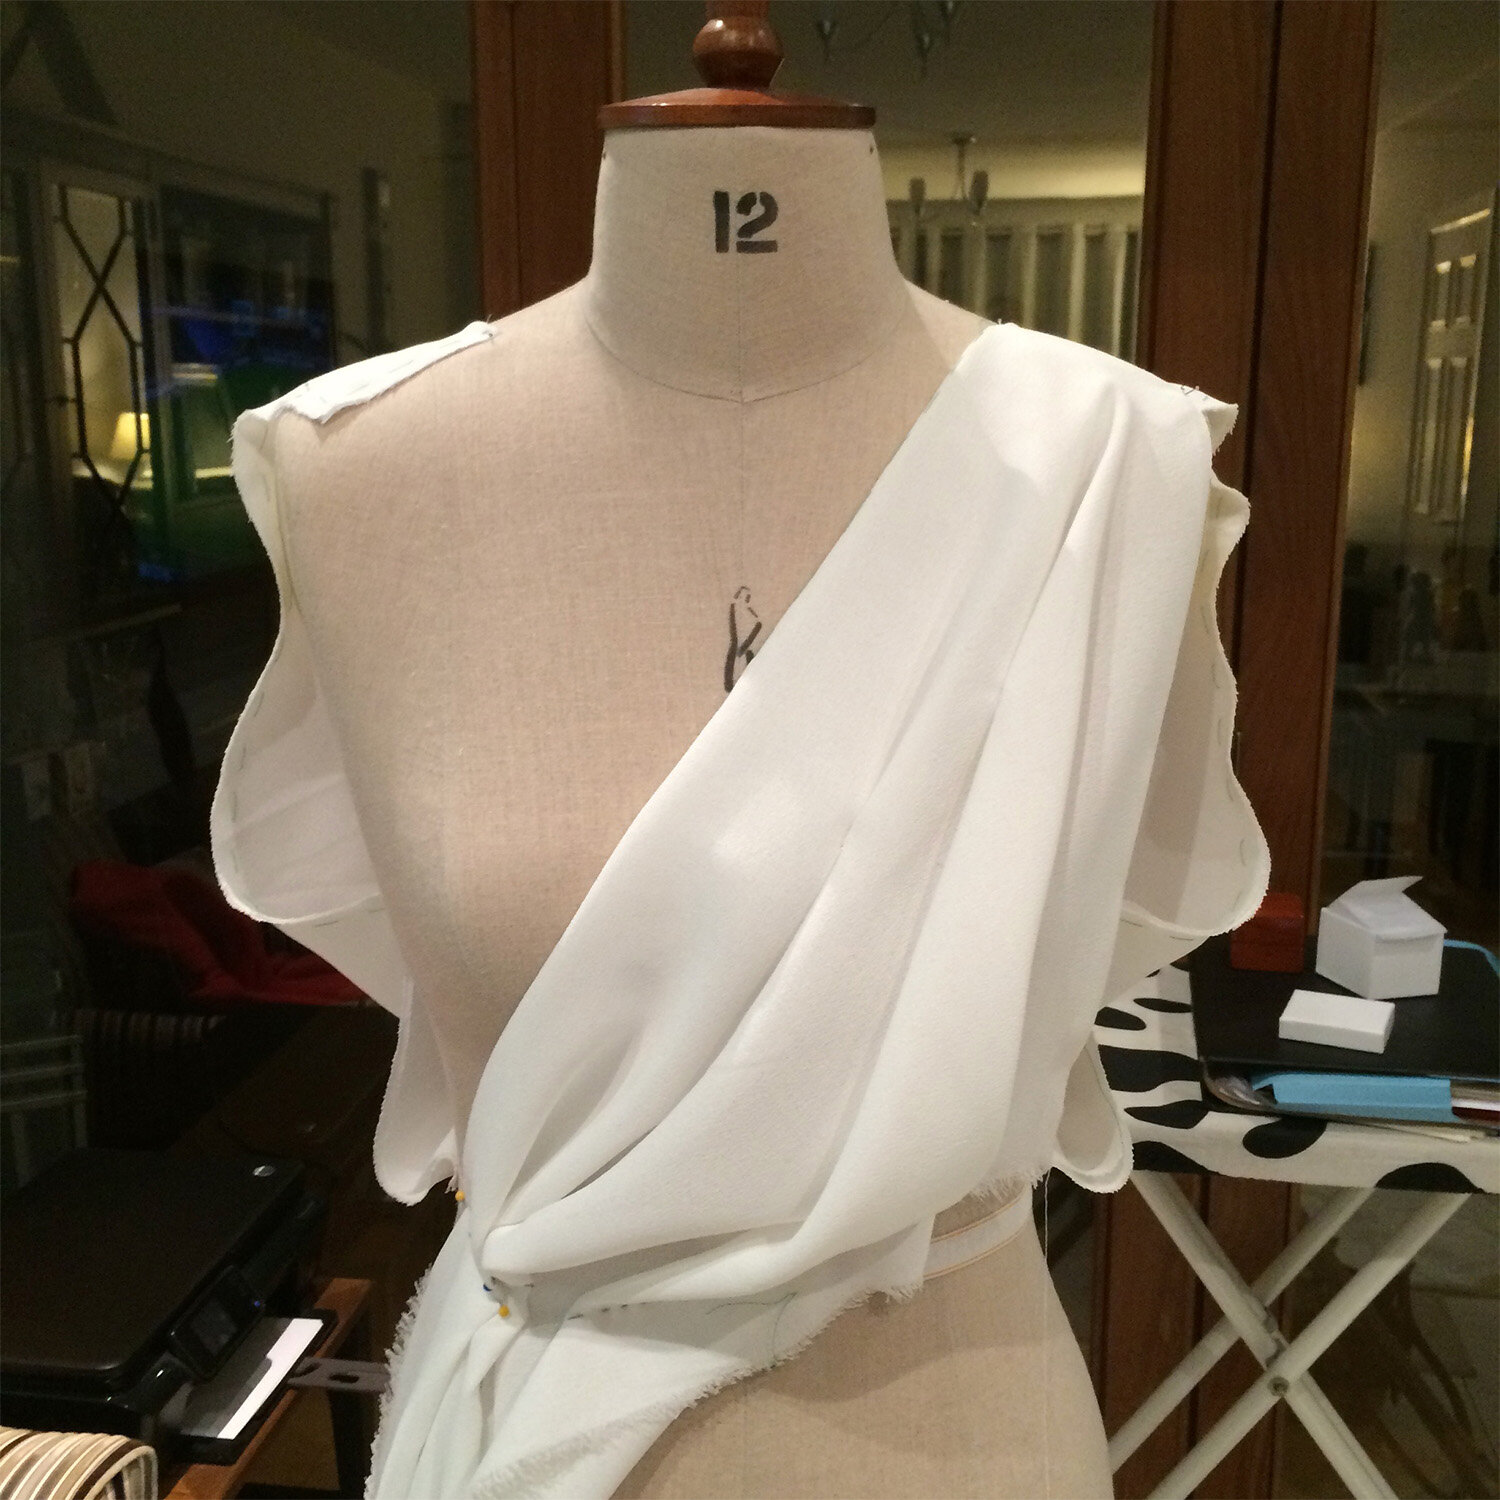
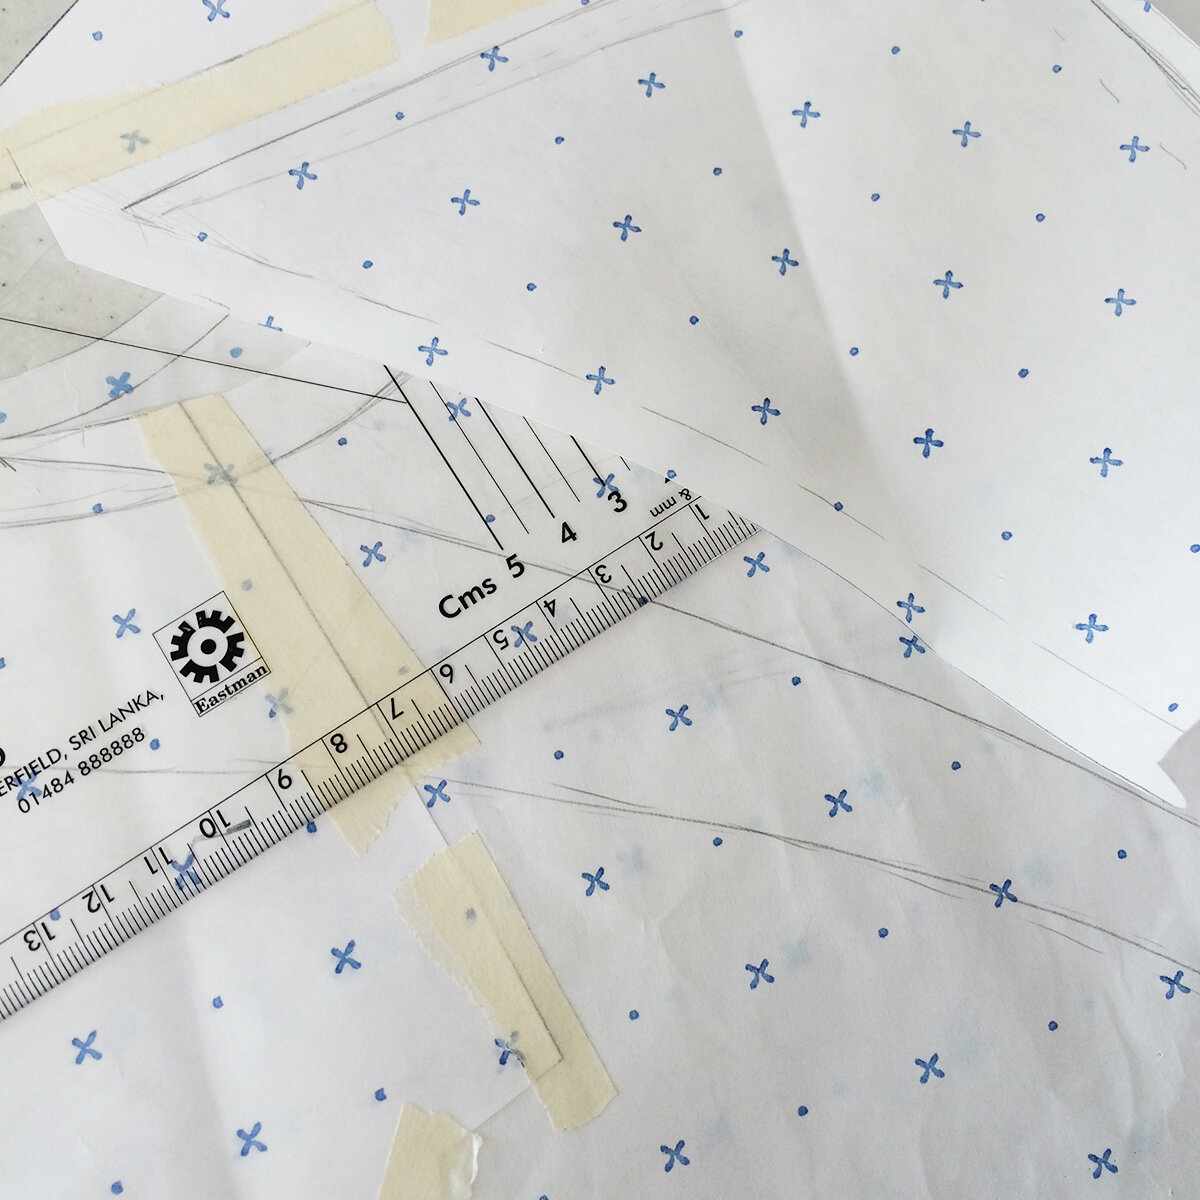
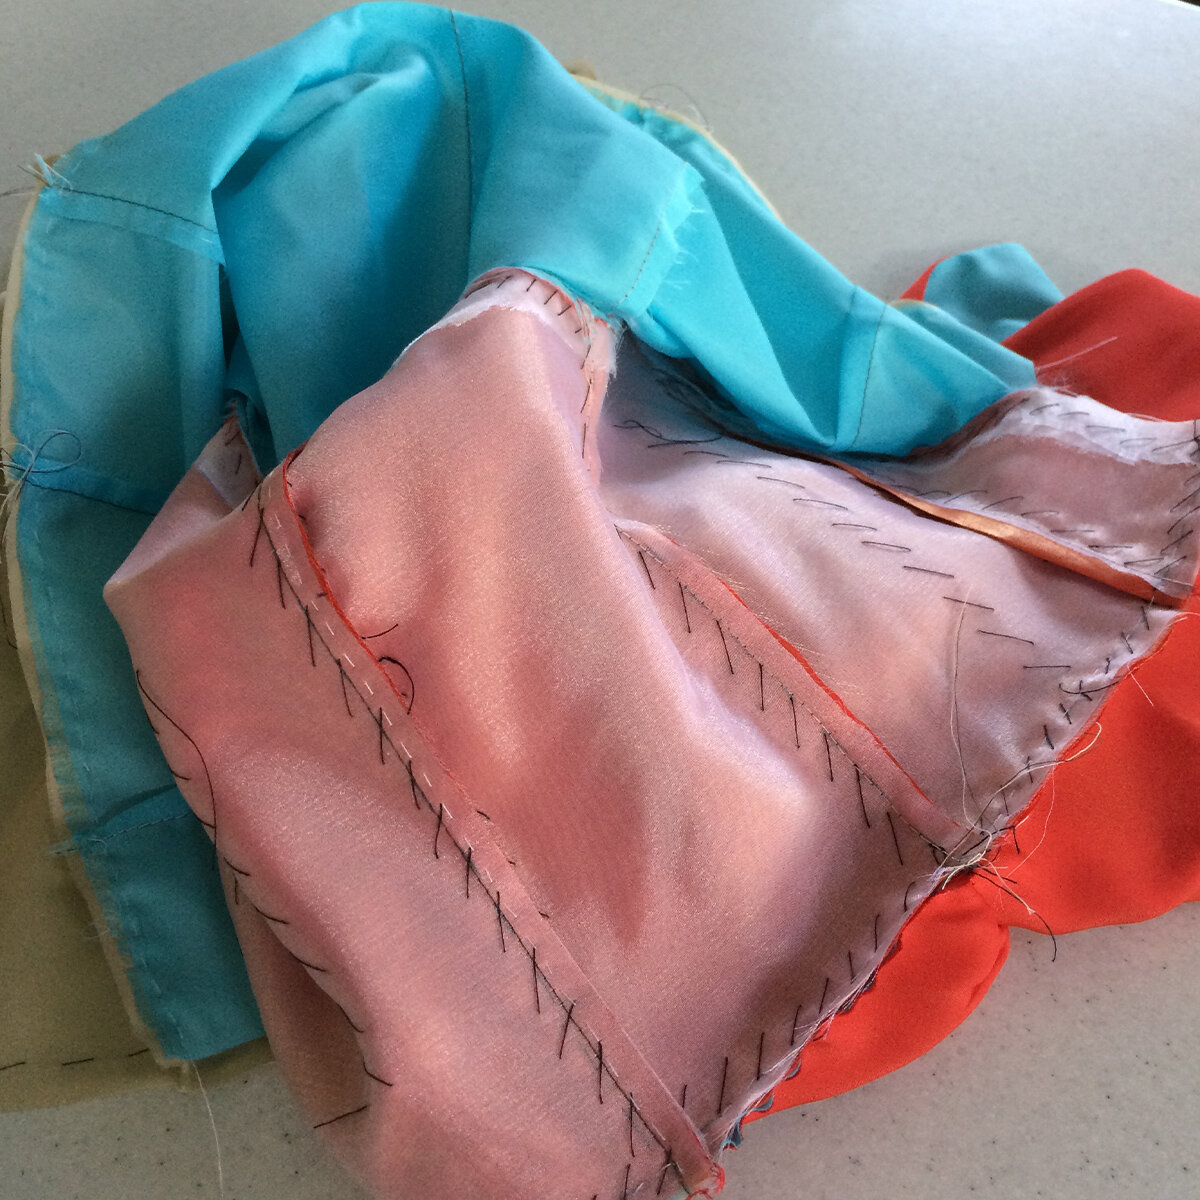
The next step was transferring the draped top to a paper pattern. Drape was the single most important aspect of the top layer. For the back, I folded fabric on the bias, twisted it slightly then attached it to the waist and side seam of the front panel. The front panel was just a simple shape, draped into a slight cowl at the neck with loose, open armholes that attached to the back panels at the shoulder and side seams.
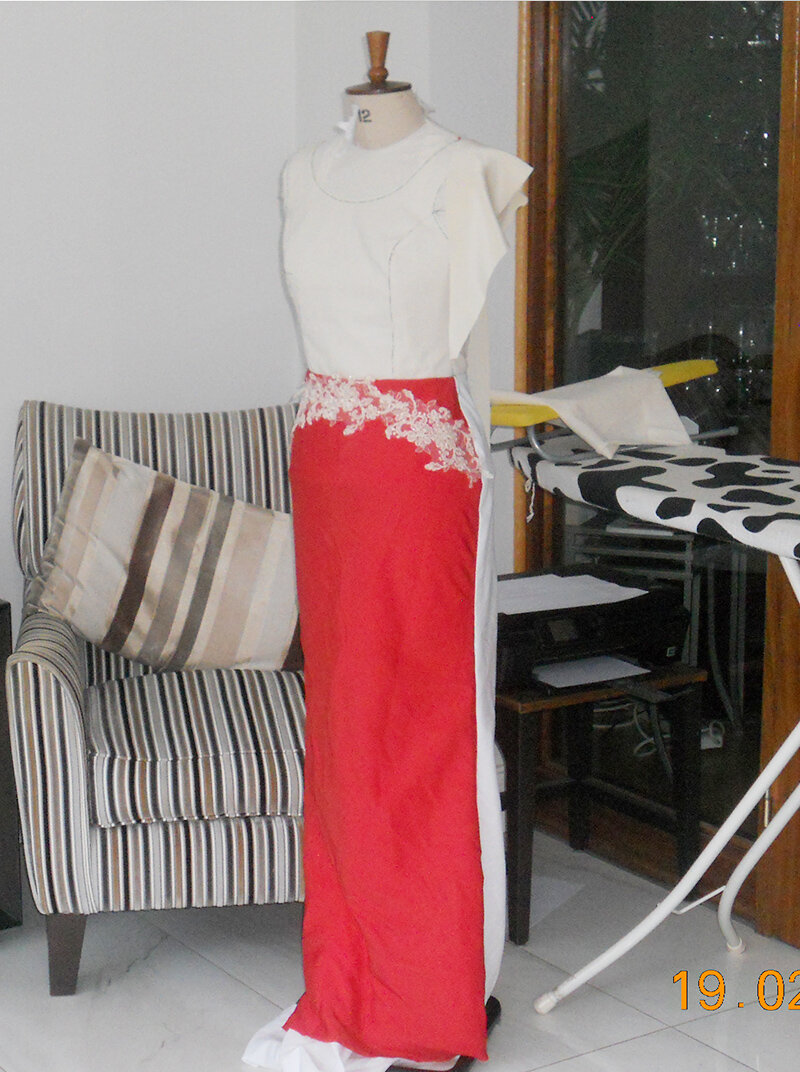
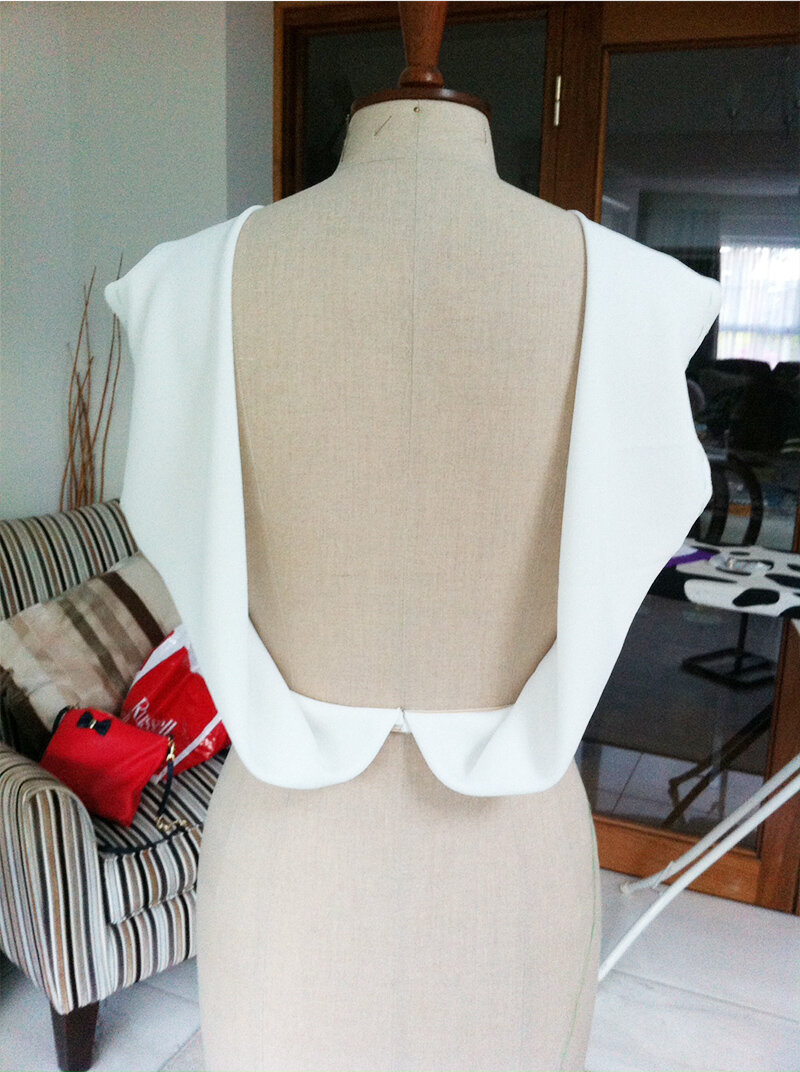
I love draping because you know what it looks like before you hit the paper. I was happy with the drape I’d created so transferring to paper was good and hassle free. The same could not be said for the fitted bodice that would sit underneath. I approached this by drafting flat, thinking that was best considering it was to be fitted. I drafted a deep v back with a fairly simple princess seamed front. You can just make out the under bodice in the left hand image above.
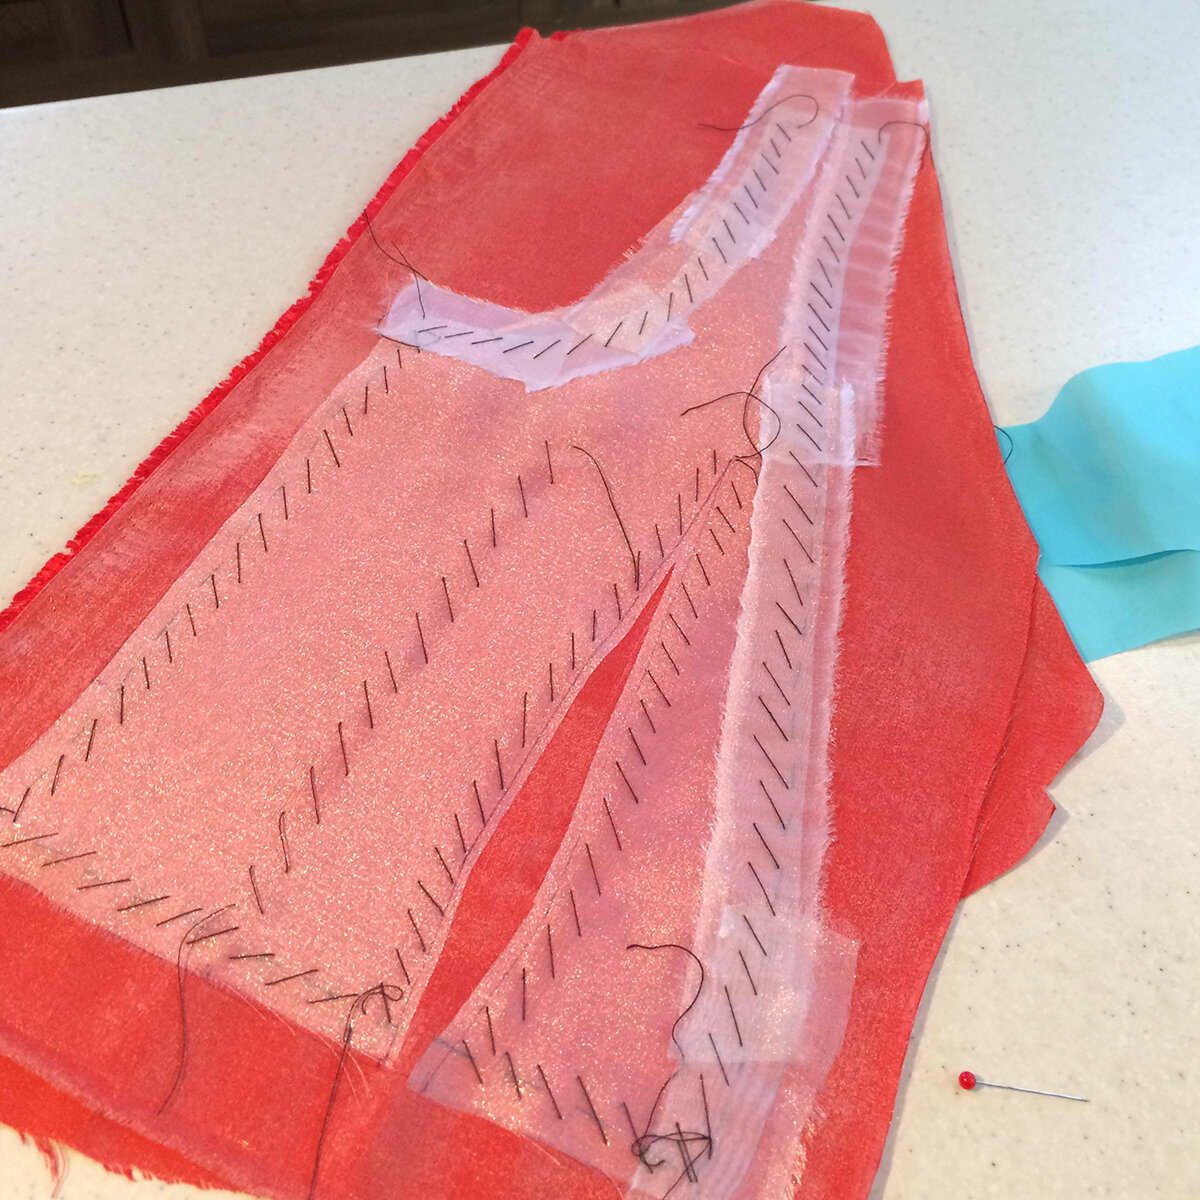
The front was fine. A few slight adjustments and I was happy but no matter what I did, the back just wasn’t sitting correctly. It kept gaping even though I tried everything. I pinched out the gape, I shortened the back, I tilted the shoulder, I redrafted from scratch then I ran to my college friends for advice. They couldn’t figure it out either! I still to this day don’t know why it didn’t work. I think I did 7 adjustments in total before giving up and just drafting from a draped bodice. A lot of tea was consumed, paper scrunched but finally, it was looking better. The pattern piece looked funny and I didn’t trust it at all but somehow, it worked. If only I’d done that from the beginning!
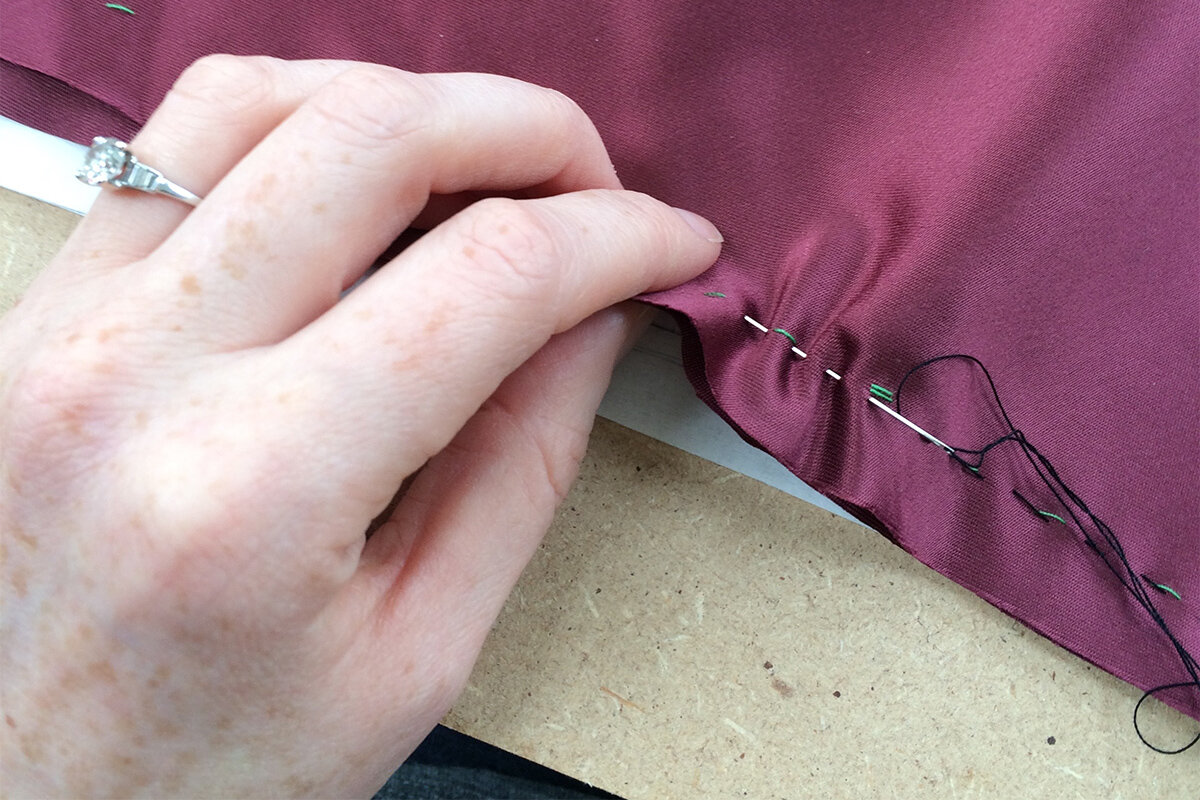
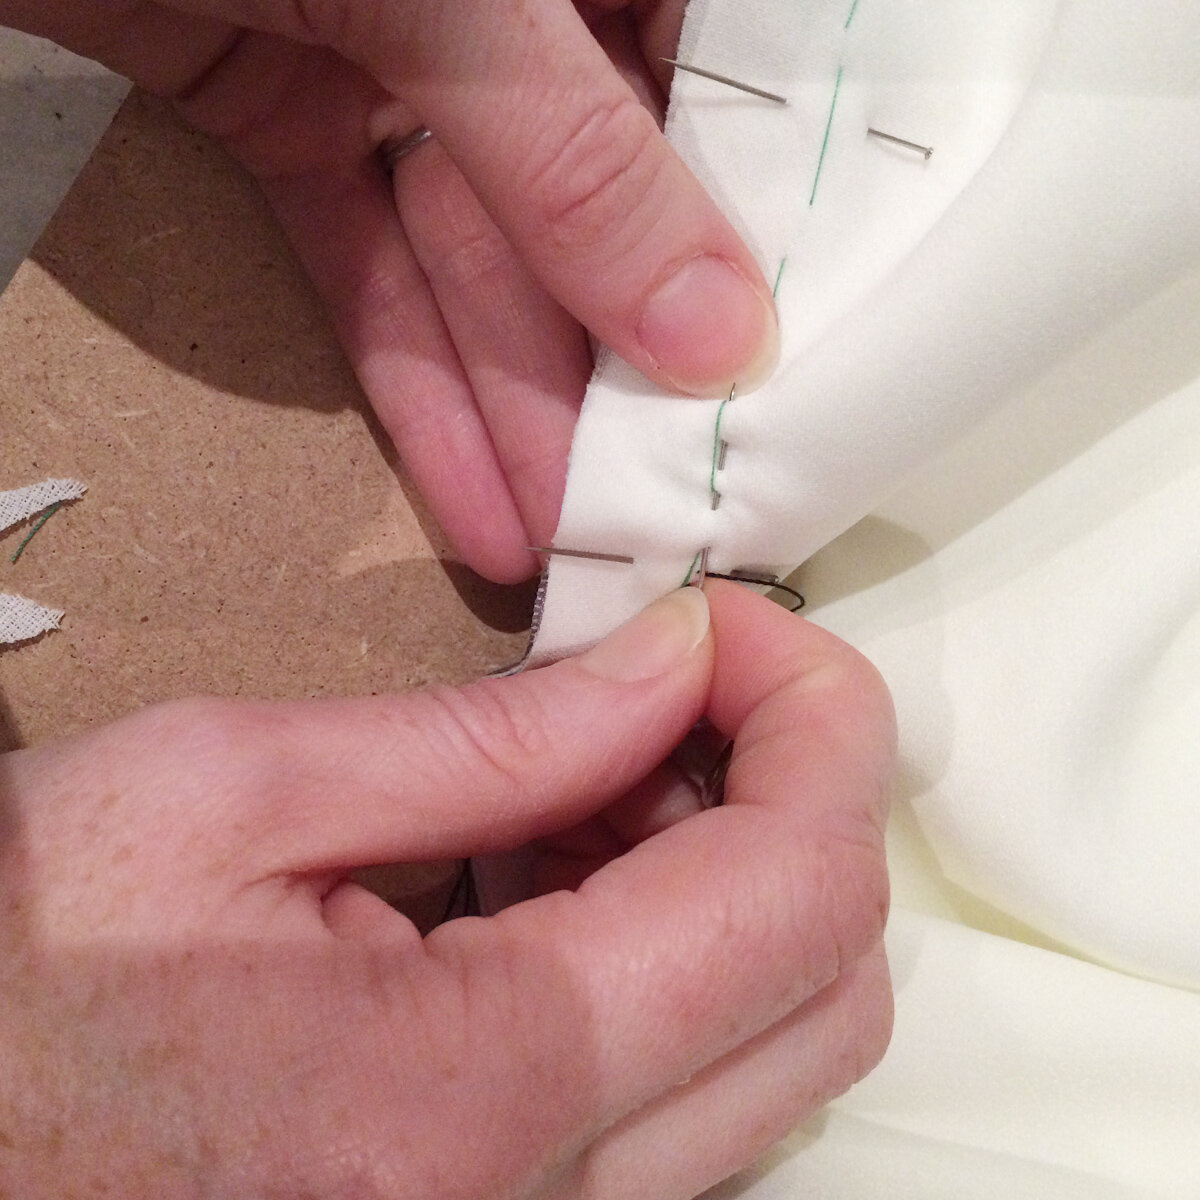
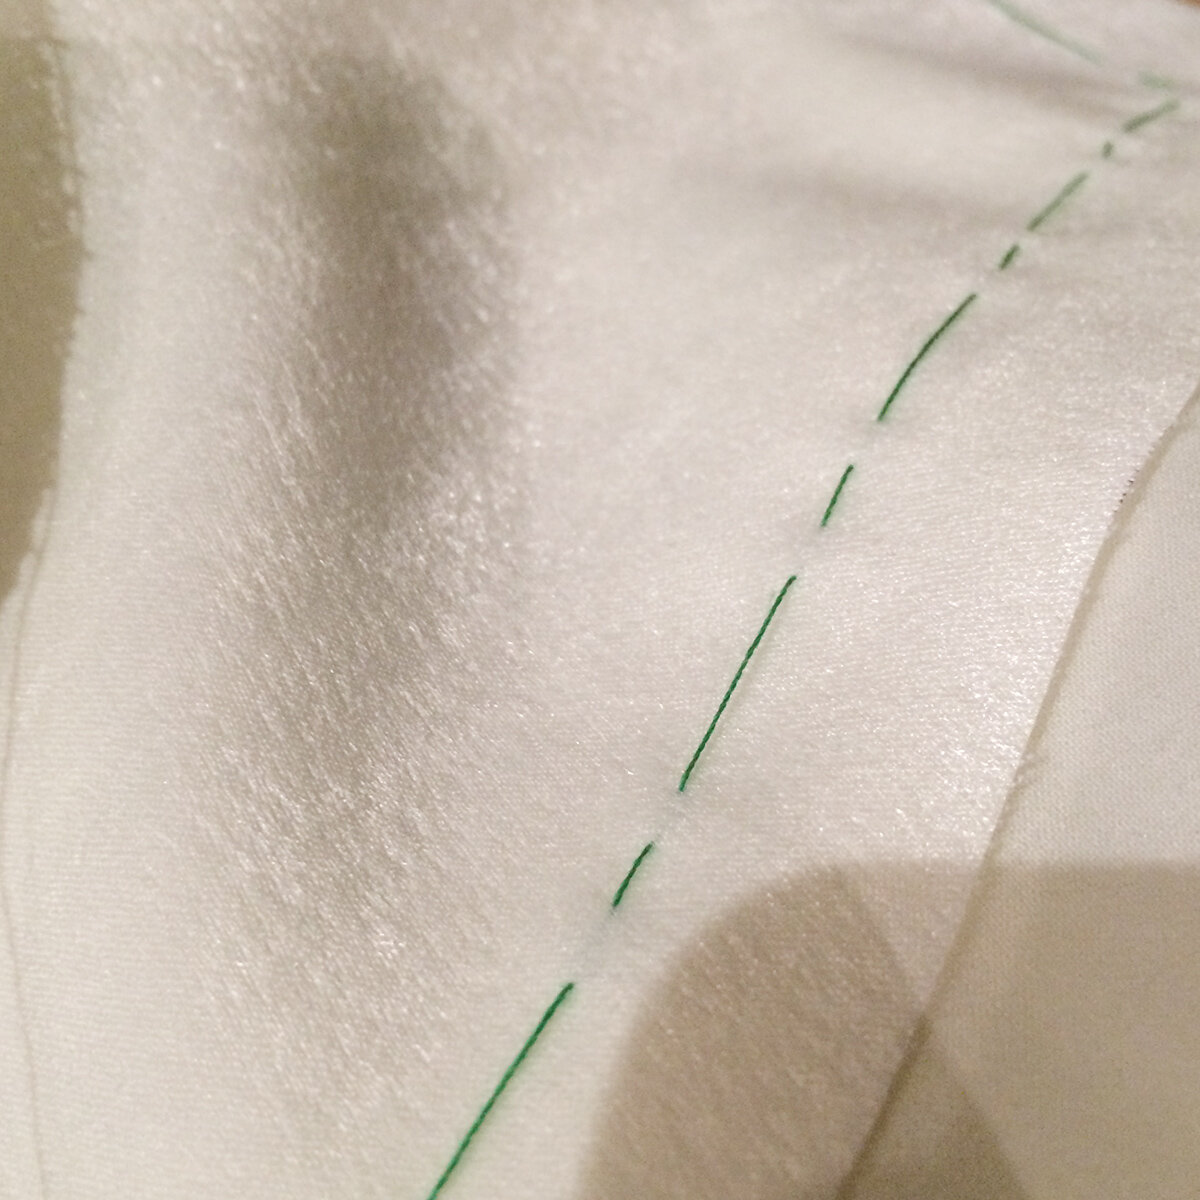
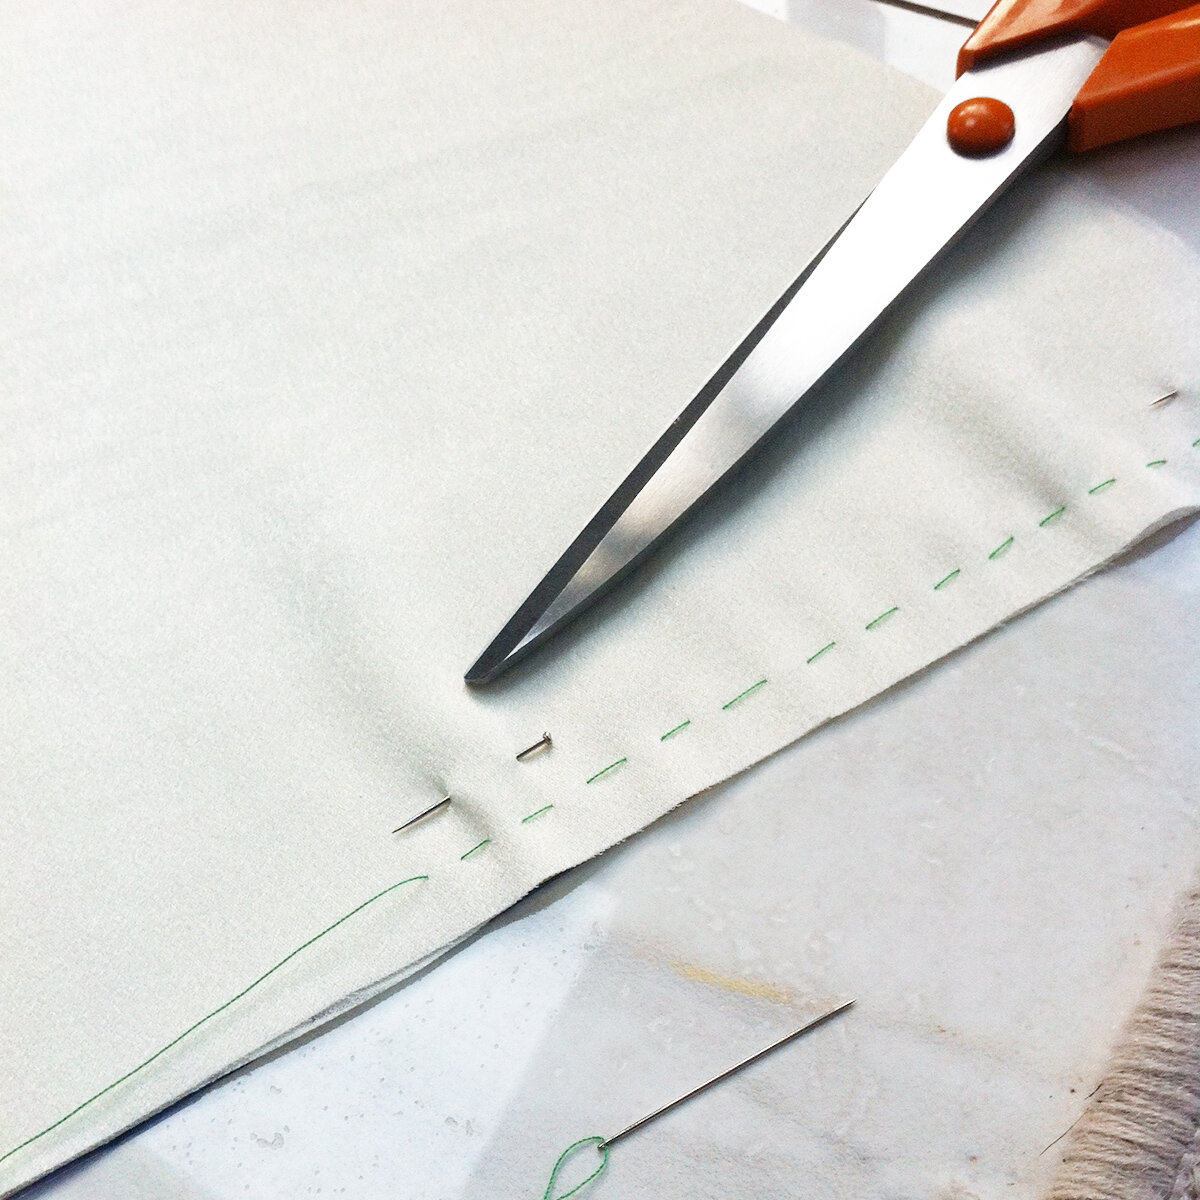
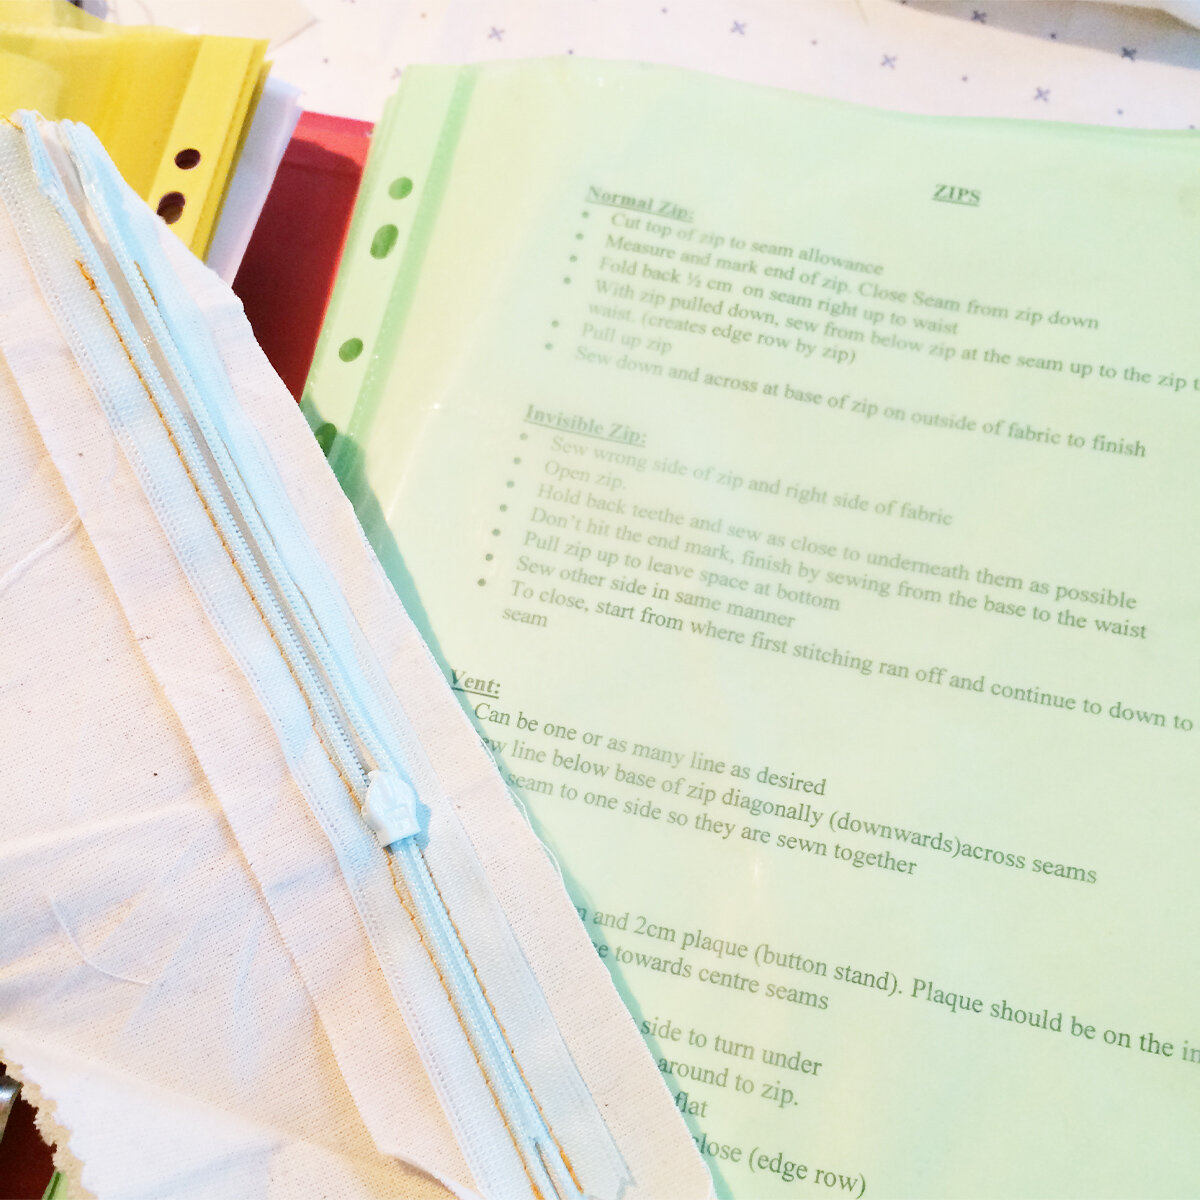
The toile was complete! I was able to work out how much fabric I needed and make the real thing. While I waited for my fabric to arrive, I took the opportunity to practice putting in the zip and allllll the couture hand sewing I thought I might need throughout the process. I looked back at old college notes and I had already read Claire Shaeffer’s ‘Couture Sewing Techniques’ book cover to cover so I knew which chapters I needed to look back on. You can never be too prepared!
Next up, it was time to cut the fabric. I still get giddy thinking about that! I was so excited to get stuck in. Stay tuned!