
Making my Wedding Dress - Part IV - Cutting the Fabric
Welcome back to the Making my Wedding Dress Series. In the last edition, Part III, I spoke about developing and perfecting my toile. You can go back and read it here.
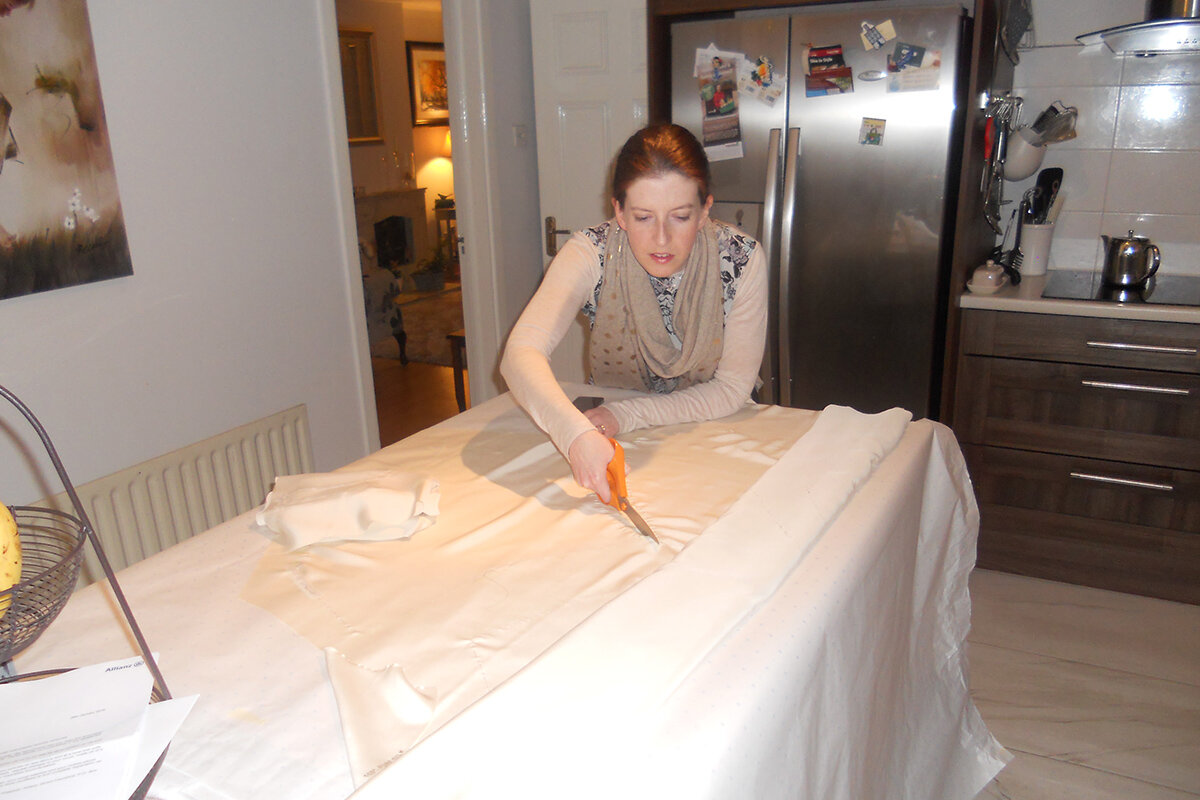
By now I was happy enough with my toile to begin and cut out the real thing. Eeek! As mentioned in Part II - The Fabric Hunt, I decided to go with a beautiful silk triple crepe for the main dress. I decided to line it in silk habotai and interlined it with silk organza. If you can’t go all out on your wedding dress then when will ya! First things first, I steamed the fabric to get rid of any shrinkage.
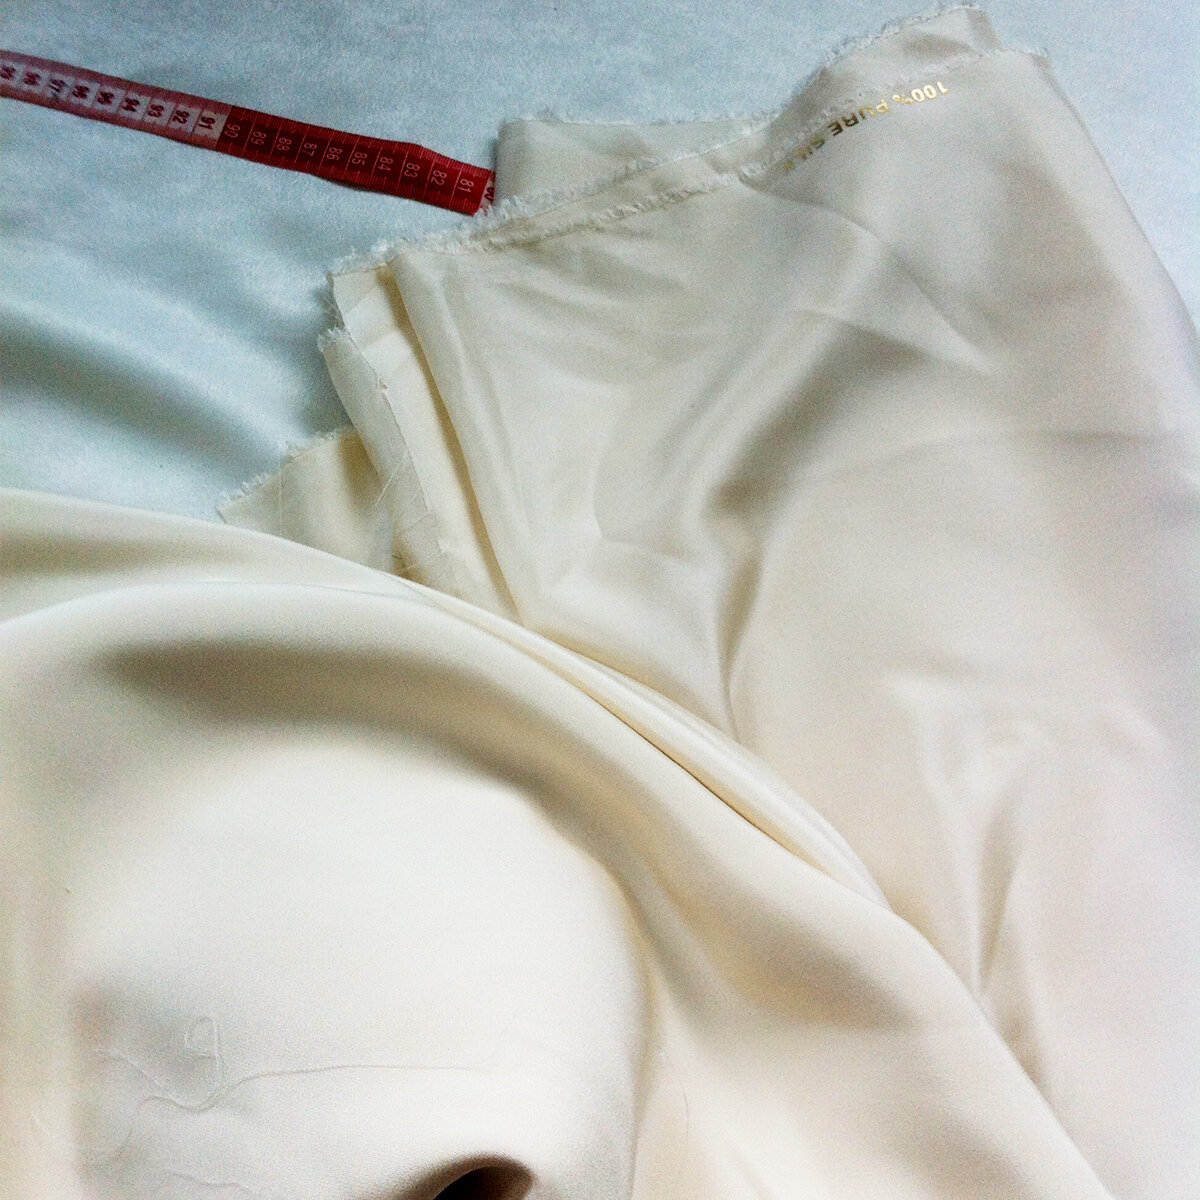

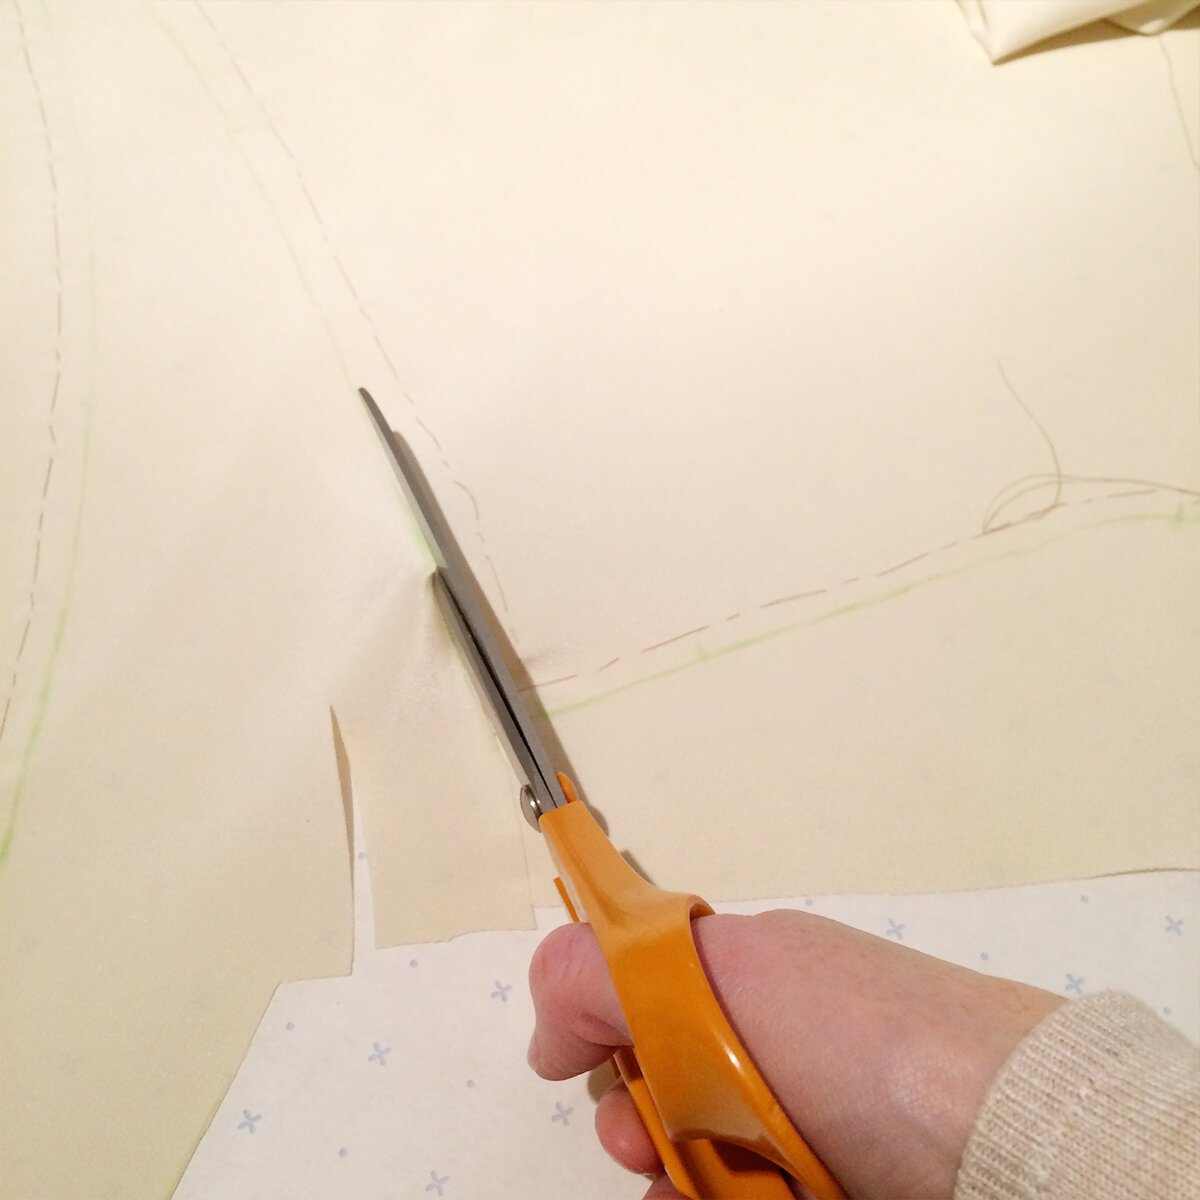
While all these fabrics were dreamy, they were slippy as feic so I needed to take a lot of care from the very beginning. As well as the fabrics being slippy, they were also cut on the bias, adding to the instability of the fibres. When it came to cutting any of these fabrics, I laid down sheets of either pattern paper or newsprint (clean newsprint, not printed!) before laying my fabric on top then placing the pattern pieces on top of the fabric. To keep the grainline nice and straight, I taped the selvedge edge of the fabric to the paper to be sure everything was in line. Top Tip: By placing paper under the fabric, it gives the fabric something to grip to so it prevents it from shifting as much as it would if it was just on a table or the floor. You could also lay it on fabric like calico (I did this too with small pieces) but be warned that your scissors won't glide as well and can catch as you cut through the fabric. Another thing worth noting at this point is that I cut my pieces on the single. Cutting on the fold doesn’t work so well when cutting on the bias.

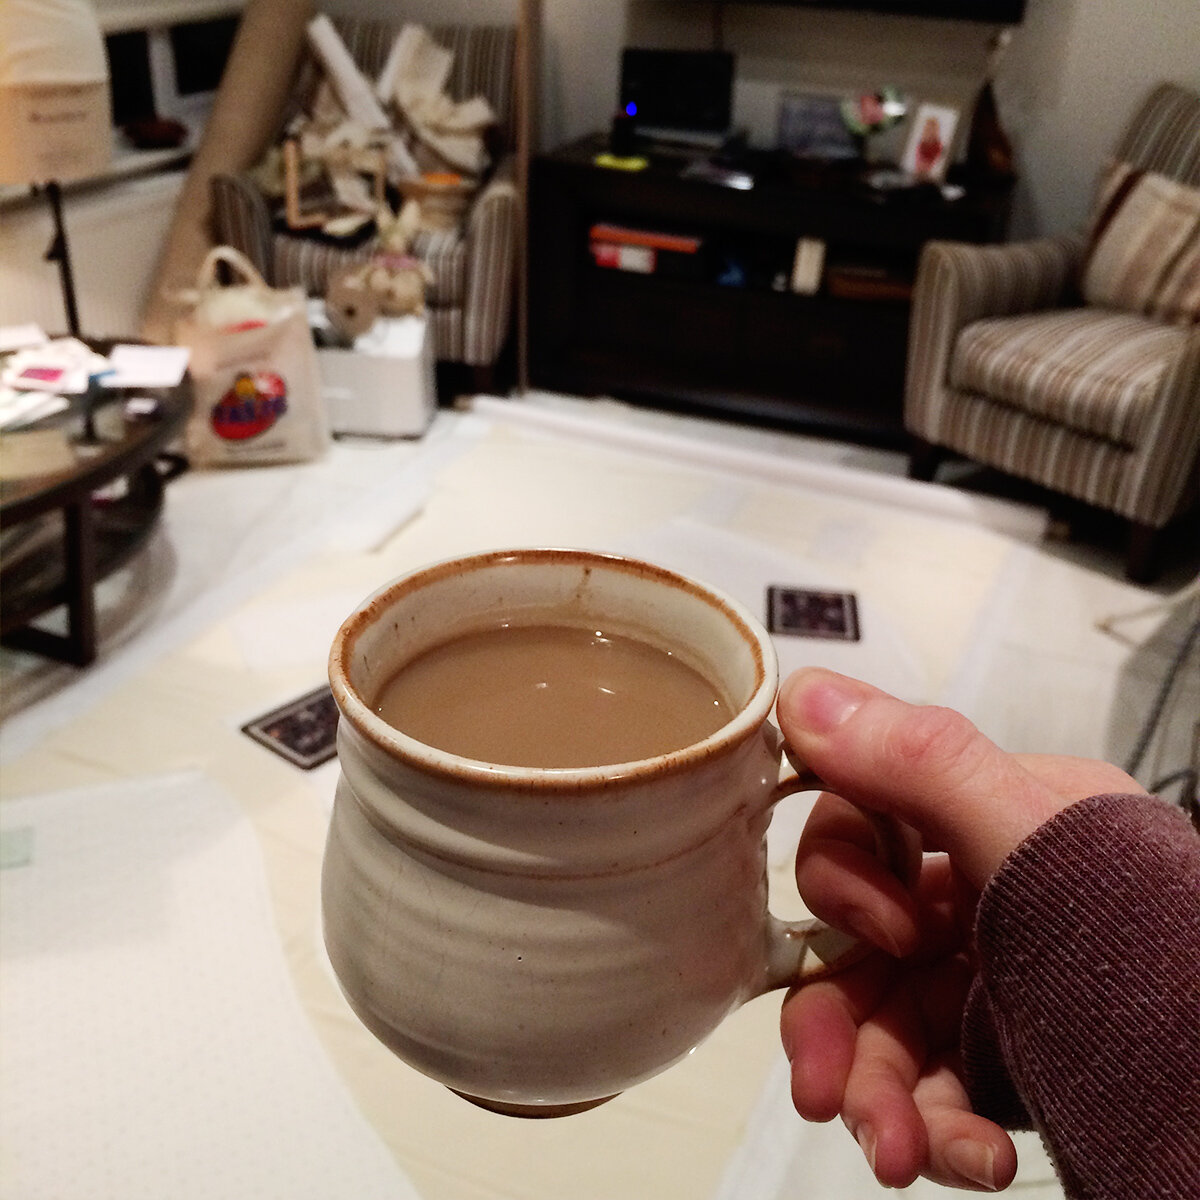
I placed a roll of pattern paper on the floor, under my fabric to stop it slipping as much. Also tea. Always tea!
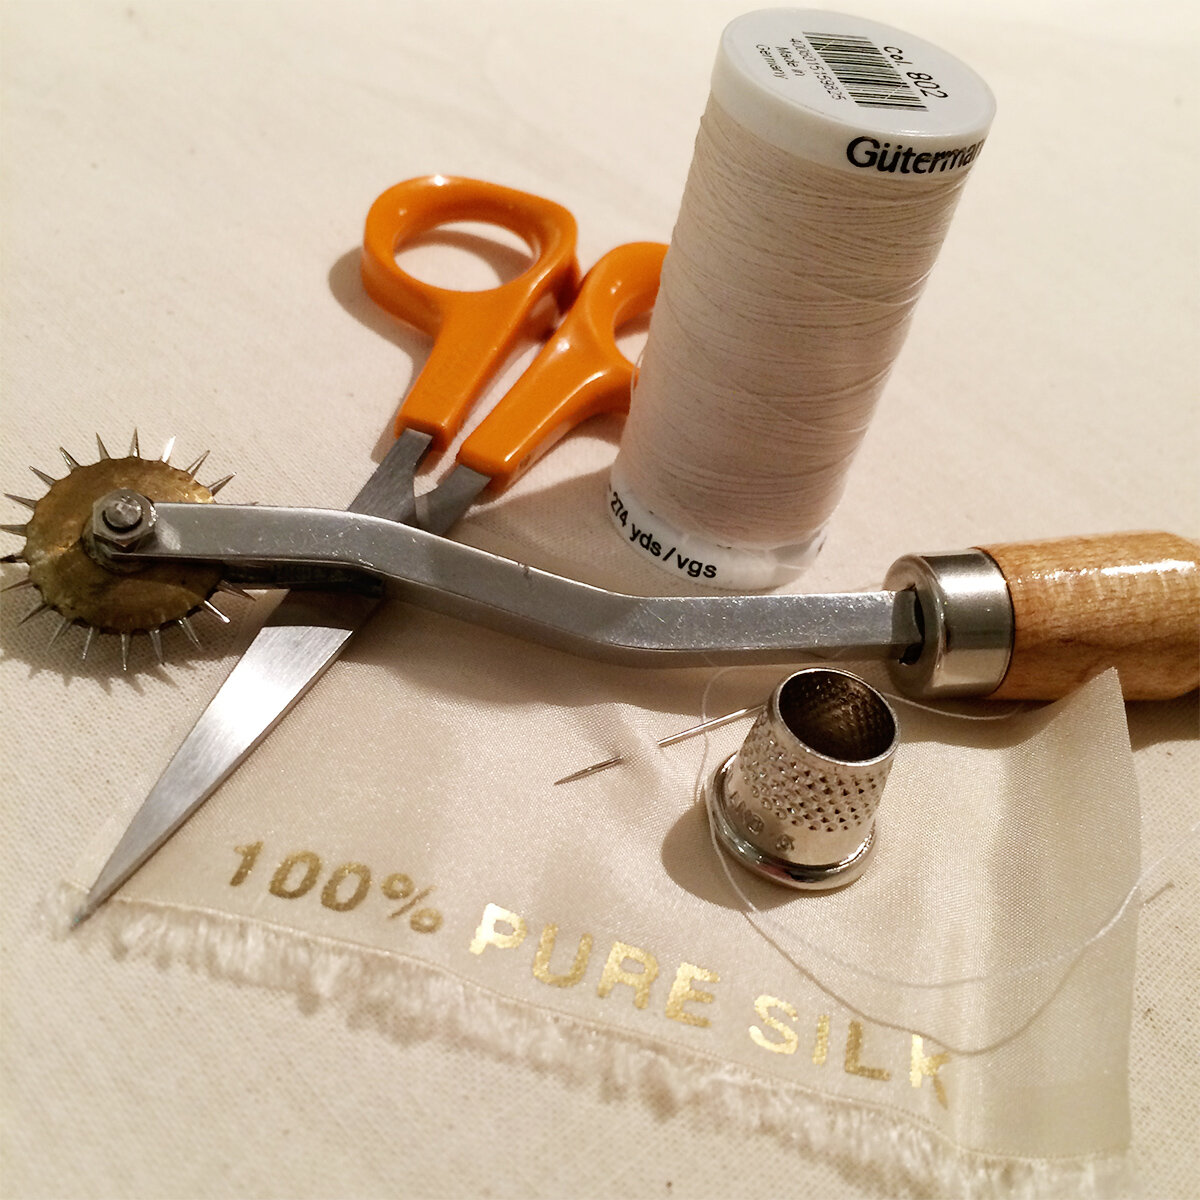
To mark out the pattern pieces on my fabric, I used placemats, coasters or anything that acted as a weight since I wanted to avoid having pin marks in the fabric but with everything shifting so easily, I did have to use them in parts so I pinned the fabric within the seam allowances, using silk pins. It’s definitely worth investing in a fresh set of pins for this kind of project and I would always run the pin through my fingers first just to check for any snags or bumps in the metal that might catch or damage the fibres. After that, I traced around all the pieces and removed the pattern paper.

Next up, I thread traced all my pieces before cutting out. This was something I picked up from my Couture Sewing Techniques book by Claire Schaeffer. Yes, it took longer but it meant I could follow the lines easily as I worked and would be aware if there was any shifting happening along the way, super useful when working on the bias. It also came in handy at the next stage when it came to basting seams together.

Cutting always takes longer than I think. I had the main fabric, the lining and of course the interlining to cut. I used silk organza as interlining in the bodice only to give it some structure without affecting the drape of the fabric too much. Since the bodice was cut on the straight of grain, it was easier to give it structure this way. The interlining was also cut on the straight of grain.
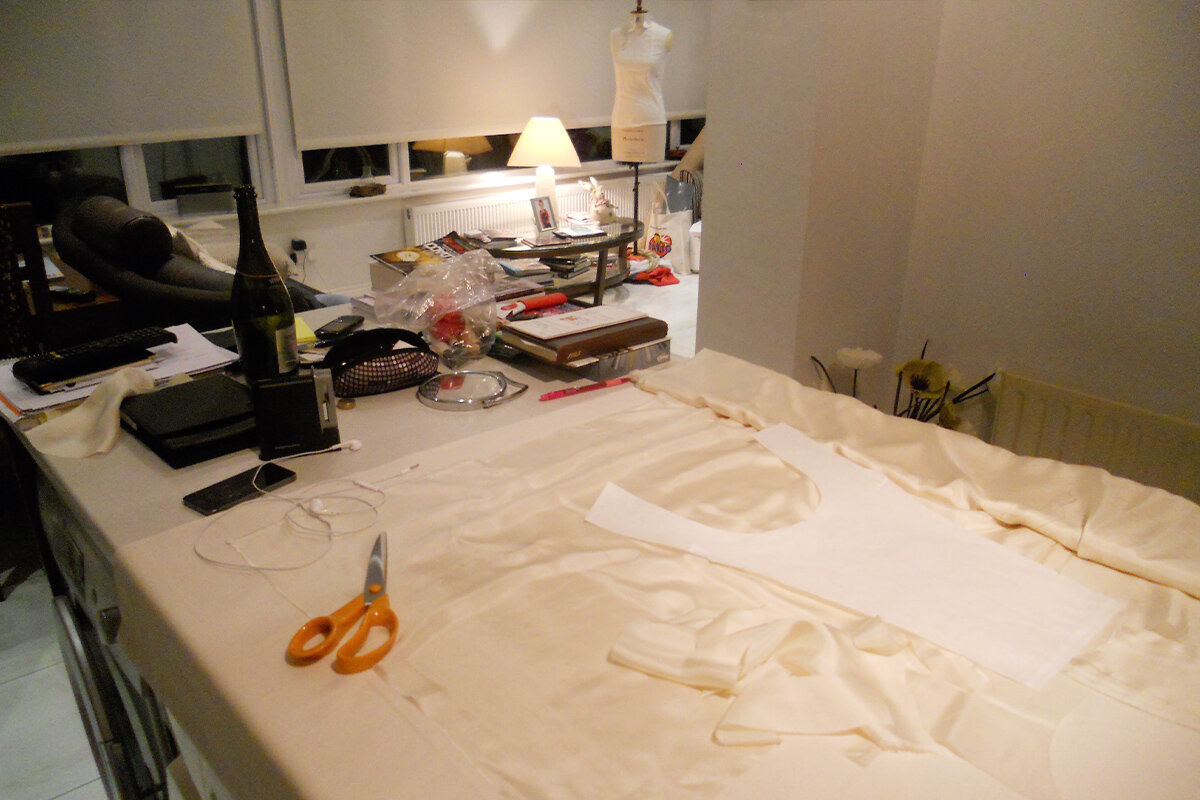
With all the bits cut, the next step would be to begin making the actual dress. Because of the bias cutting, I made sure that I would be making the dress soon so that there was less danger of any of the pieces stretching out once they’d been cut. To store them overnight, I gently folded them over with each paper pattern piece so that it had some structure to rest on rather than flopping all over the place. It felt like it took forever to get to this stage but it’s always worth putting the effort in early so the actual making stage can go as smoothly as possible. See you back here for Part V - Making the Dress.