
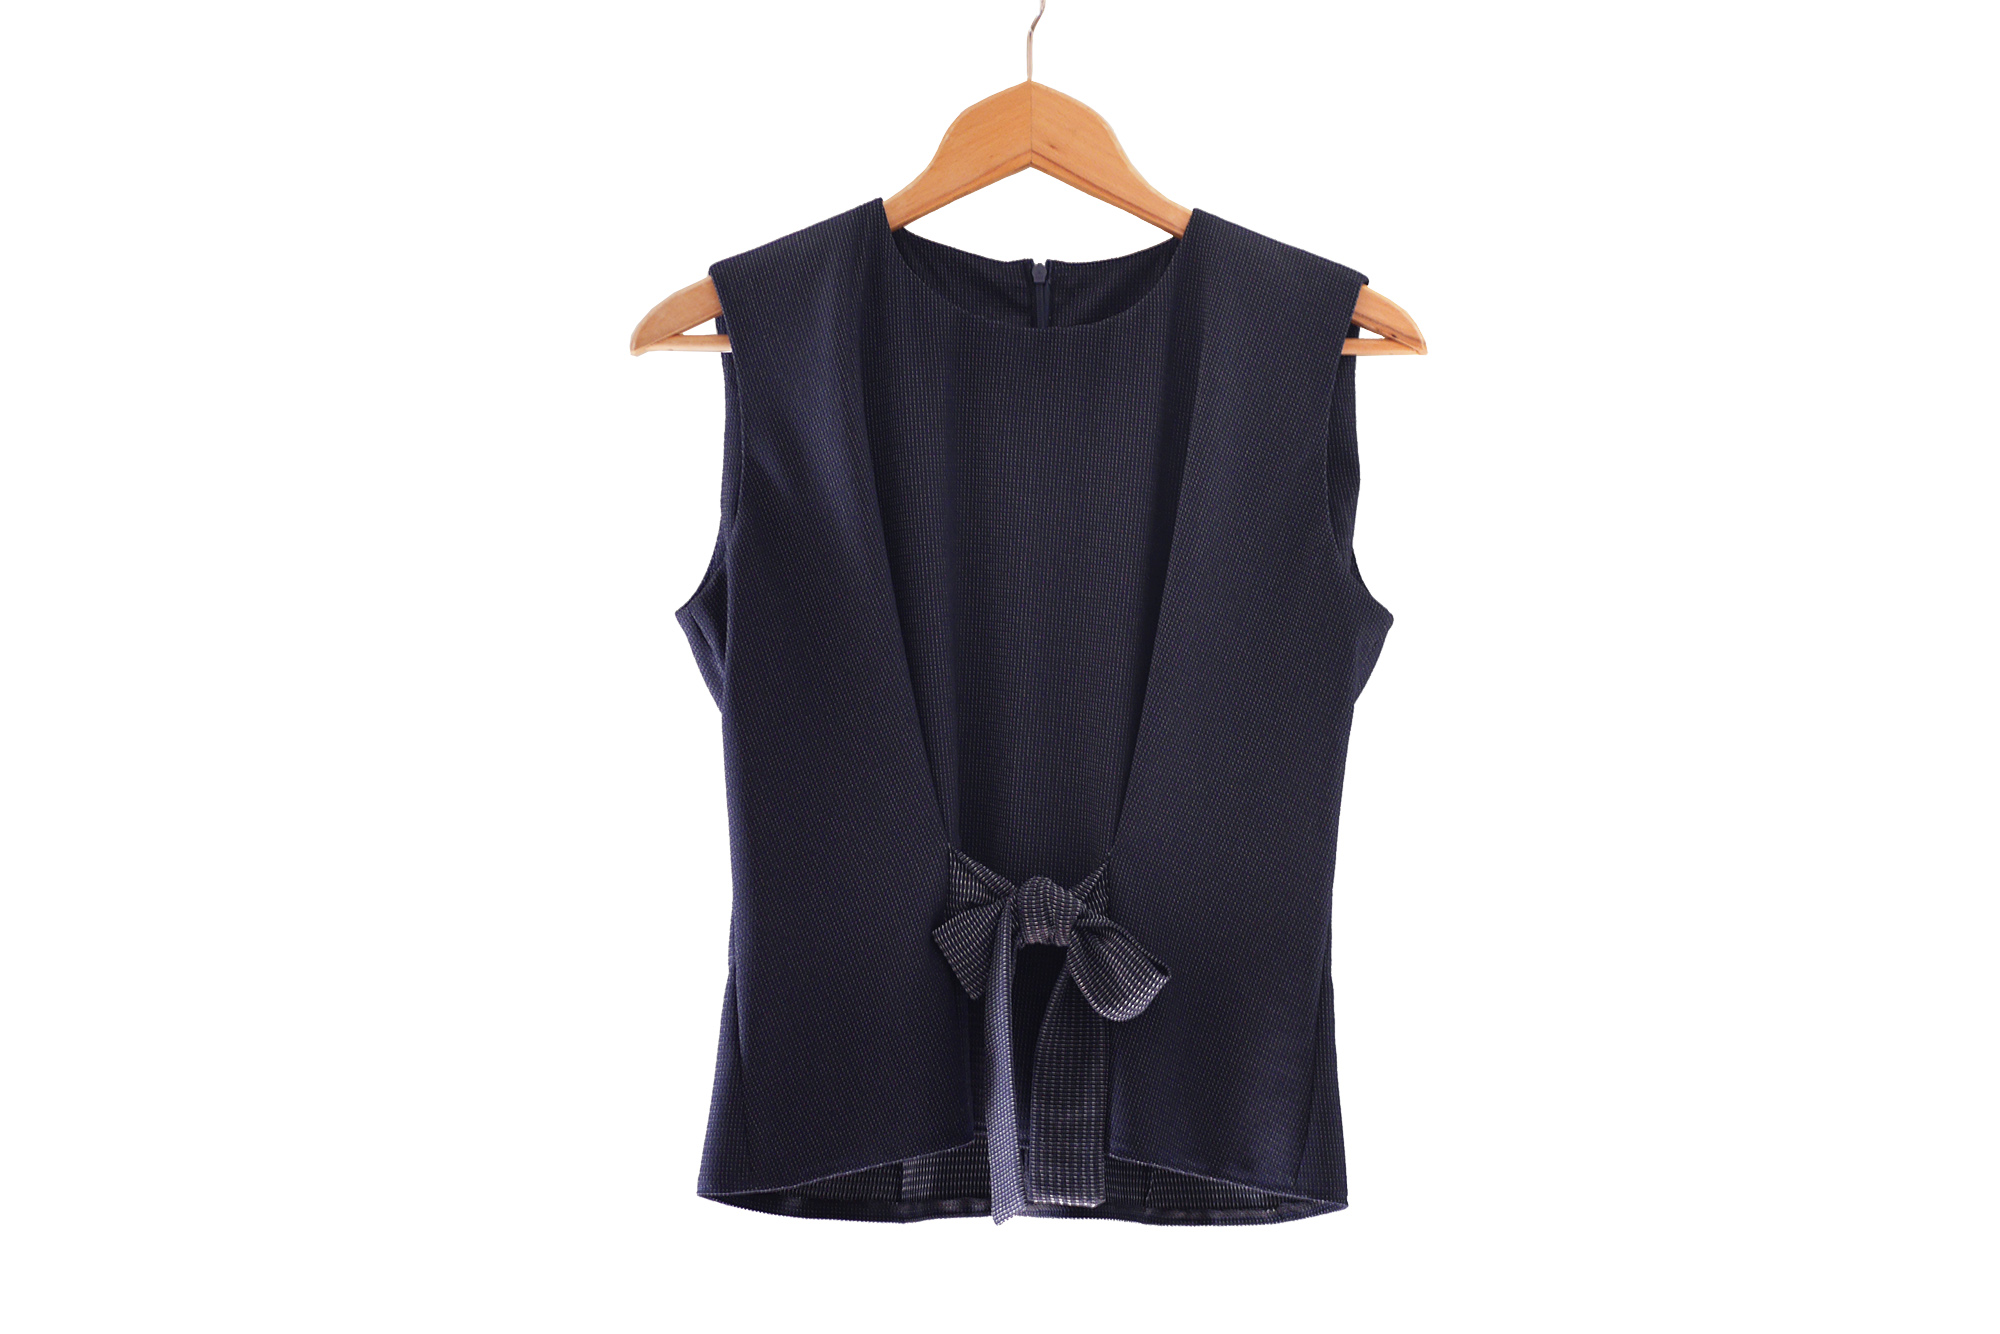
Solina Top
PROJECT: Sleeveless top with ties detail for my holiday wardrobe.

PATTERN: The Solina Top from the Named Clothing book Breaking The Pattern. The book is great, you can chop and change lots of elements so I did this top longer than standard, no collar and no centre front seam.
REASONS FOR MAKING: With my holidays just around the corner, I wanted to make some pieces rather than buy some. Golden rule was to only use stash fabric.
FABRICS: I knew I had left-overs from my Flint Pants (Click here for a goo) which I had earmarked for an Ogden Cami so that it would work as a jumpsuit look. But when I saw the Solina Top, I thought I’d give that a bash instead. So it’s a navy polyester fabric with flecks of white throughout. The reverse side of the fabric makes for a subtle but interesting contrast detail.
TRIMS: Invisible Zip - Navy
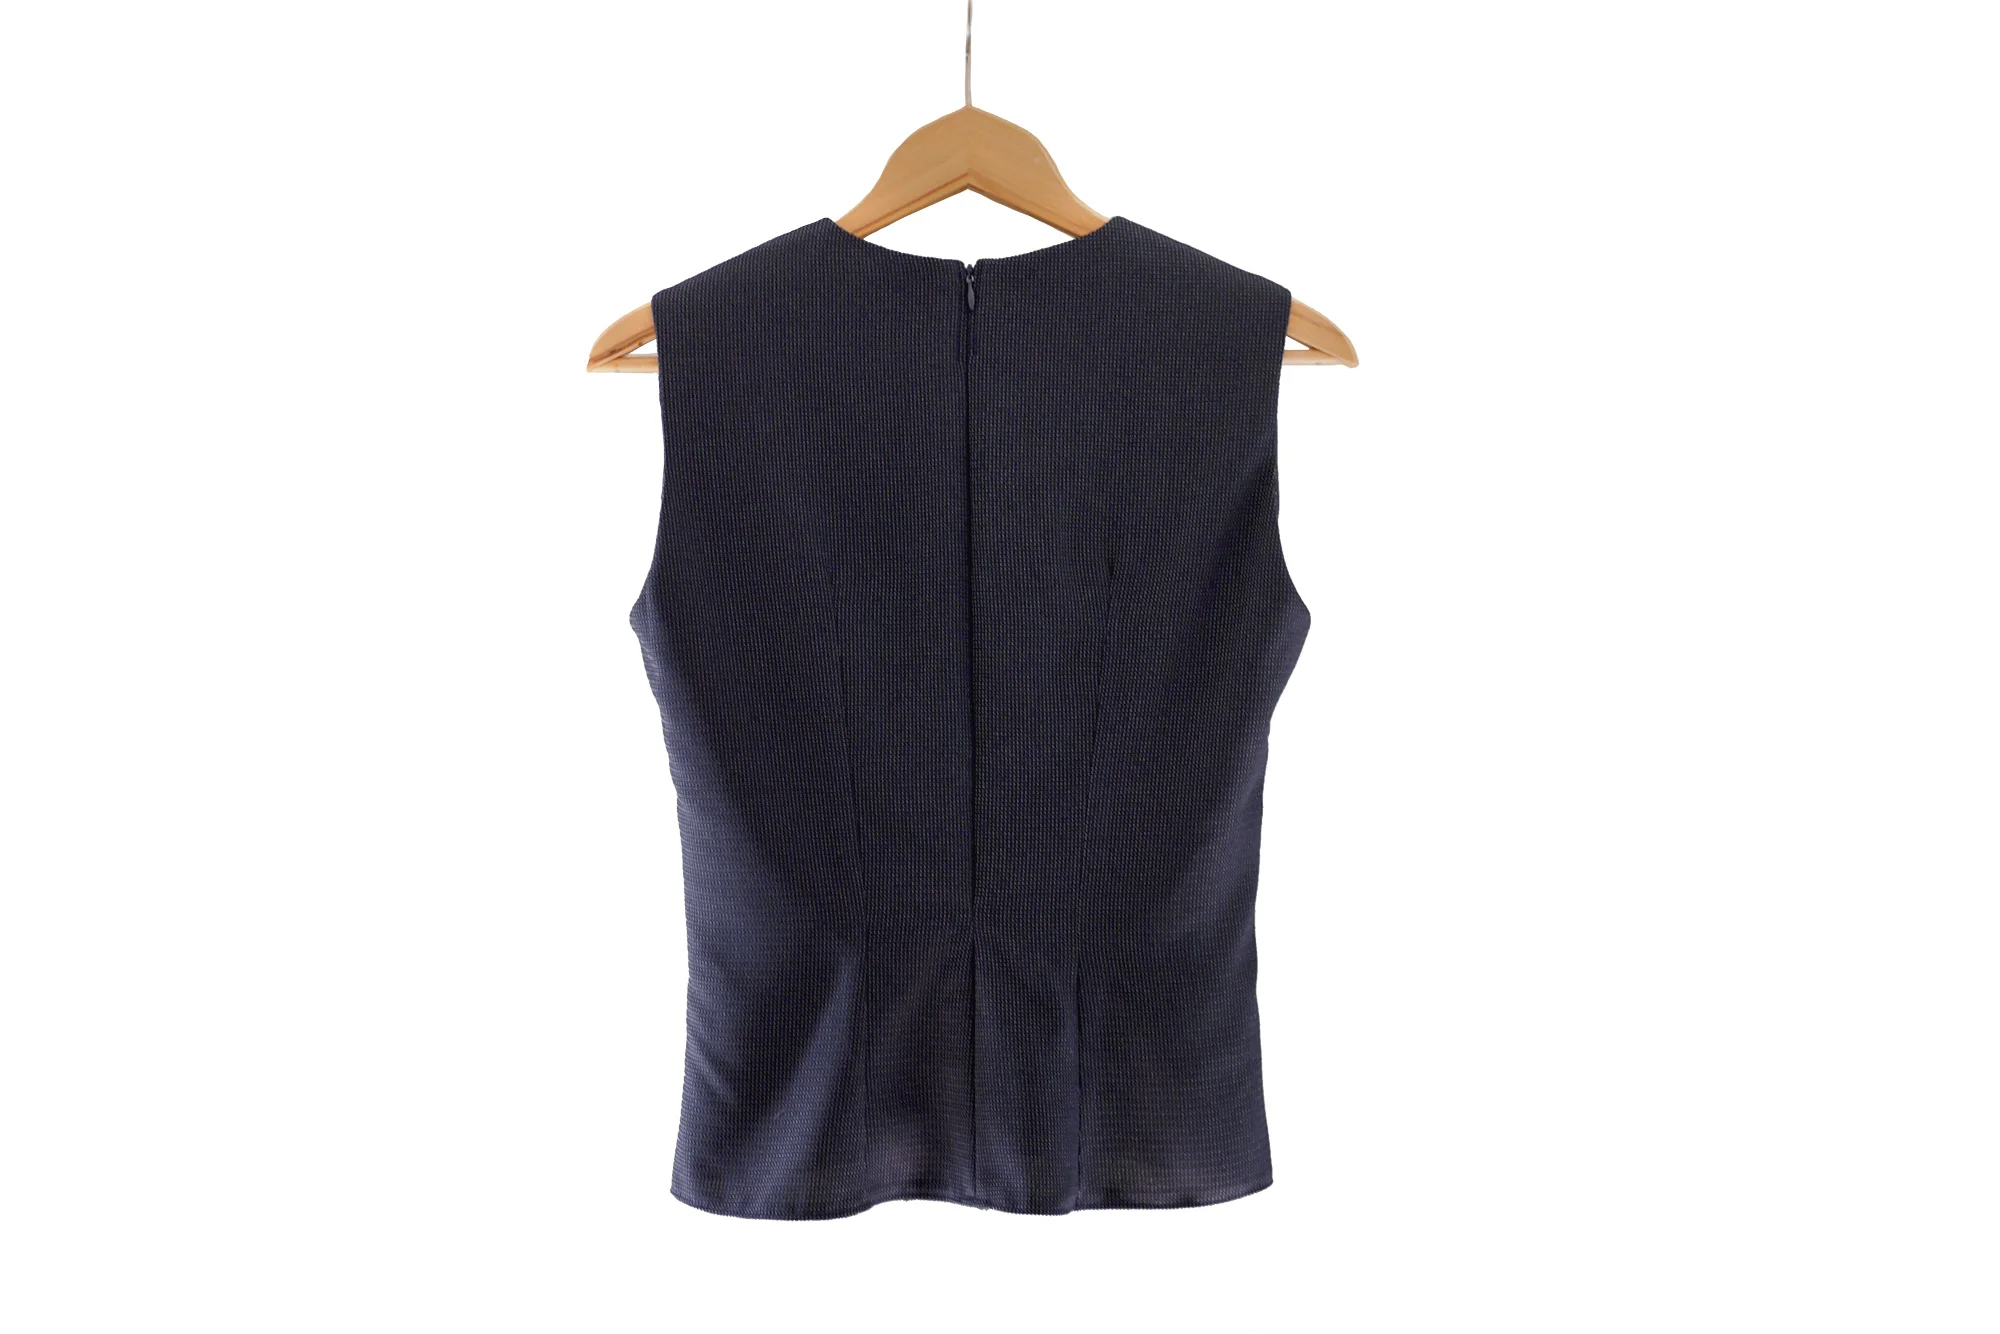
HOW TO: I went with the sleeveless option and no collar which meant that the pattern pieces I used were Centre Front - I cut mine on the fold rather than with a C/F seam, Centre Back, Front and Back Facing and Ties.
And that was it. Nice not having too many pieces to deal with.
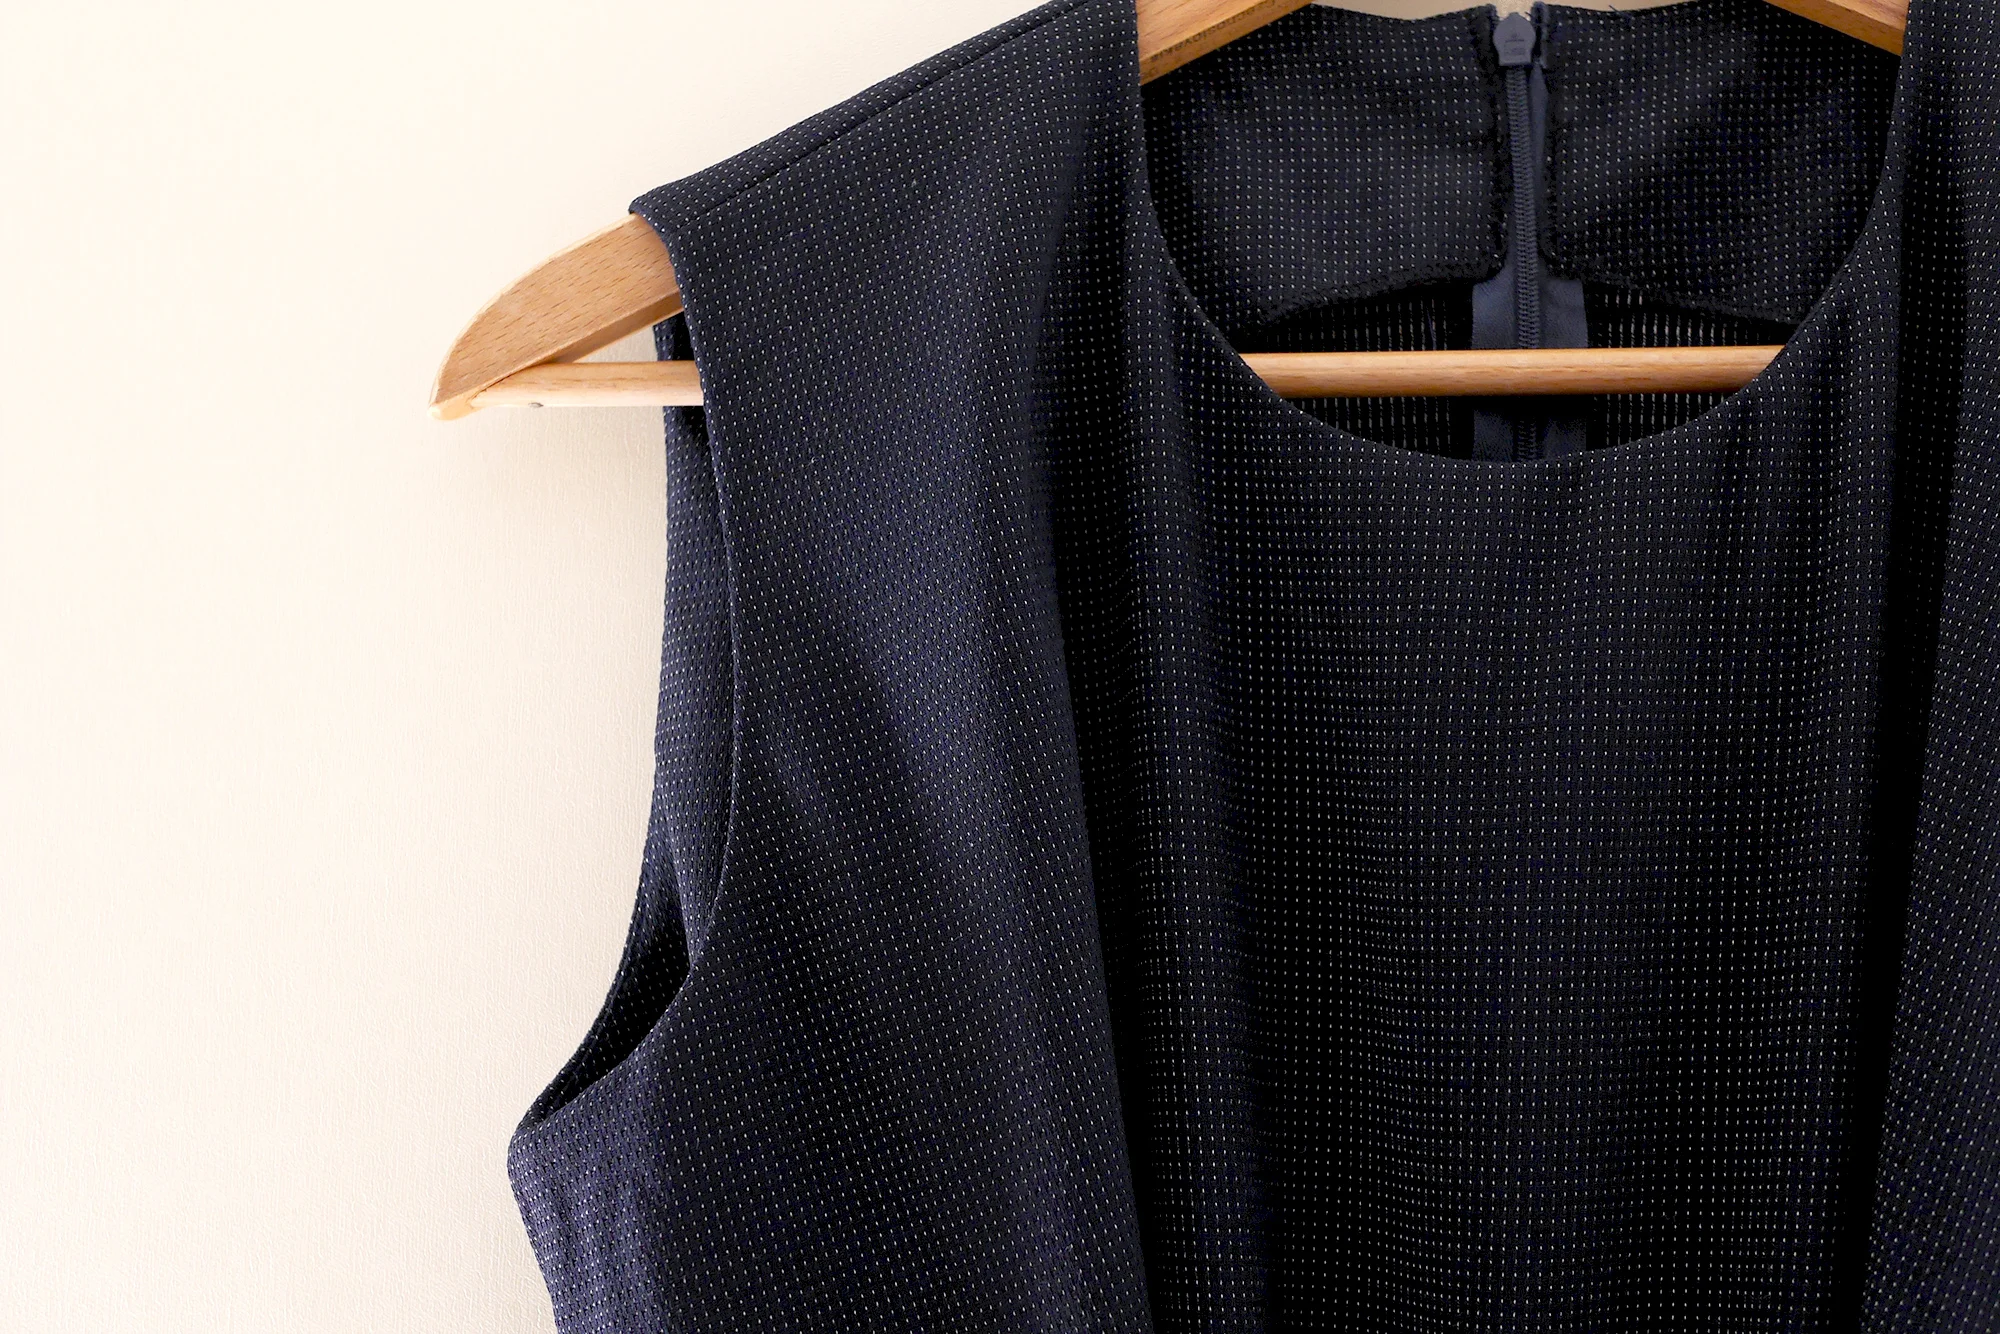
The facing panels were fused with a lightweight interfacing so as to not effect the drape. I knew this fabric was likely to be a little too bulky for french seams so I decided to overlock the edges.

I was nervous clipping into the curved seams as the fabric frays a bit but it’s a necessary evil to get those armholes right. Time will tell if I clipped too far! It does make all the difference though and using the understitch along the armhole and neckline should help keep it all secure.
I put my zip in before the facings - maybe not the smartest move but it worked out in the end with a little head scratching and twisting. I think if I’d gone with the collar option I might have followed the instructions a bit better!

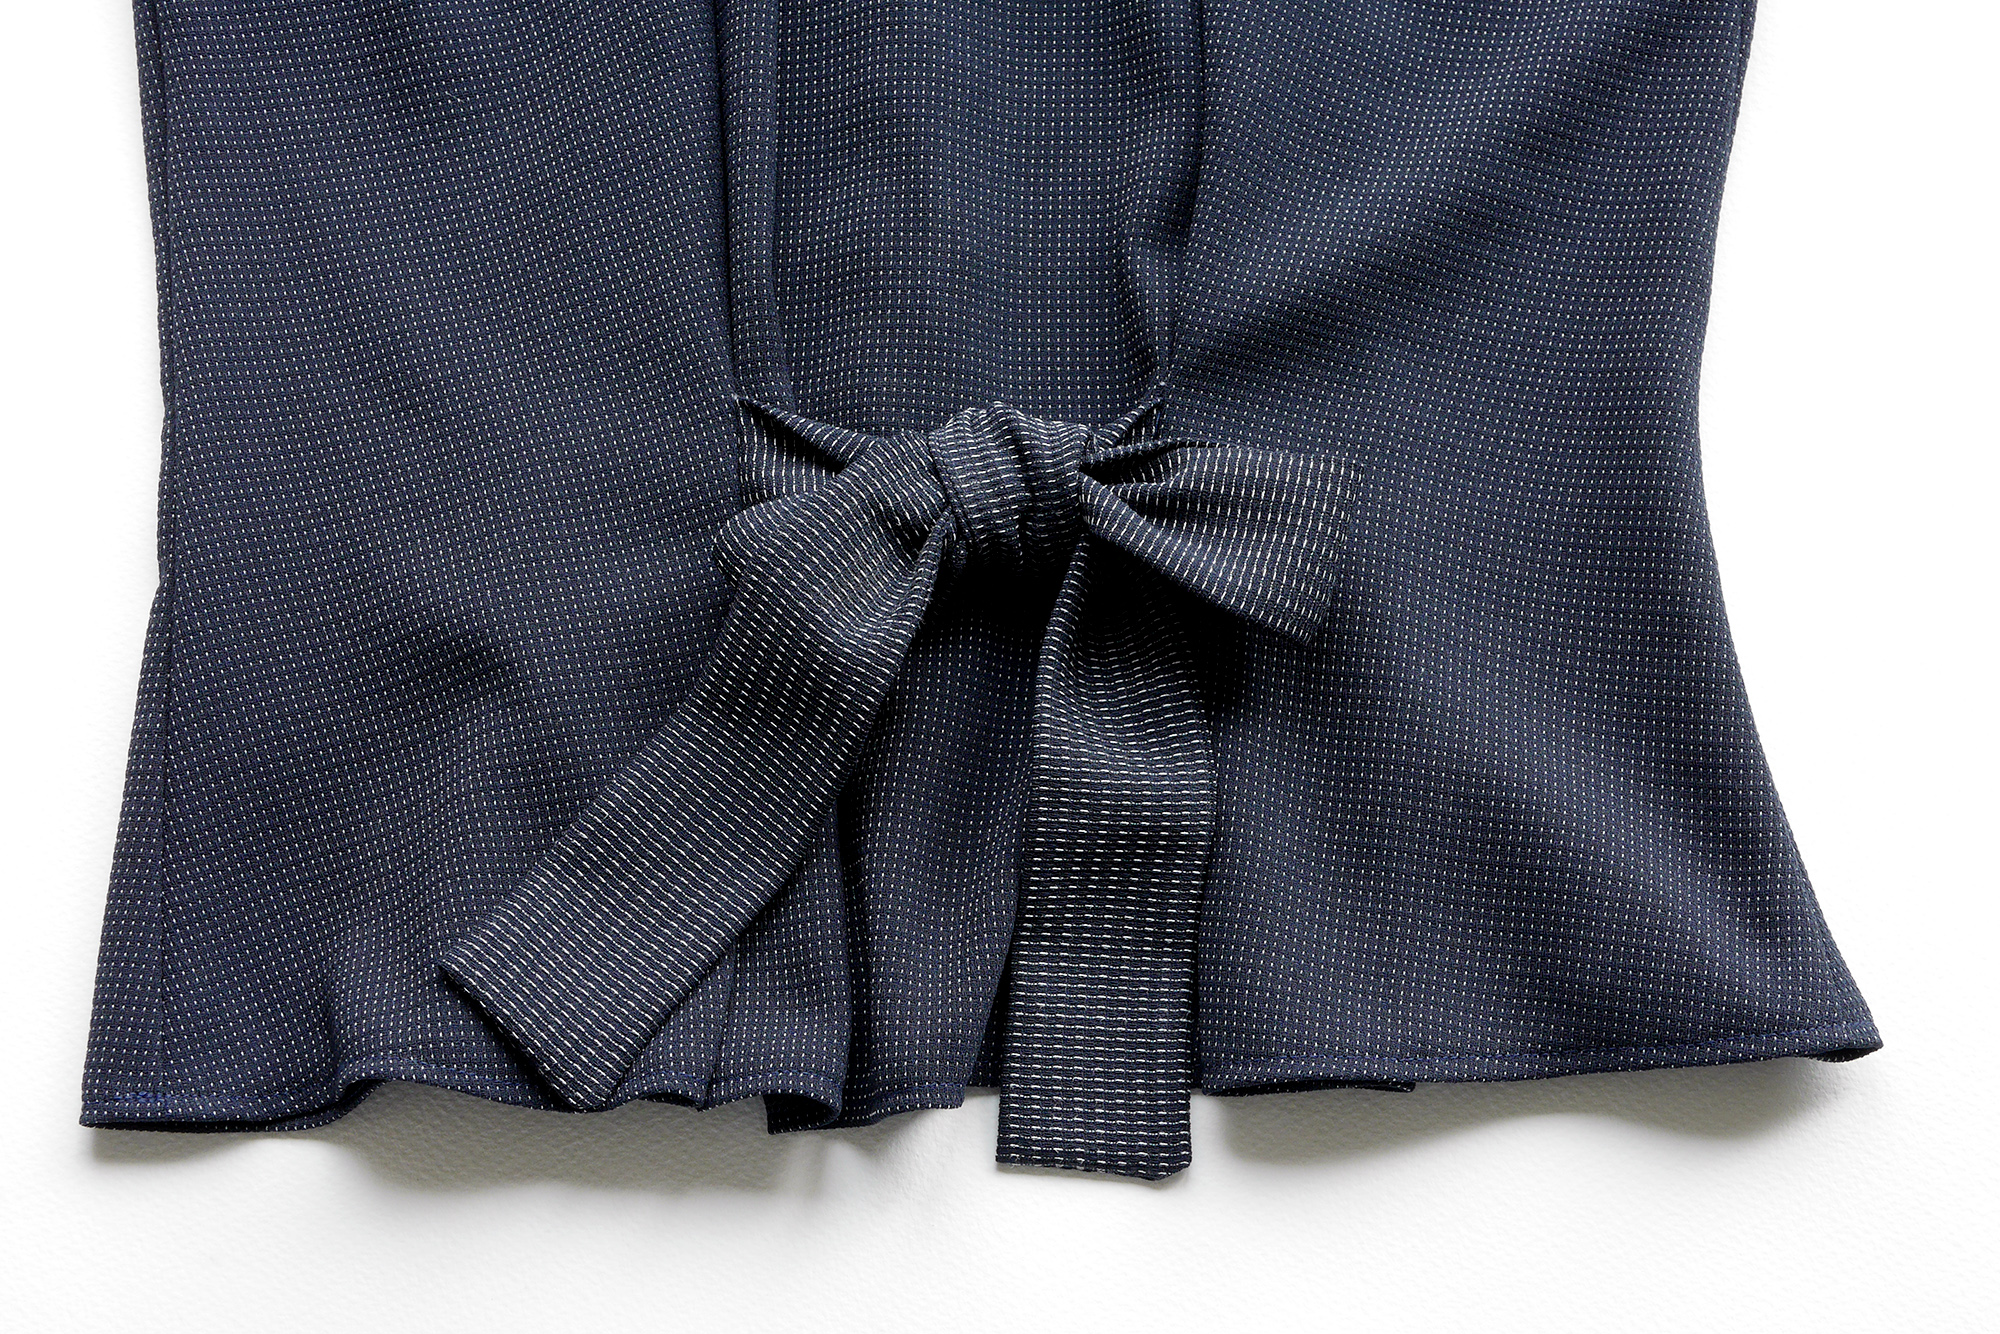
On my Flint Pants, I went with the reverse side of the fabric to make a subtle contrast detail at the belt and pockets. I knew this was something I wanted to repeat with this top so I used the reverse side for the ties.
Ties in place and it was time to hem up and press. All in all, the Solina Top is a simple to make and relatively quick project.
WHAT WENT WRONG: Instead of fusing the back seam for my zip, I used a strip of the fabric itself. It’s probably too heavy in reality and fusing would have been better but it’s no biggie. My zip was also a little short so it take some interesting moves to get in and out of the top but once it’s on it’s really comfy.
LESSONS LEARNED: Self fabric as an interfacing is not always the right option!
VERDICT: This top is coming with me in my suitcase but it turns out that my notion of a jumpsuit look didn’t work out in the end. Too many ties in too many places!. Not to worry though because it' seems to be a fairly versatile shape so it should do the job during and after the holliers.
The pattern itself is great. Simple to use and a lovely shape.
Have you made the Solina yet? Or have you attempted any other pattern from Breaking the Pattern. I’d love to hear how you got on.
