
Blackwood Cardigan
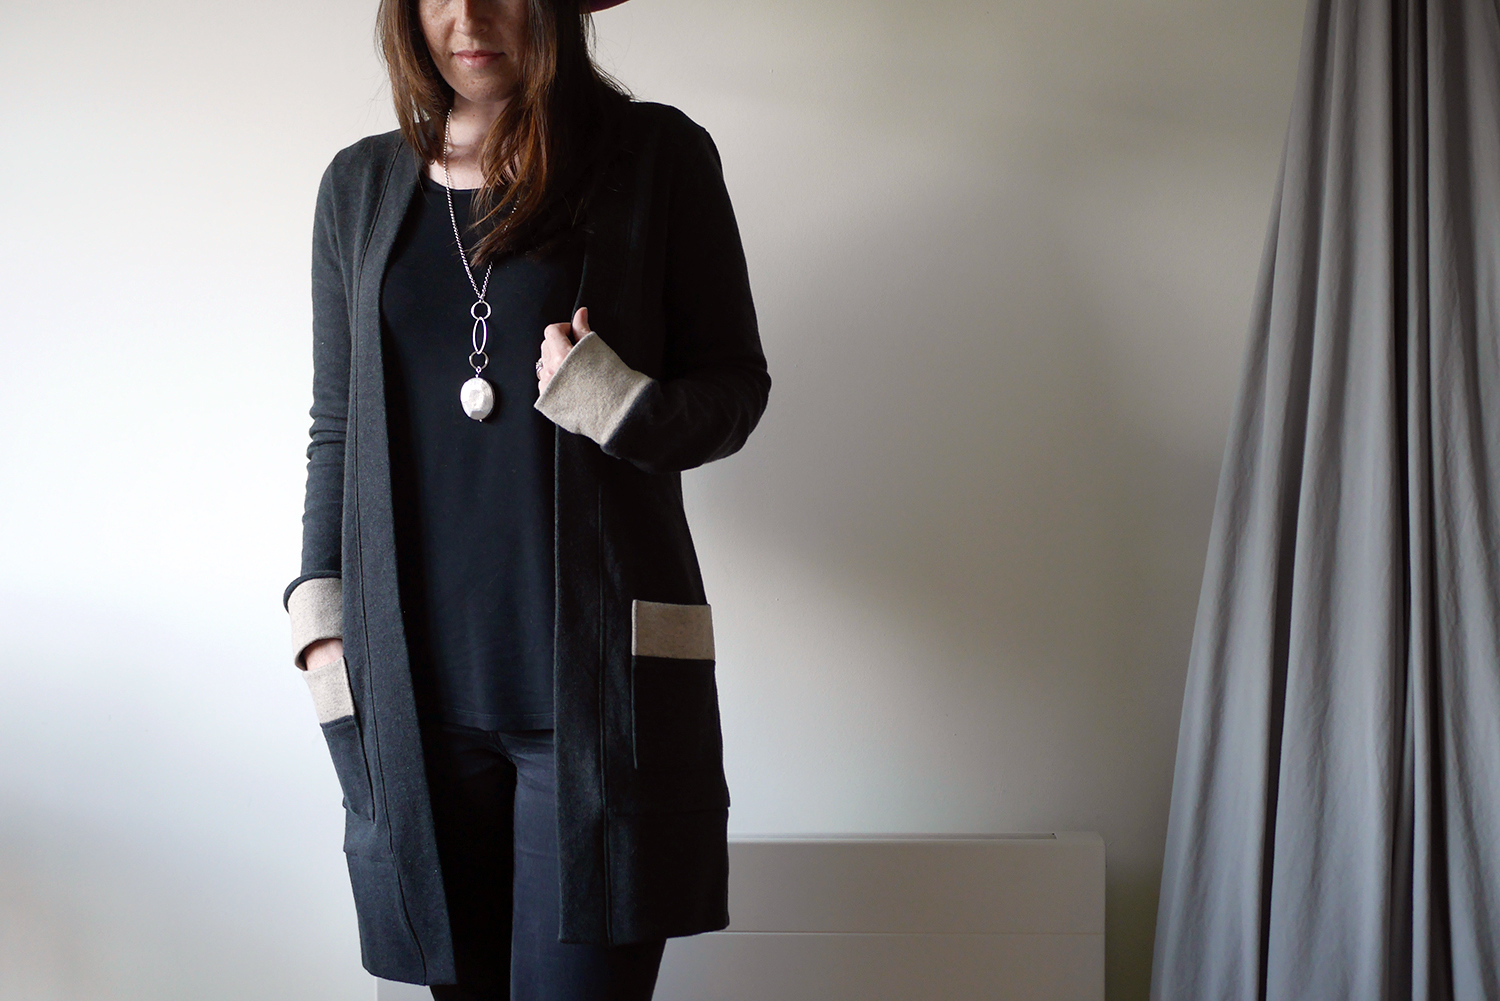
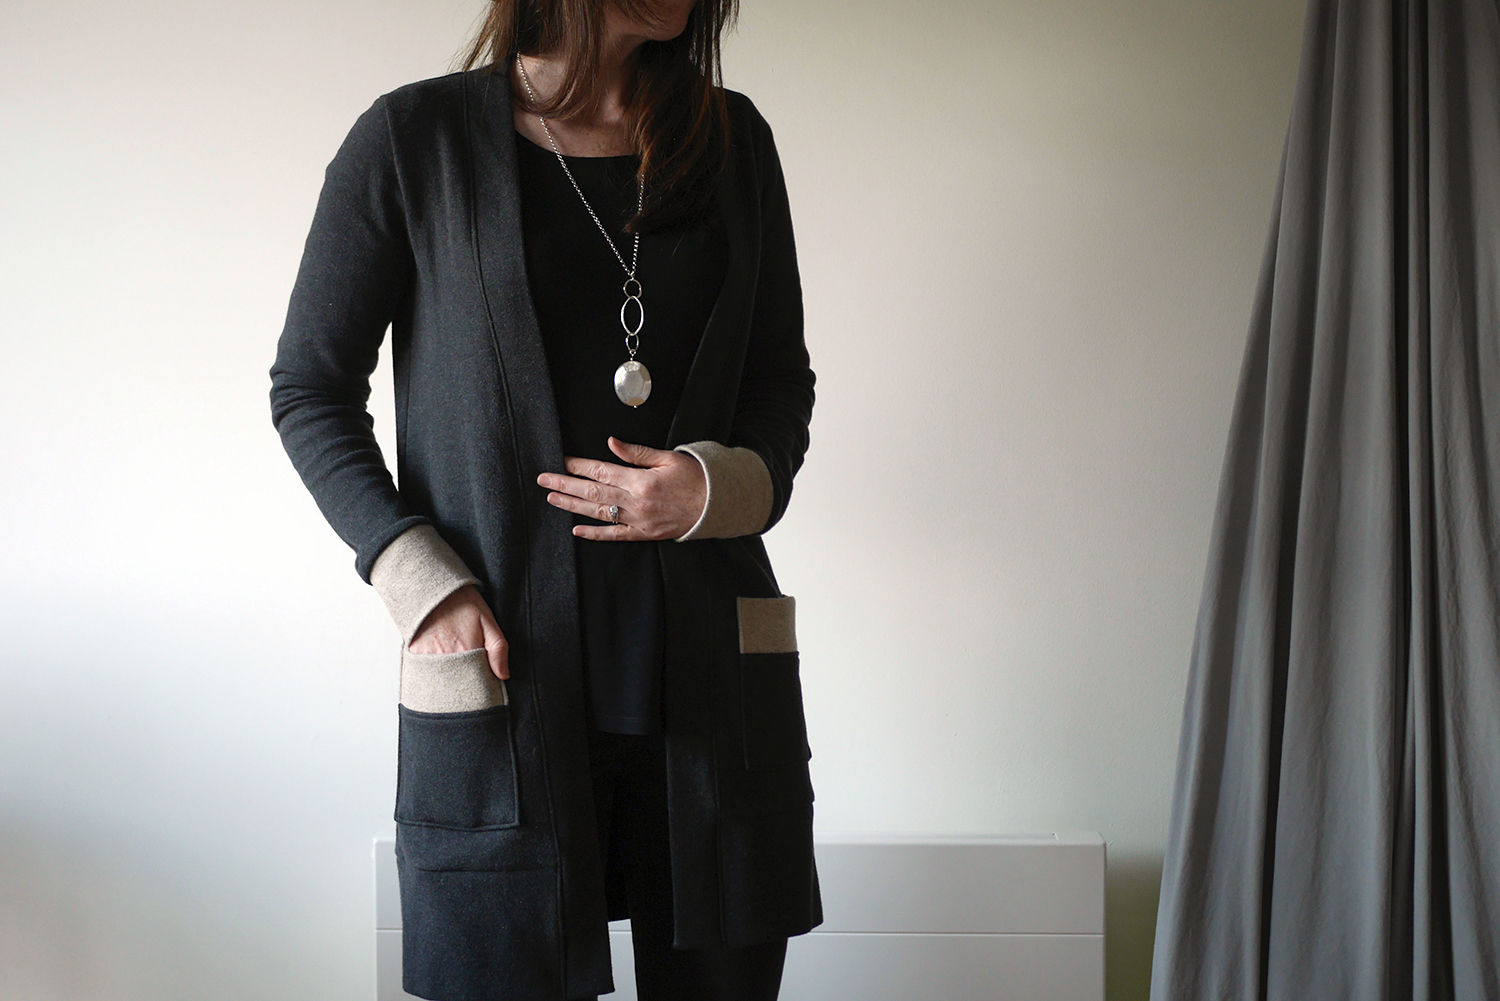
PROJECT: The Blackwood Cardigan is a long line cardigan with no front closures. Lovely deep cuffs and patch pockets.

PATTERN: The Blackwood Cardigan by Helen’s Closet. I chose option A, the longer length with pockets.
REASONS FOR MAKING: Every Autumn I’m crying out for a nice cosy cardigan type garment that isn’t as cardigan - get me? Something more like a coatigan. Enter the Blackwood Cardigan.
FABRICS: I picked up this double faced cotton jersey from the Turkish Market in Berlin that @damarstudio told about and it did not disappoint. There were so many amazing bolts of fabric and I have to say, I’m very impressed I came home with only one piece. I wanted to take away something that I truly wanted to sew with and not just a passing shiny object. I’m becoming far more conscious in my fabric decisions and I’ll glad that this cotton made the cut.
This length of cloth however, very nearly didn’t make it home. While getting off the S-Bhan, my bag got caught in the doors and only that a lump of the fabric was stopping the doors from shutting properly, it would ripped the bag and have been Bye Bye Baumwolle! The things we do for fabric eh?!
TRIMS: Just a bit of framilon in the shoulder seams to prevent stretching.

HOW TO: This is a great straightforward make with only a few pattern pieces.
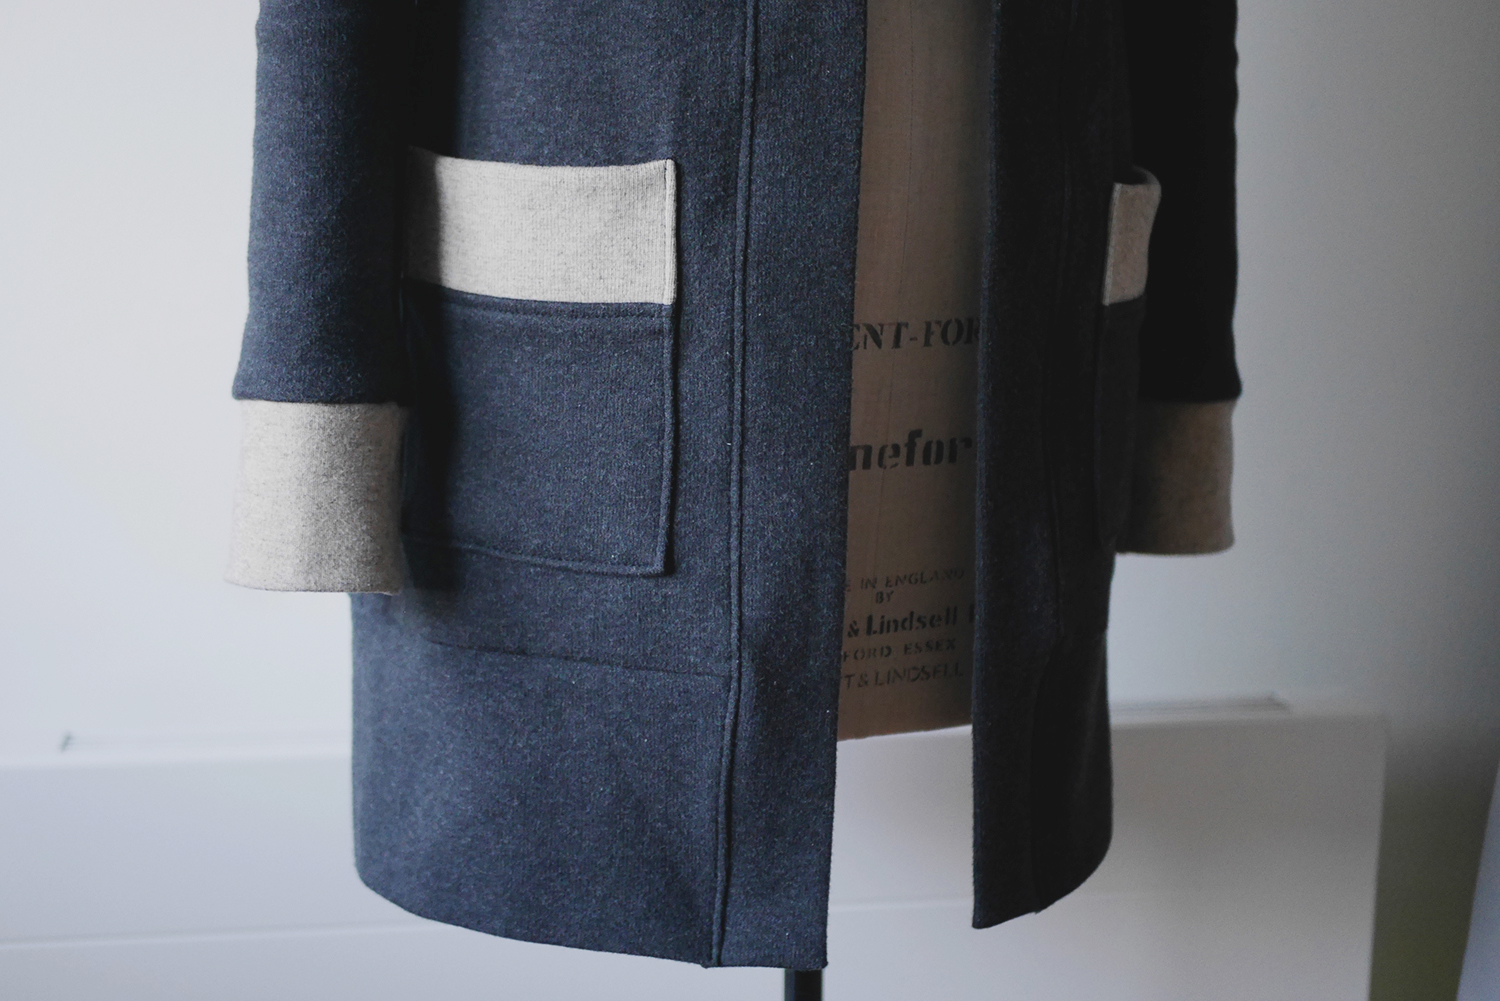
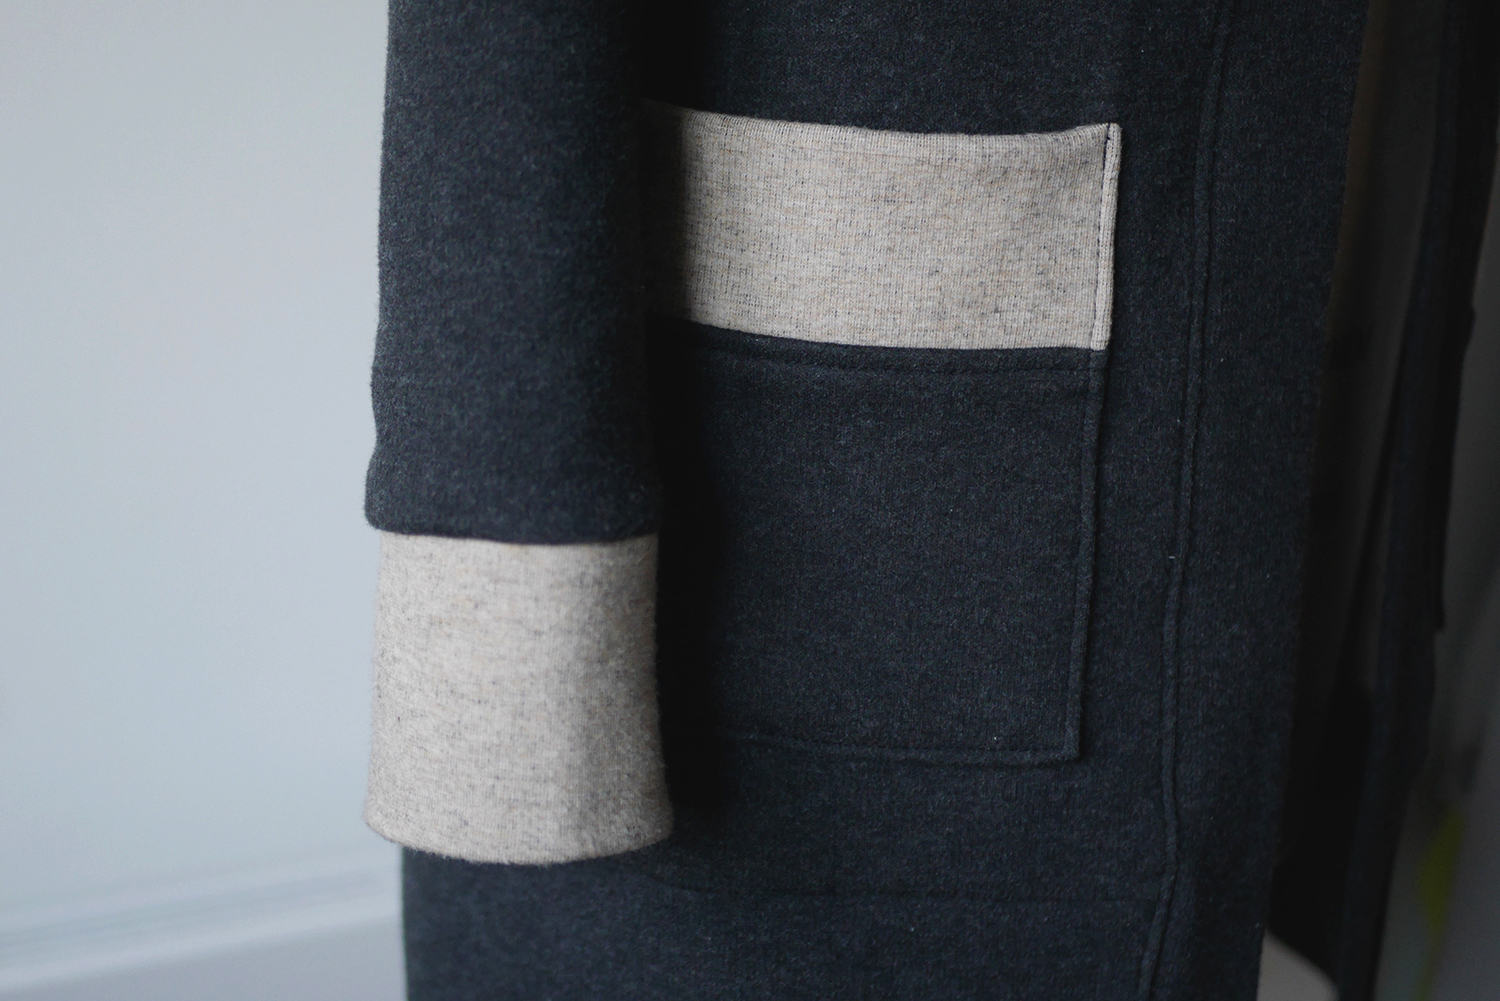
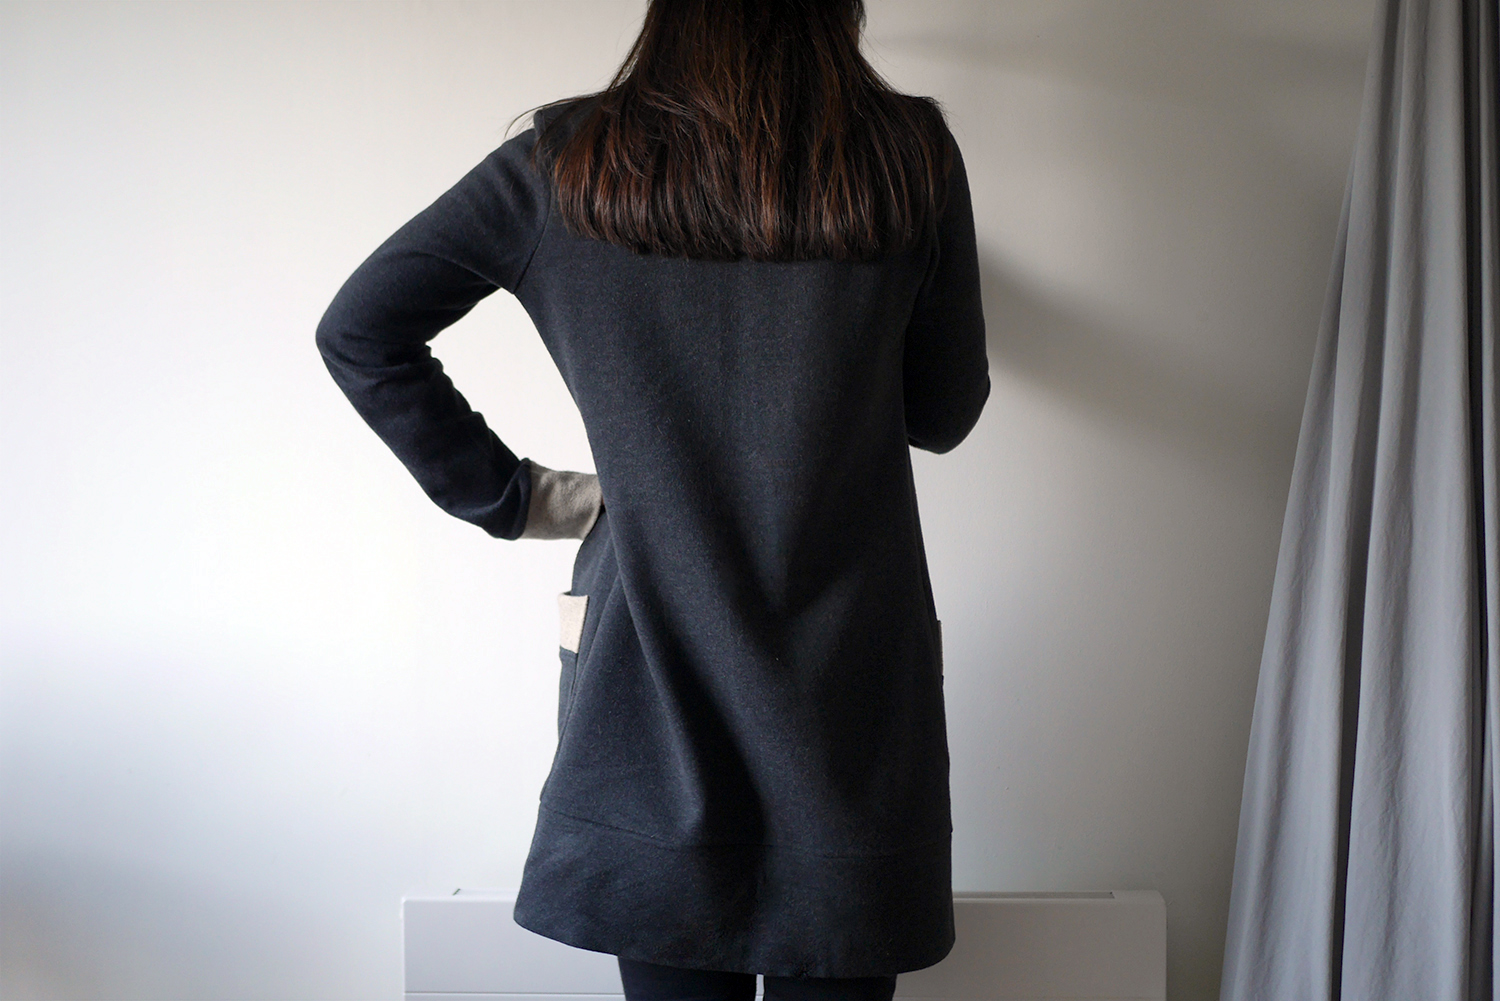
Start by practising your pockets. They are the first step in making this garment so you want to be sure they’re right. And since you’re sewing layers of jersey together, there’s always the potential of thing being more wobbling than you’d expect. I decided to used the reverse side of my fabric for the top pocket to add a nice contrast.
Once you’re happy you’ve nailed the pockets, add them to your front panels. Then join your back and front panels together at the shoulder. Be sure to include some stay tape or framilon (clear elastic) if you have it to stabalise the shoulders which can stretch out over time.
Next up, attach the sleeves. Unlike with most woven fabric tops where you close the sleeve seam first then attach to the armhole, joining jersey sleeves is best done on the flat, attaching the sleeve head to the body first, leaving you to join up the body side seam all the way through to the sleeve in one go. Side seams and sleeve seams sewn up? Great! Now you’re good to add the cuffs. I went with the reverse side of my fabric again to match the pockets.

You can add the hem cuff to the body now that the side seams are sewn. I had toyed with the idea of using the contrast side of my fabric for this too but decided that less was more.

Once the hem cuff is on, you can attach the neck/front band, being careful to match the notches as you go. Helen has cleverly set the notches so that you have to ease the neckline into the neck band to fit so that the collar sits beautifully when finished. This is a sneaky little detail that makes all the difference so follow those notches!

And that’s it! Job done!
WHAT WENT WRONG: Since the fabric I used was quite thick to begin with, it meant that quite a bit of bulk was created in parts, especially where the hem cuff met the front band. And since I was using an overlocker, it was impossible to grade the seams. It has created a bit of a bump but nothing I can’t live with.
LESSONS LEARNED: Helen makes a great pattern!
VERDICT: Yep I definitely like this one. Its super cosy and I can’t wait to get lots of wear out of it. Hopefully the fabric quality is as good as it feels since I’d love this to last, but I’m nervous it might pill after a while. I’m hoping it proves me wrong.
