Kalle Shirt
PROJECT: A loose fitting everyday shirt as part of the #sewyourstash instargam campaign by @pilarbear and @timetosew
PATTERN: The Kalle Shirt by Closet Case Patterns
REASONS FOR MAKING: I was looking for an excuse to make another Closet Case Pattern (check out my Kelly Jacket here) and when the Kalle Shirt was discounted during #sewyourstash, I knew I'd fabric I could use for it.
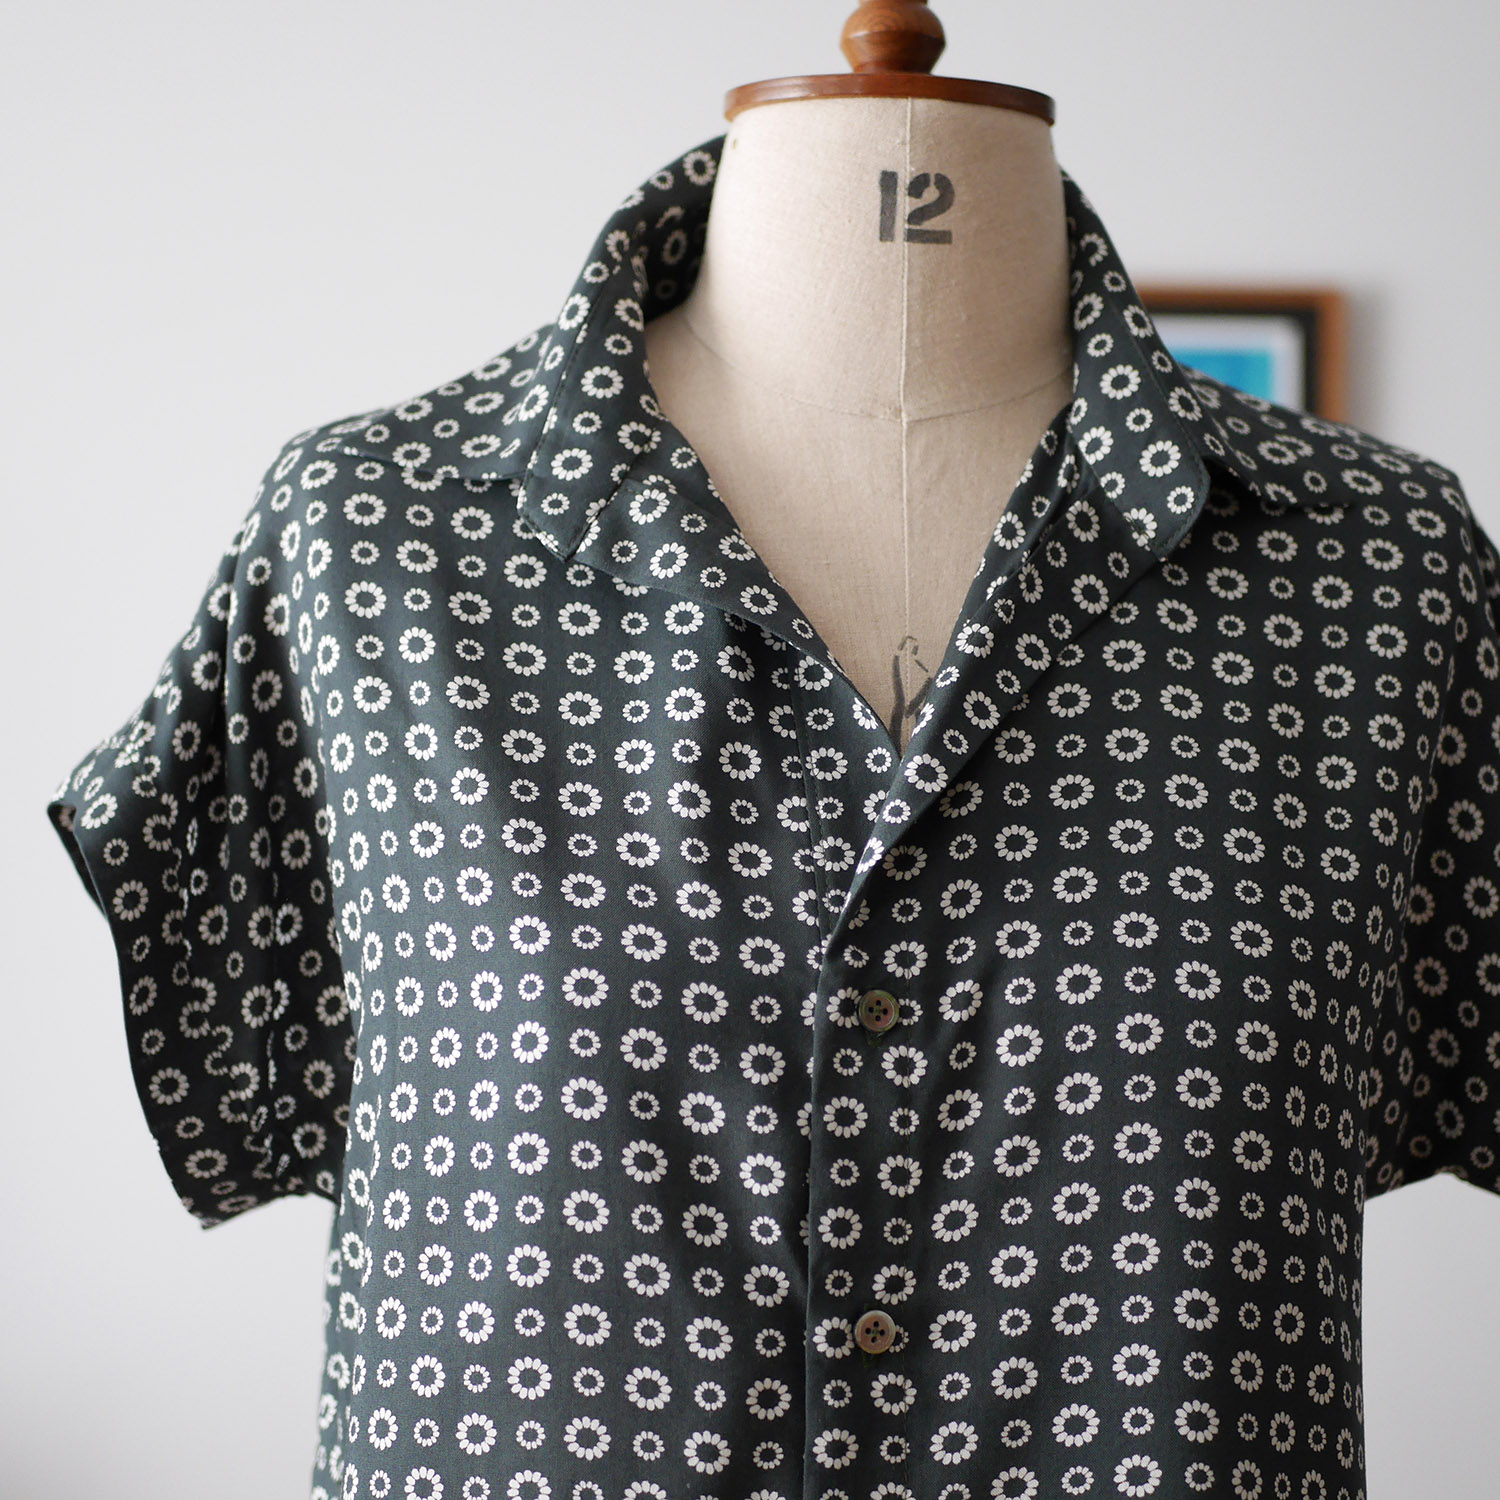
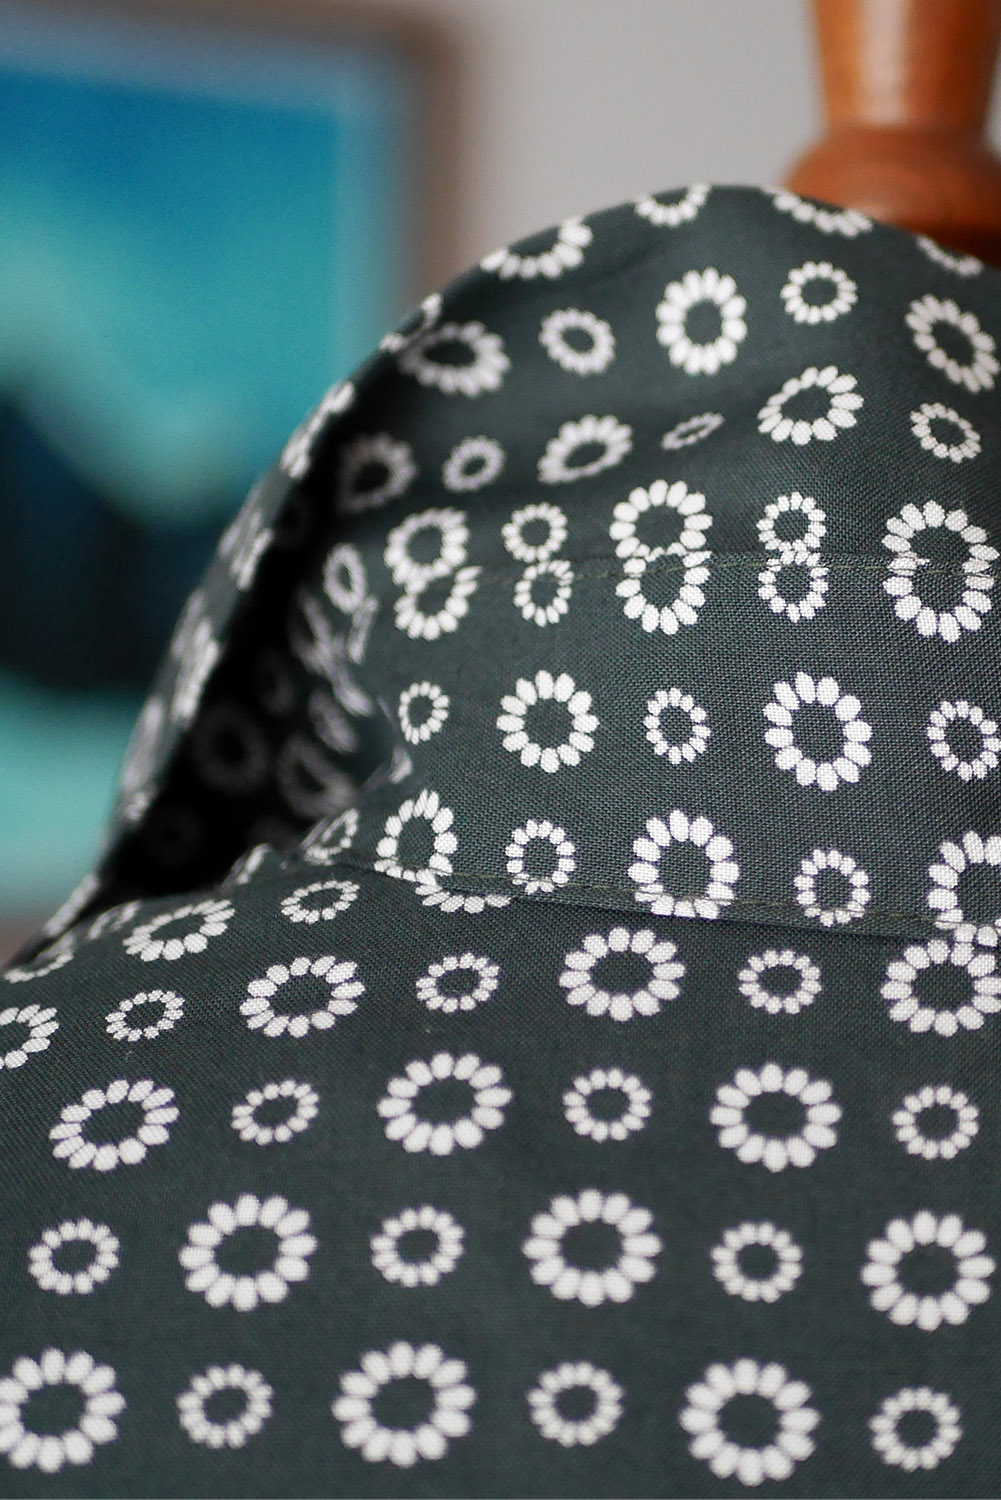
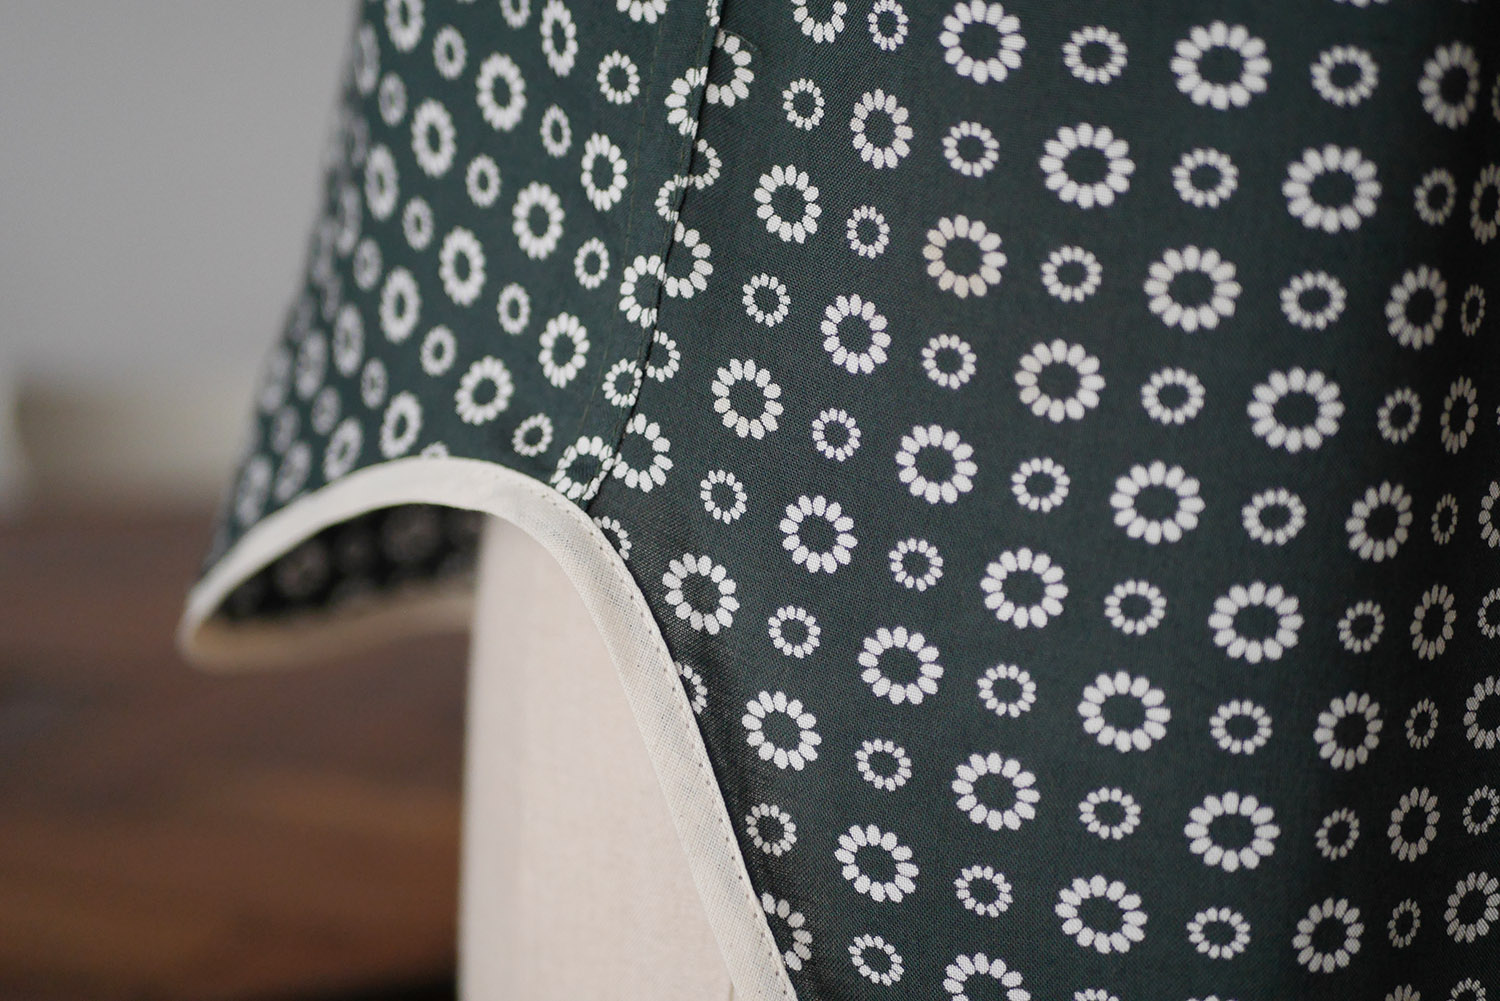
FABRICS: I'm going to say rayon or viscose? It's got a really nice drape whatever it is! It also washes really well. A deep bottle green base with cute little white flowers all over. Bought from the Aladdin's cave that is @fabrics_ireland_
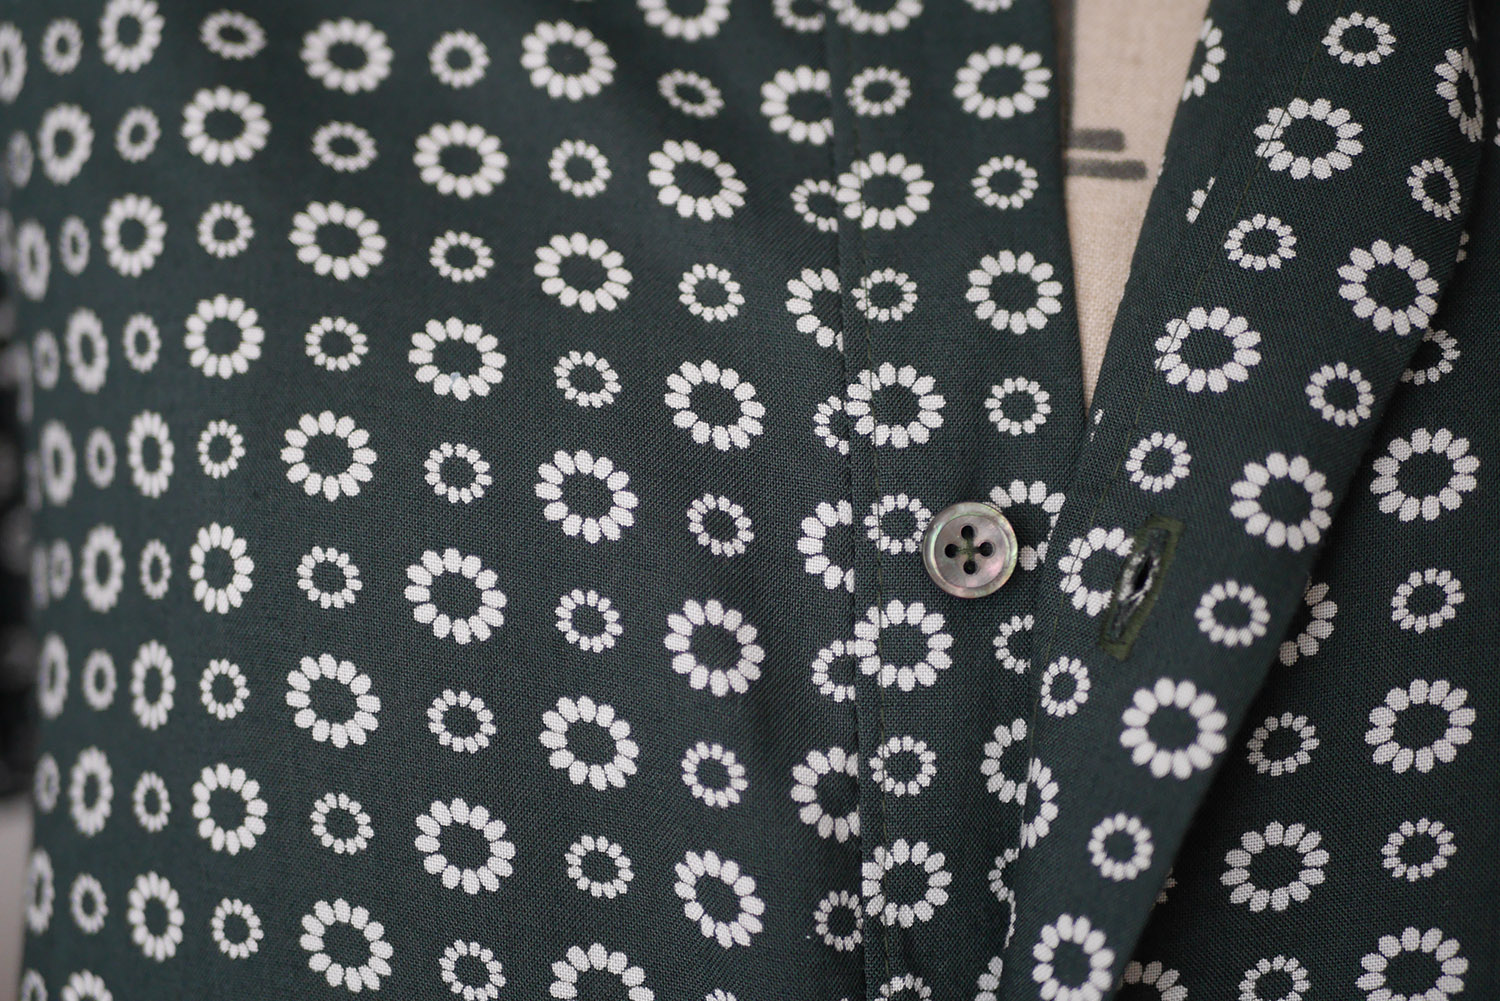
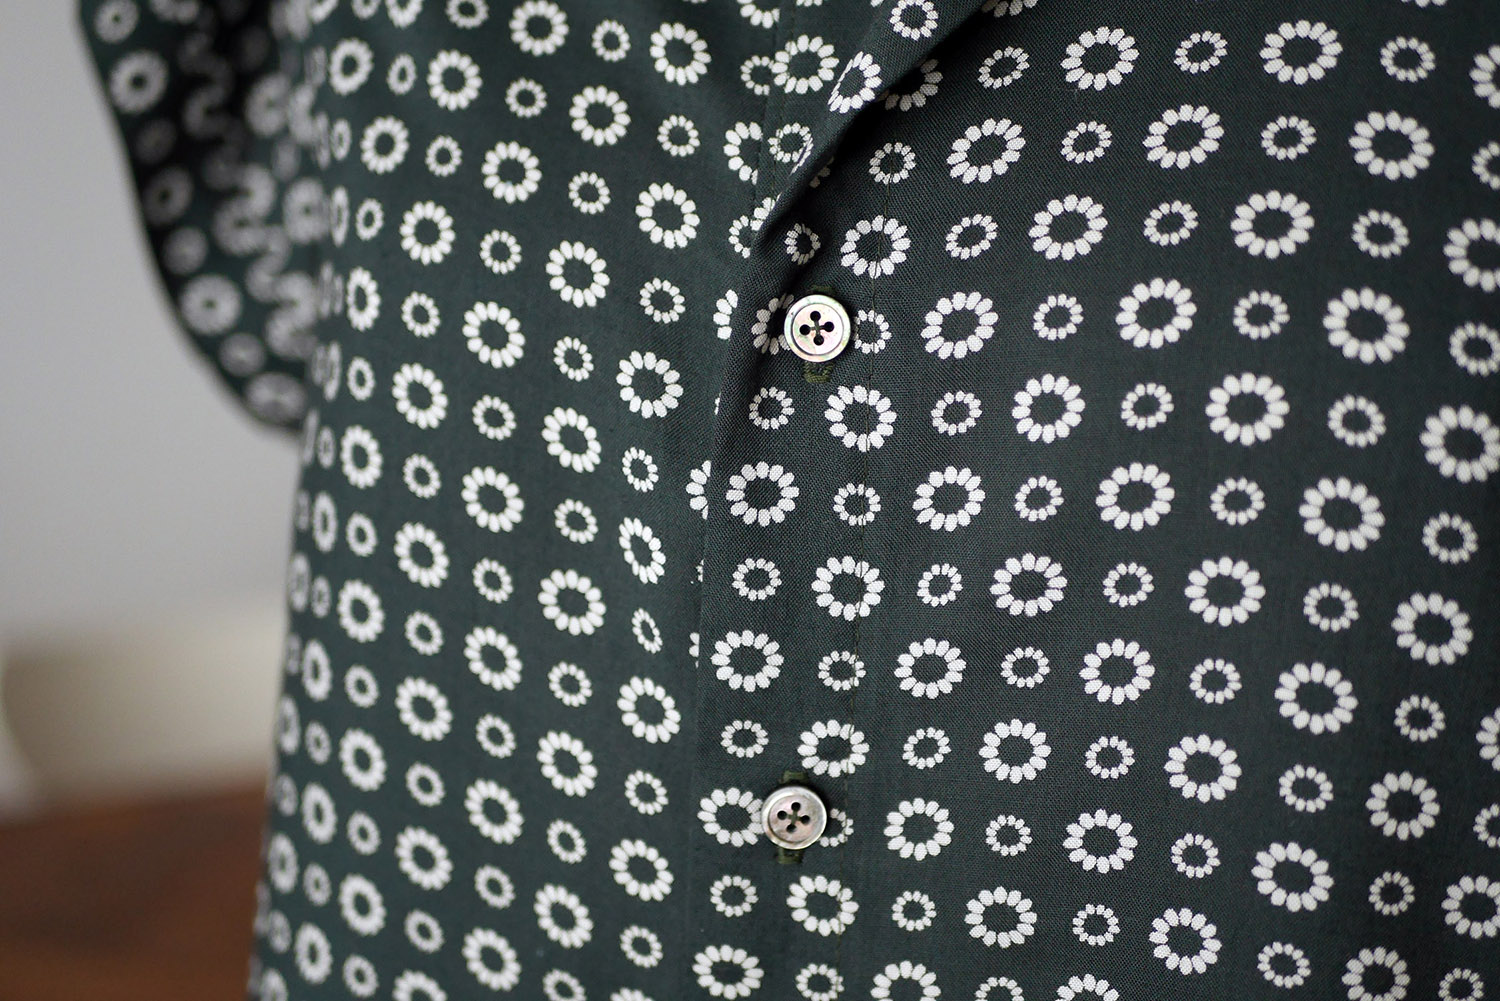
TRIMS: 4 x Shell buttons
HOW TO: As with the Kelly Jacket, the instructions are super clear. If you read through each step, you really can't go too wrong.
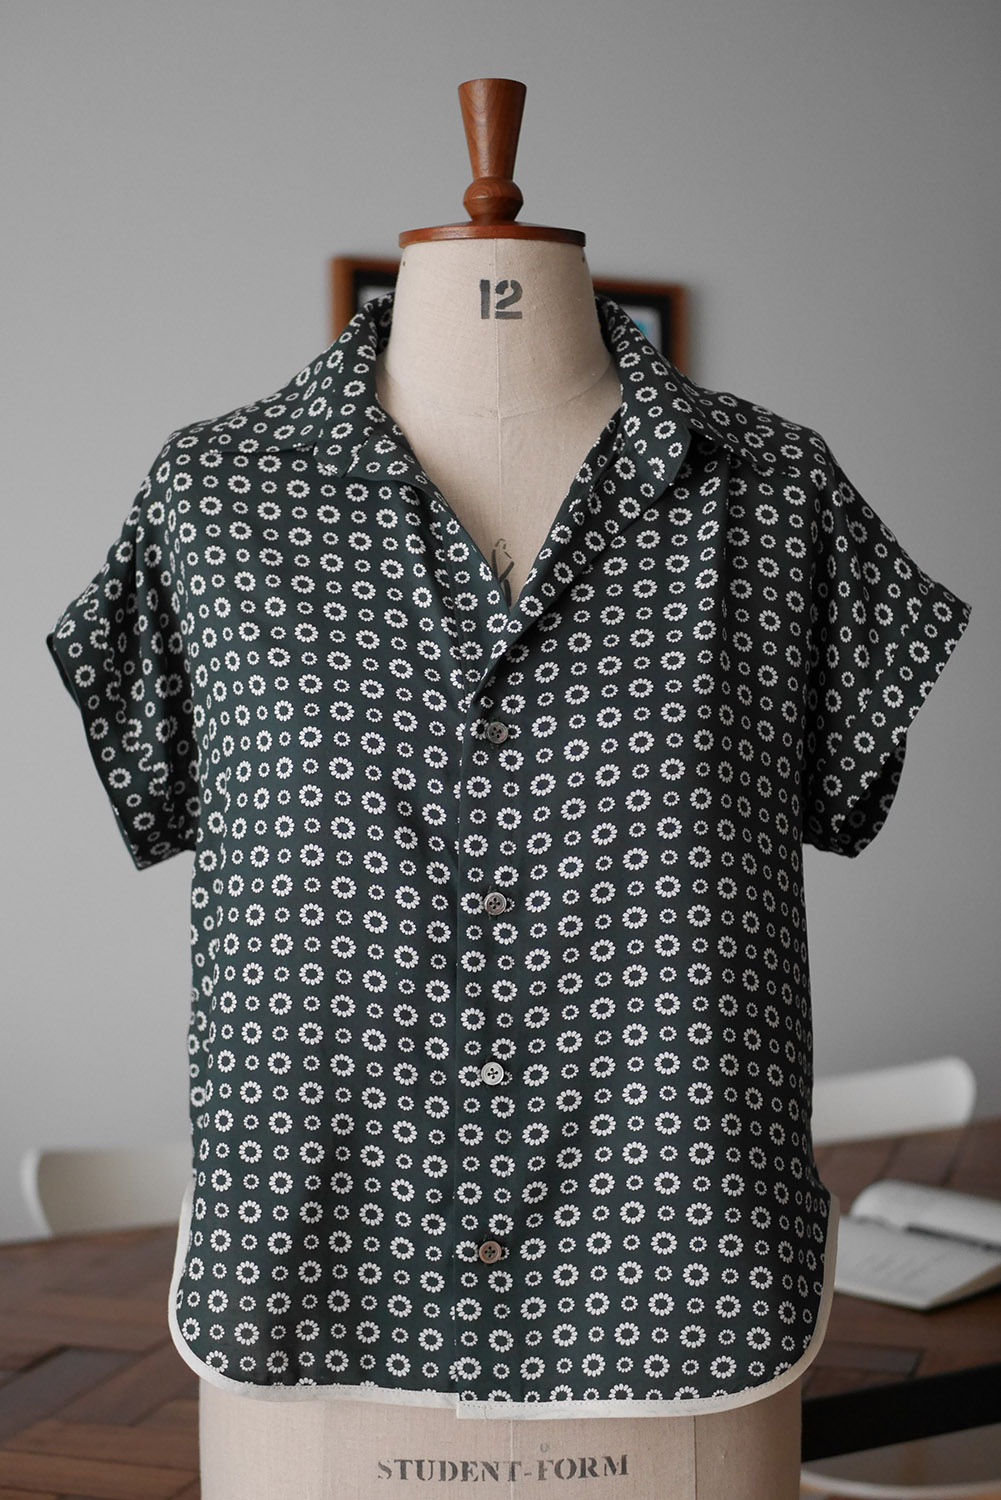
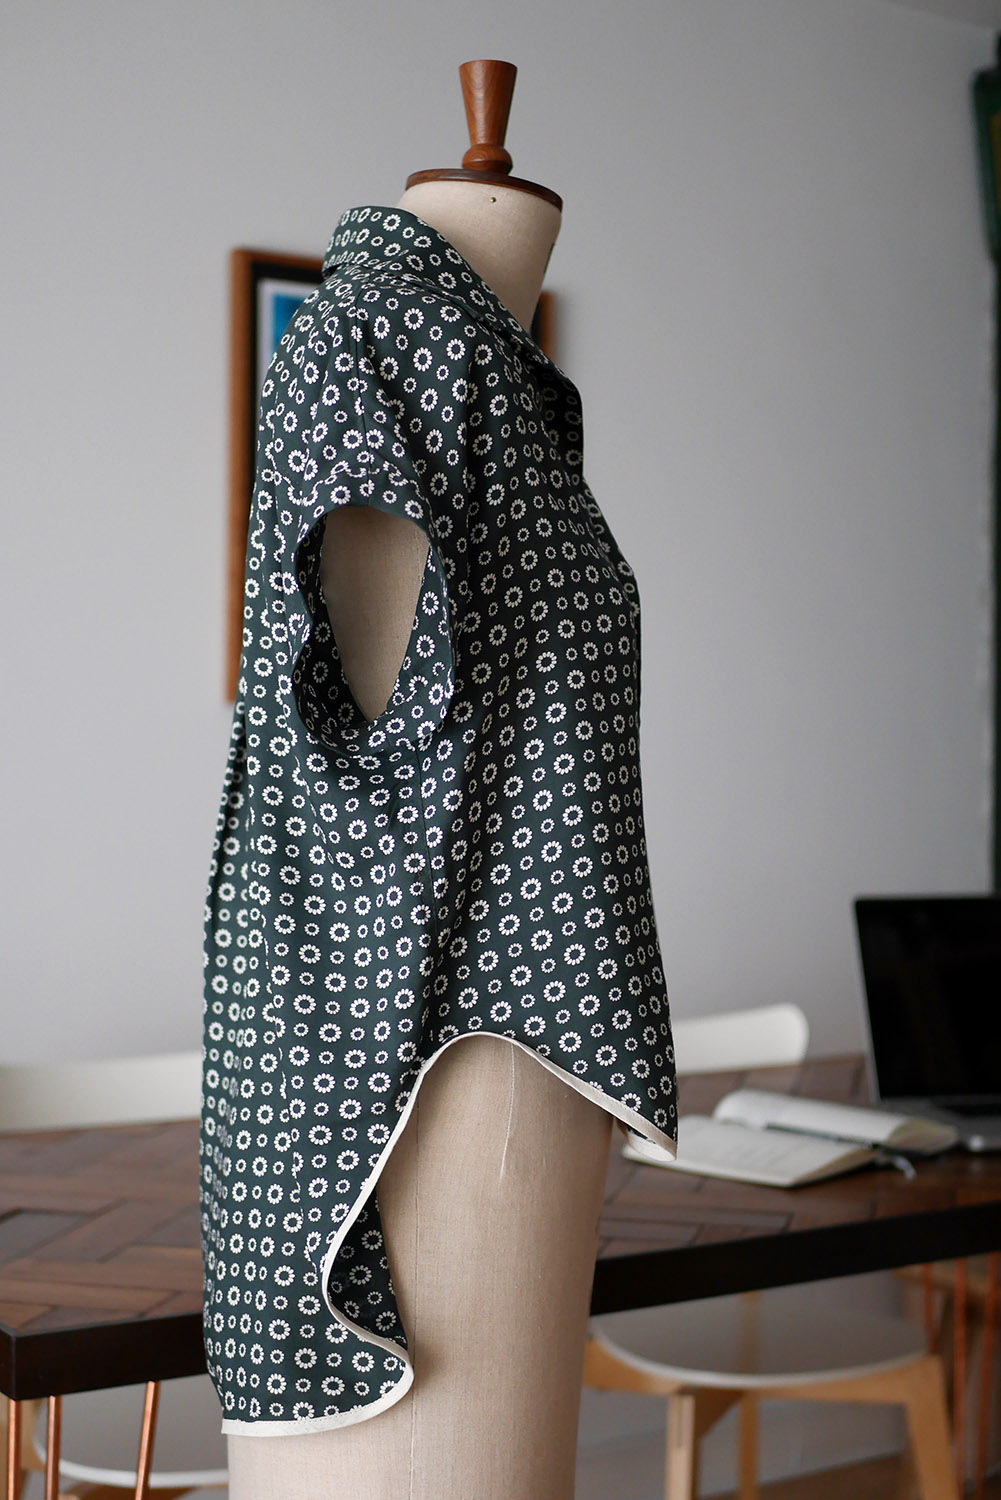
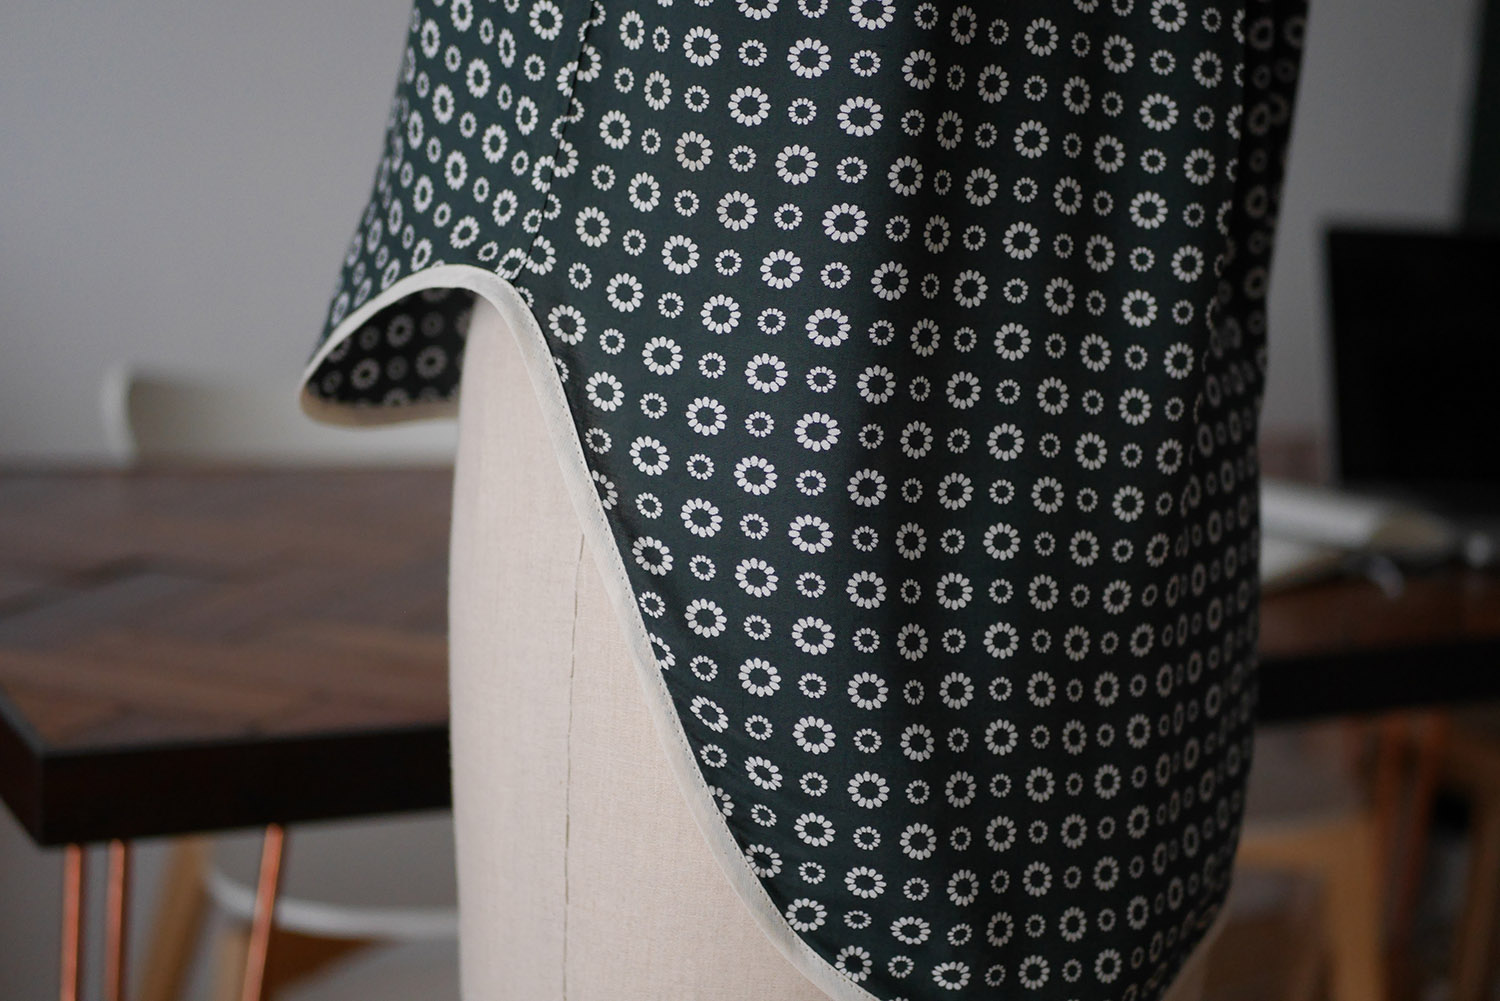
I went with a shirt option, longer than version A but shorter than the tunic. I guessed what the hem line would be and looking back, I would have made the scoop less severe.
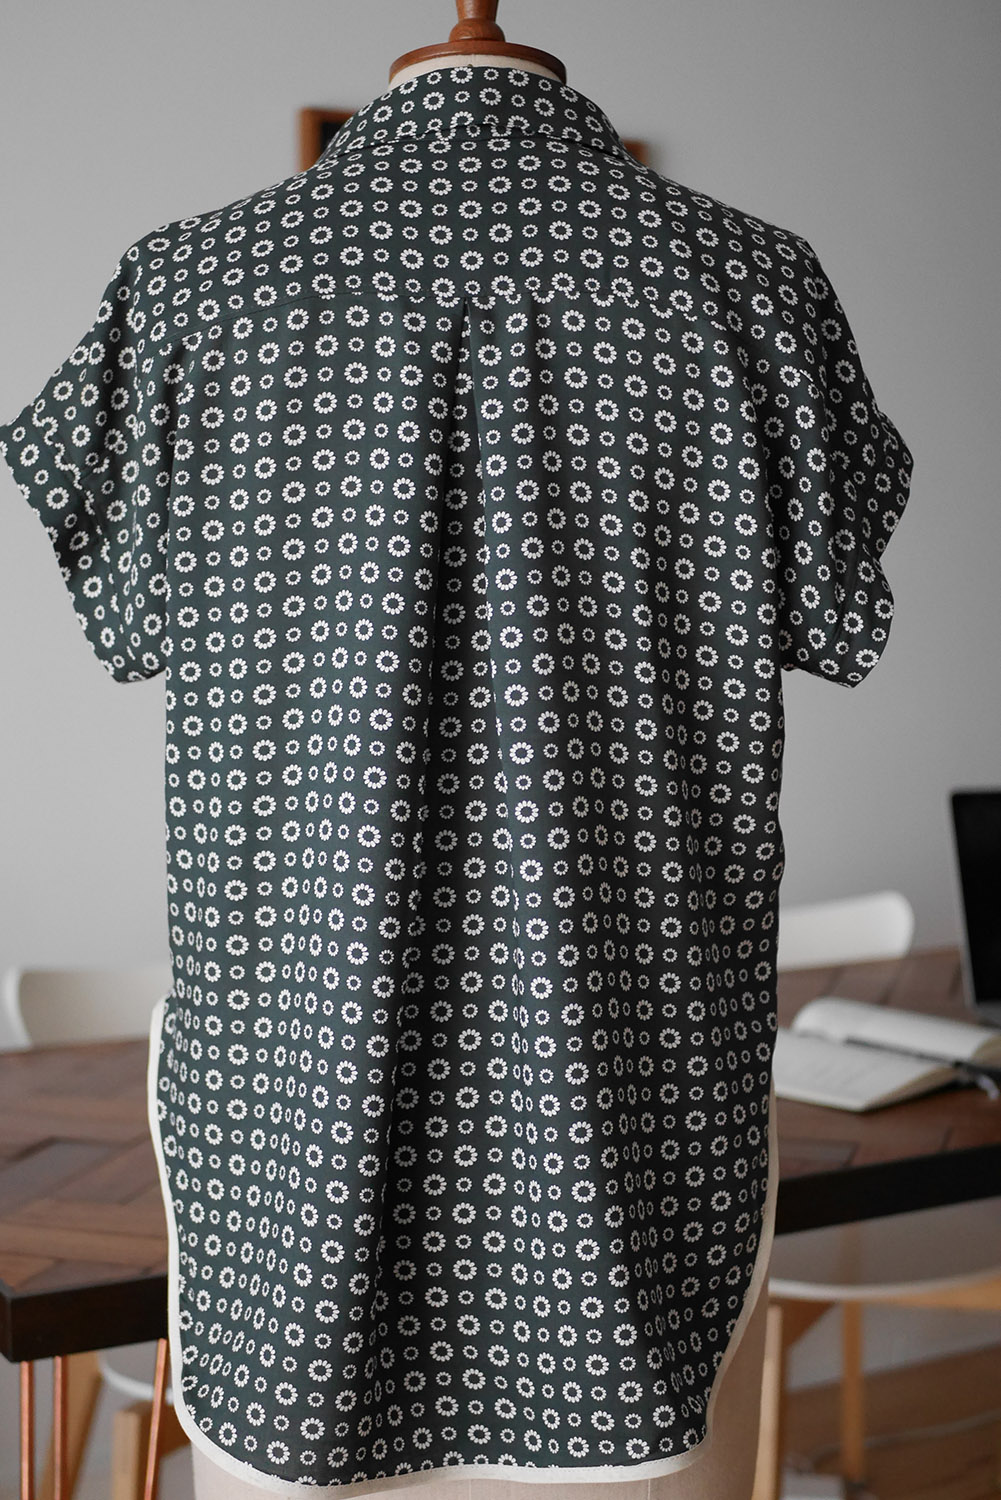
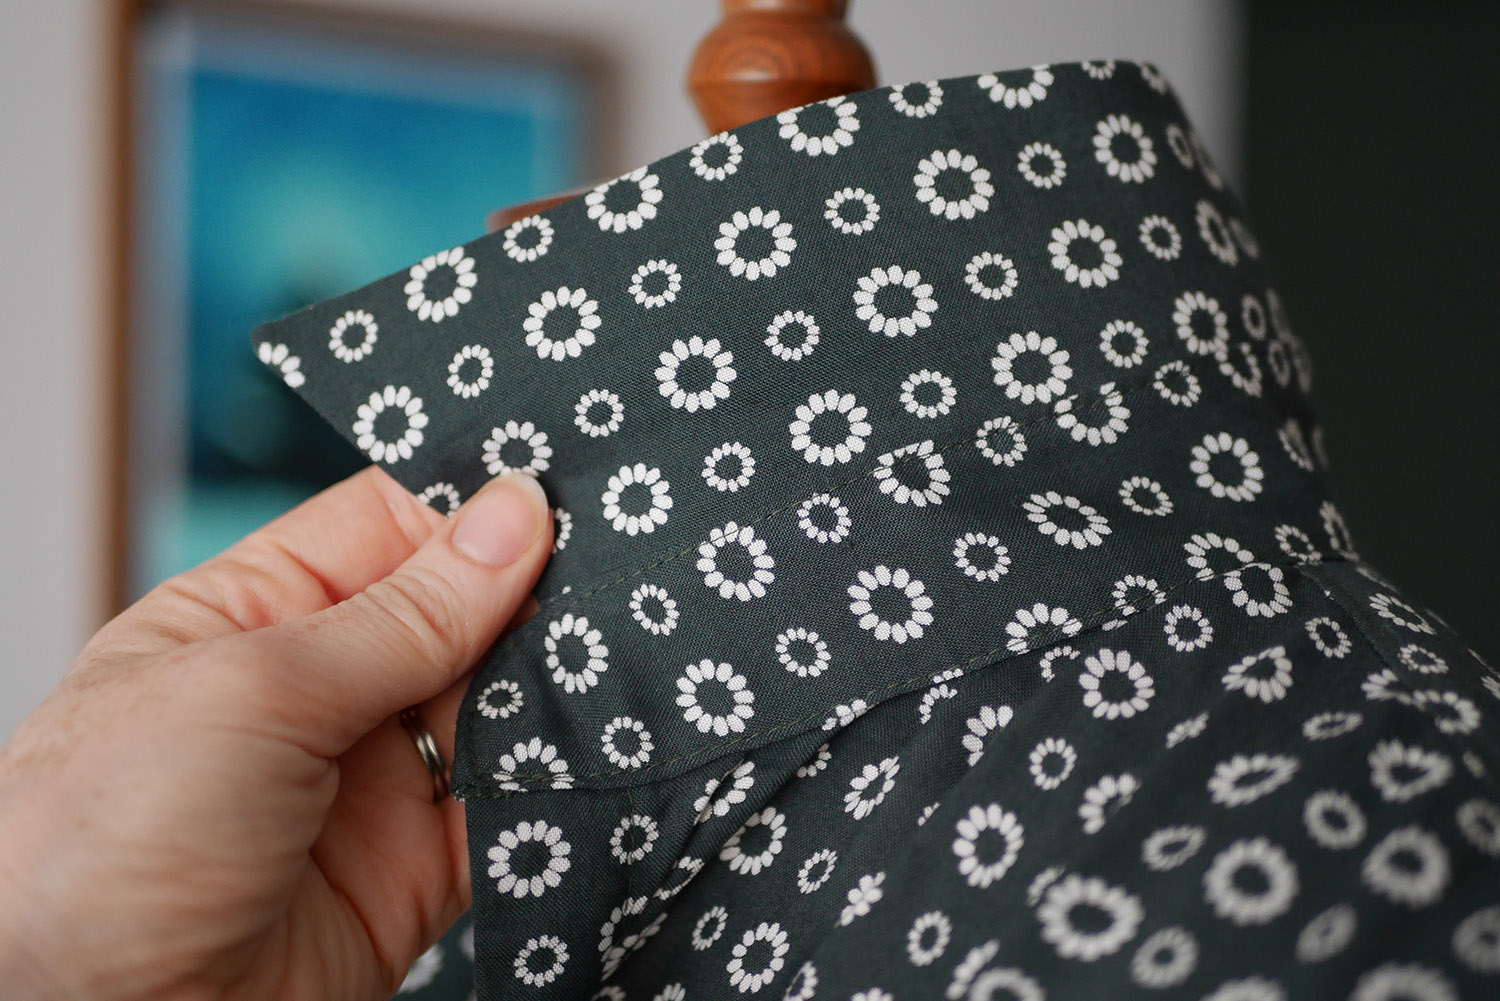
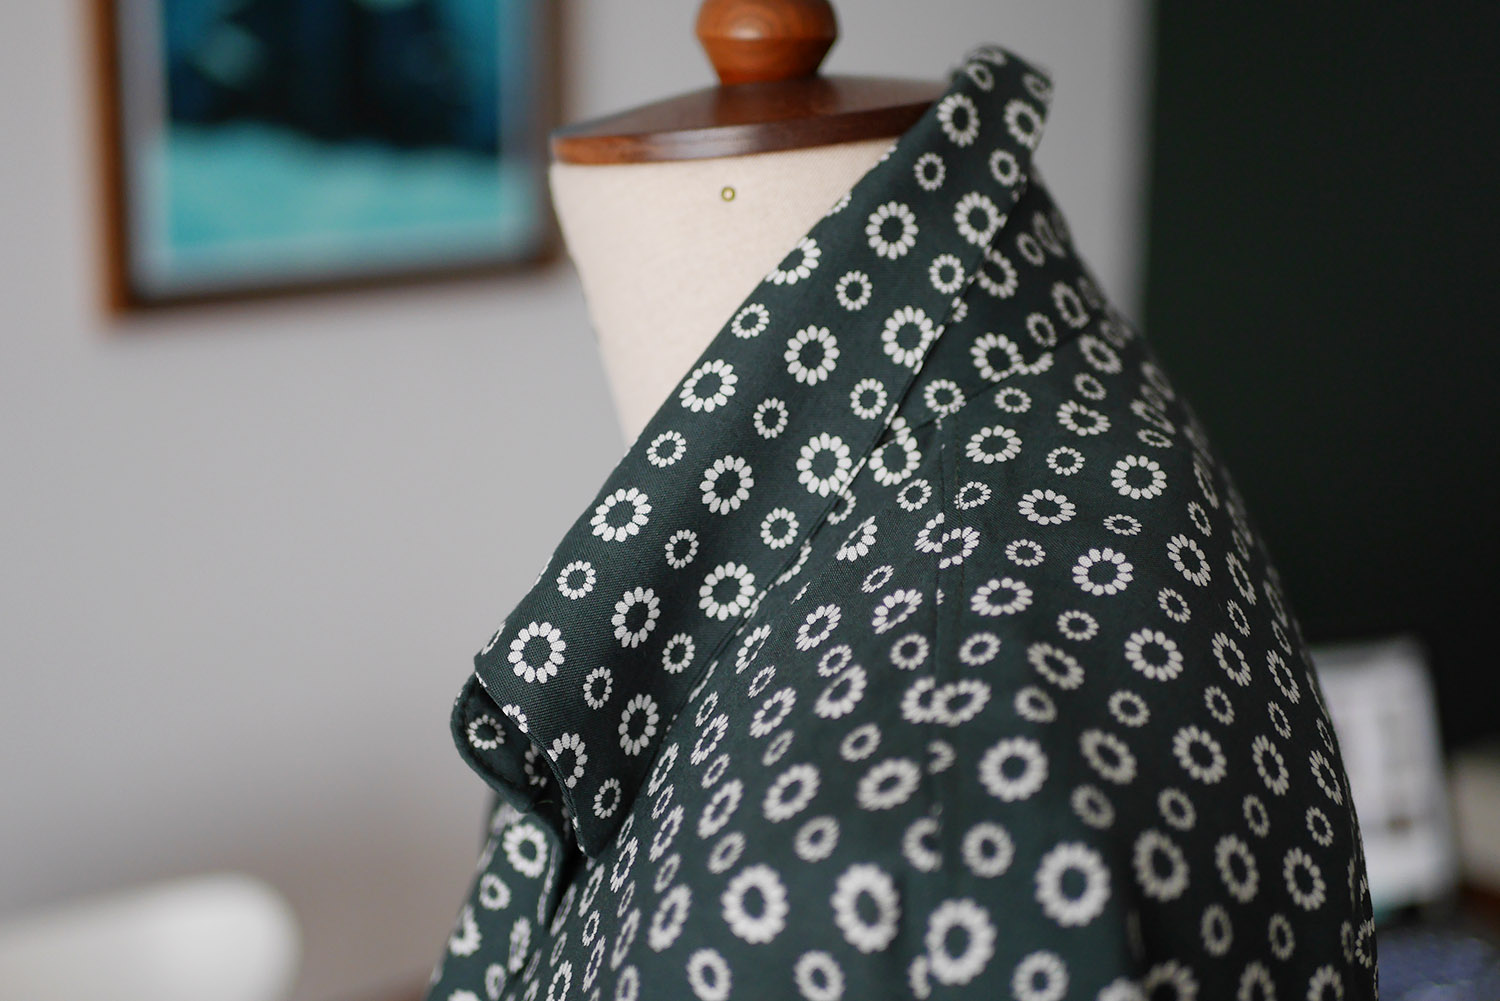
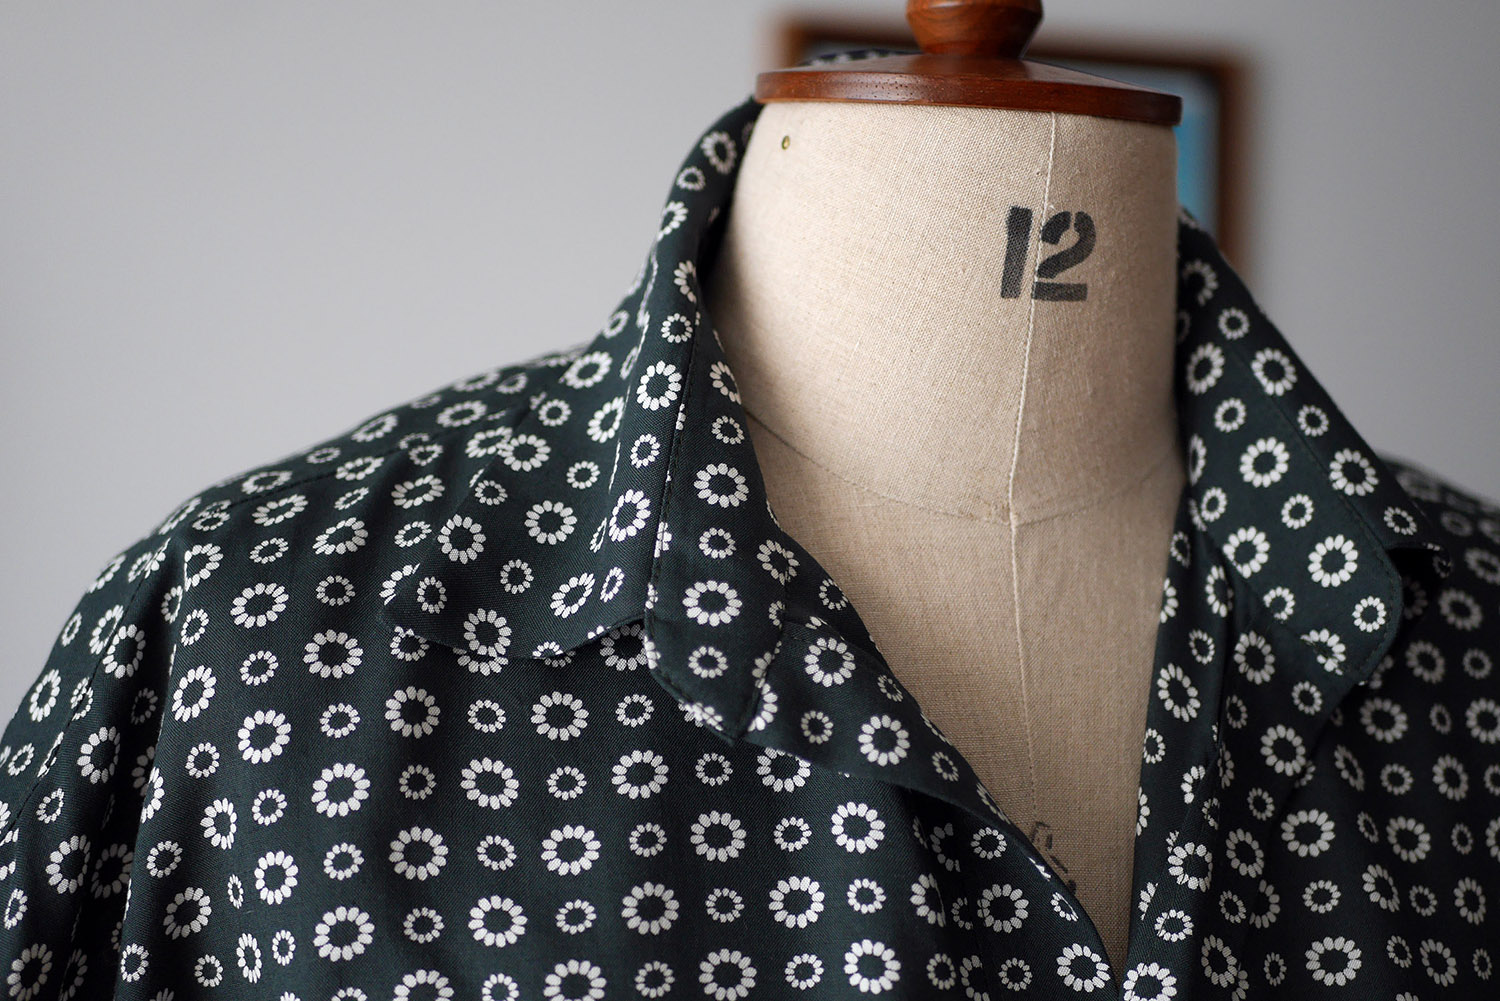
I chose the inverted box pleat as I feel it gave volume in a more flattering way. For the collar, the shirt option was my favourite since the stand collar just isn't really my bag.
Fabric quantity was tight on this one since I was using a fabric from my stash so there was a fair bit of jiggery pokery and a whole lot of dodgy pattern matching.

To finish it off, I decided to go with a contrast bias binding to show off the big dip in the hemline. It also gives the hem more structure since the shirt fabric is so fluid and the binding is a stiffer cotton. It's a nice clean contrast against a fussy print.
WHAT WENT WRONG: I completely rushed this make because Ireland is having a mysterious heatwave and I needed a light and breezy shirt to wear to work! Quick makes mean mistakes for me and they went like this:
Collar is the wrong way around
I attached the back panel in inside out so the felled seam is wrong on one side and right on the other after I copped on what I'd done.
There were meant to be 5 buttons (I like odd numbers!). I spaced them wrong so now there's 4.
My button stand and placket are the wrong way around but this was because when I was placing the buttons, I felt the pattern matching(ish) was better this way.
LESSONS LEARNED: Take your time! If you're making your own clothes, you're investing your valuable time so why not use it wisely. Taking a little longer will make all the difference in perfecting the finer details. It might be a pain in the arse to do, but if you make a toile, you avoid all the mistakes.
VERDICT: Ok so while I made mistakes, none of these things were major. The shirt still feels super comfy and I think it looks pretty good. I think I would tweak a few things if I were to make another shirt version but the tunic length is next on my list to make from this pattern. I reckon I'd get lots of wear out of it.