
Big Sky, Little Onesie
PROJECT:
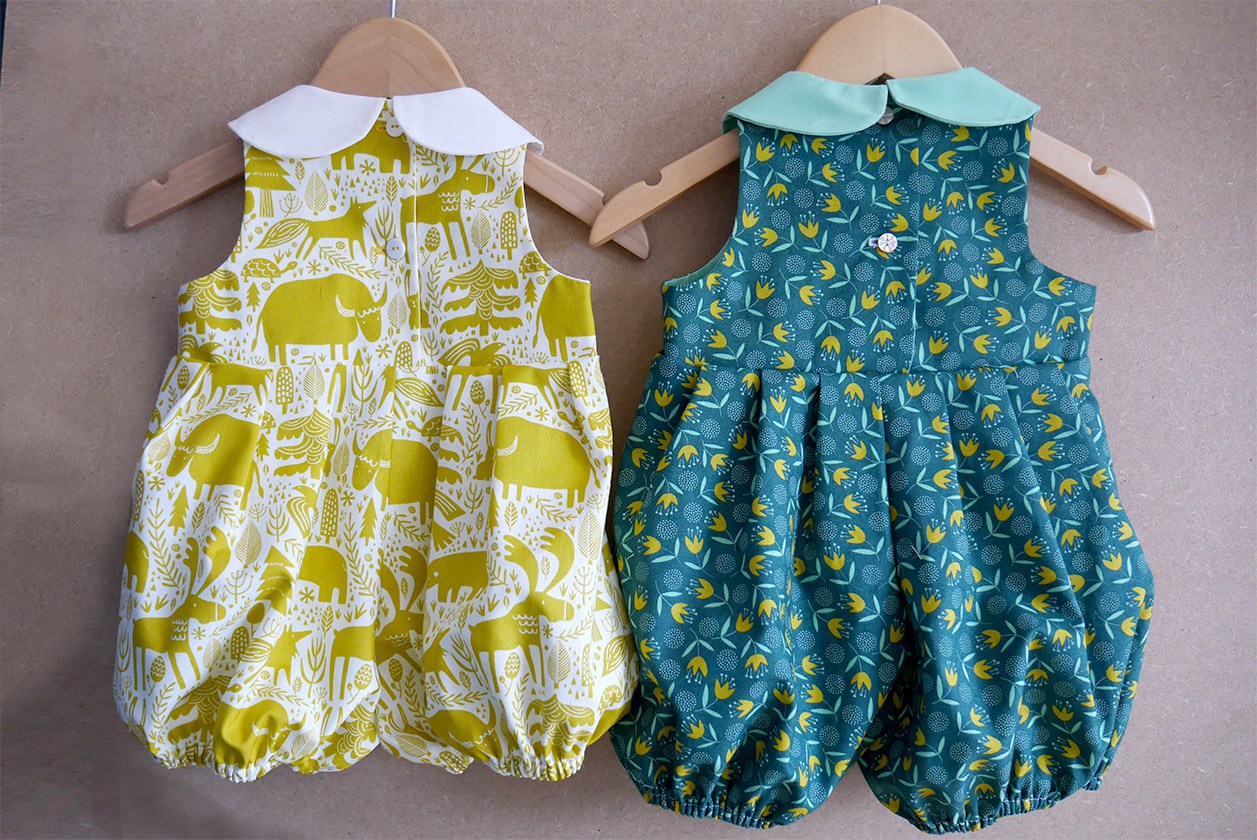
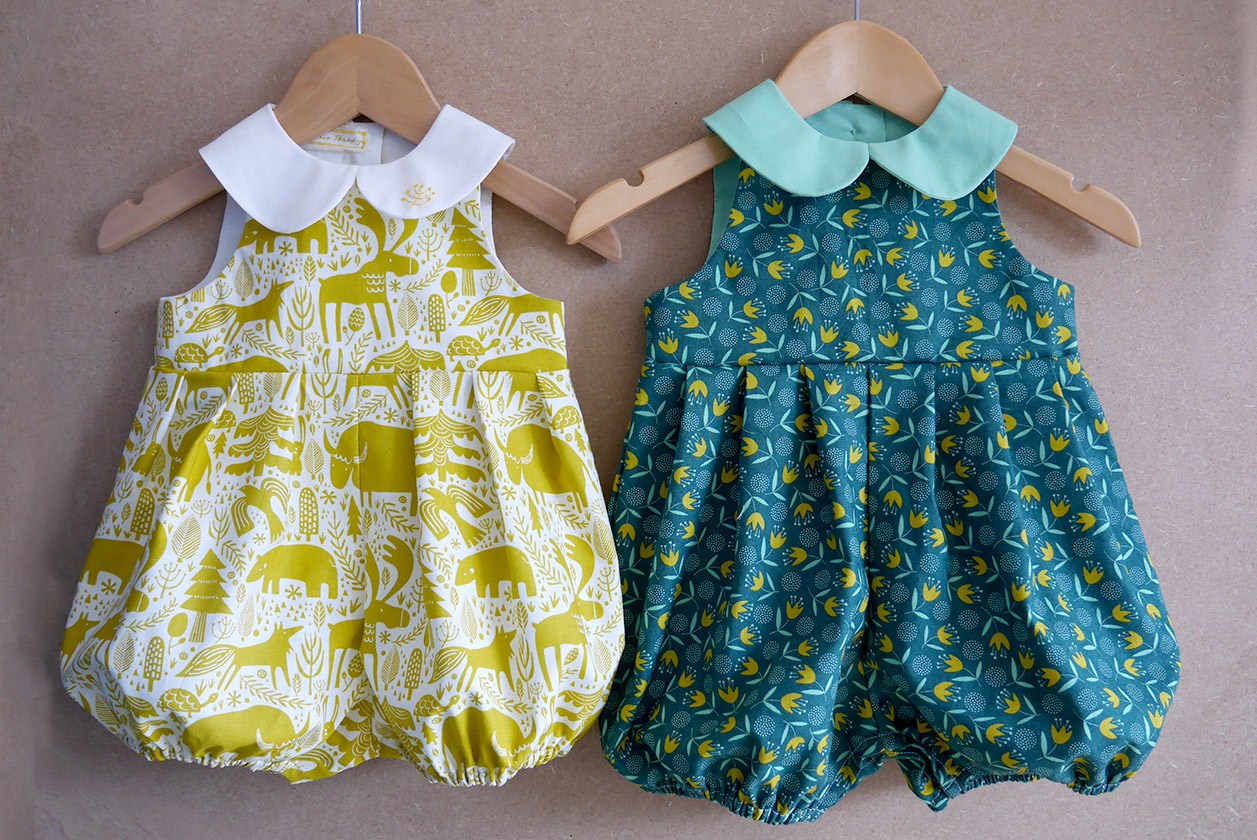
A little baby onesie…ok two of them!
PATTERN: Lara Sanner’s MONO onesie. PDF Pattern. I used sizes 3 months and 6 months.
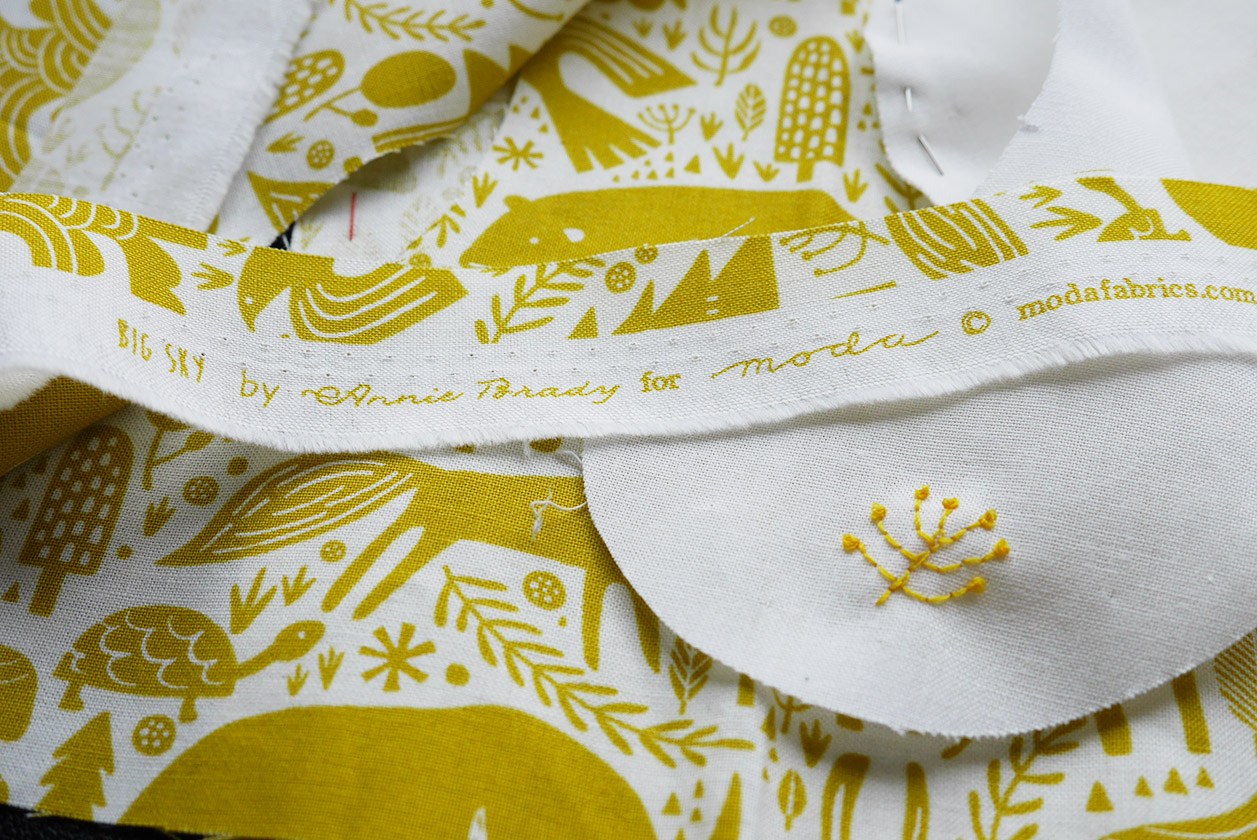
REASONS FOR MAKING: A friend of mine had a new baby and I wanted to make her something special. My other friend is the very talented Annie Brady who has just launched her fabric collection BIG SKY with Moda Fabrics so when I was able to get my hands on some of her prints, I went and made two of these little beauts.
FABRICS: The green version is using Teal Tulip for the main with Bella Solids Green for the collar.
The yellow version is using Montana Ochre for the main with solid white for the collar.

TRIMS: Little white buttons (2 per garment). Snap fasteners (3 per garment) and narrow white elastic for the legs openings.
HOW TO: For this garment, the collar and lining are in solids with the rest of the garment in Annie’s yummy prints.


Following Lara’s extremely clear illustrated instructions, the sequence went as follows..
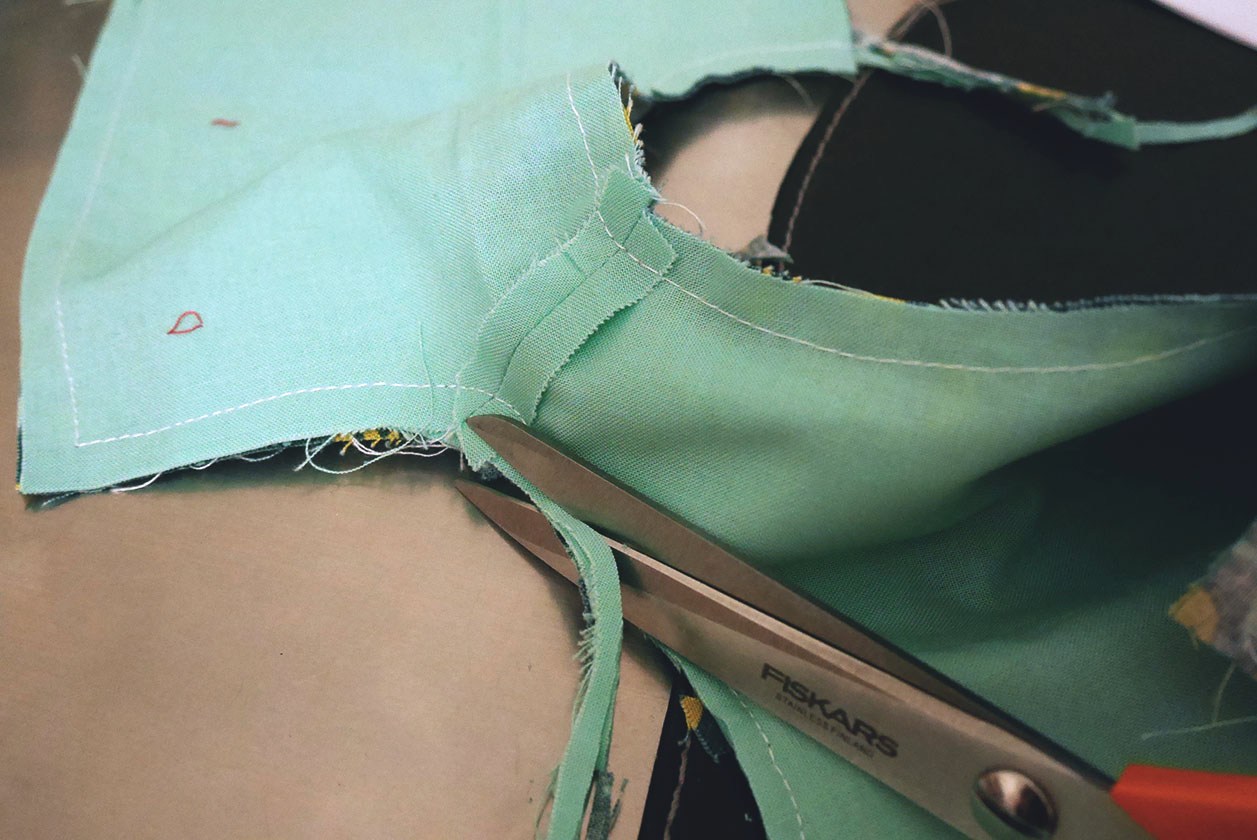
Collar is sewn together with the seams trimmed right back to get a nice curve when turned out. (I added a little embroidery to the white collar.)

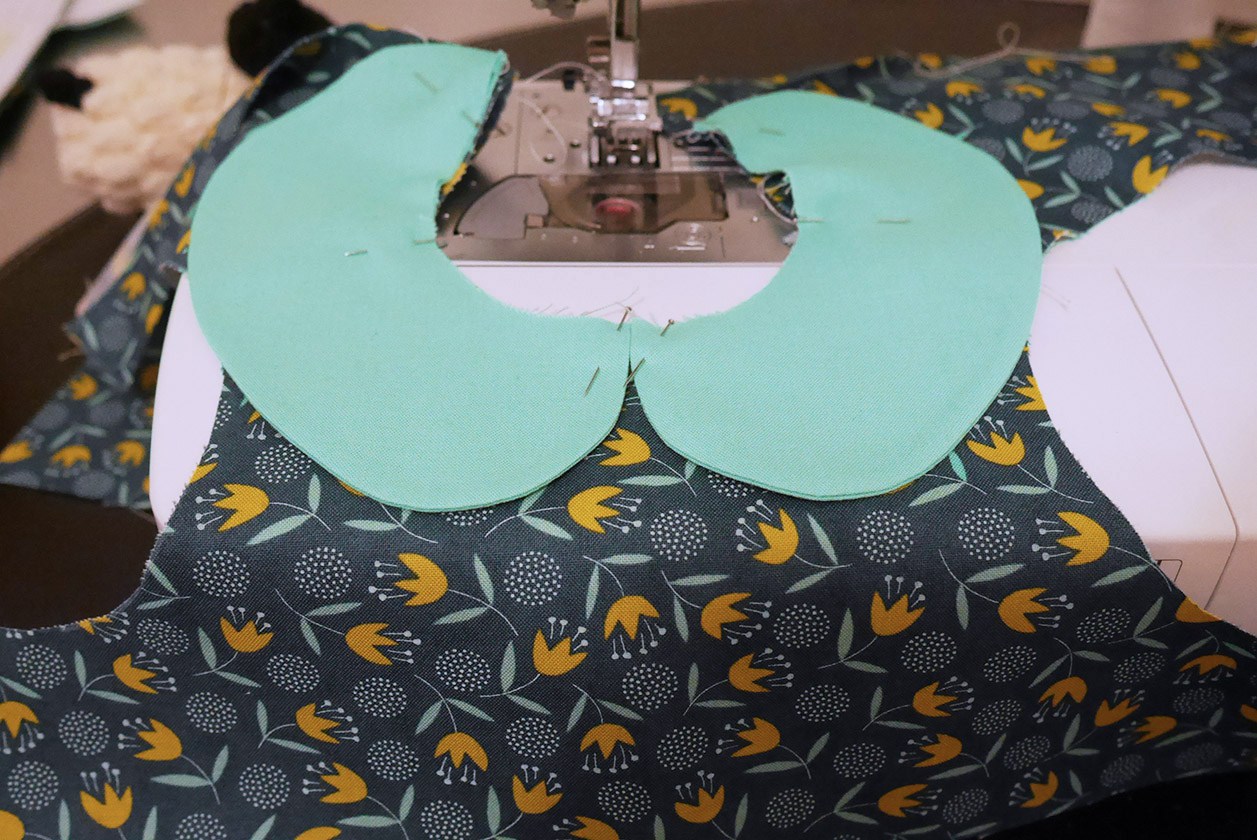
Front and back panels of both main fabric and lining are joined at the shoulder seams. This allows you to attach the collar to the main fabric. The top requires bagging out so the lining is joined to the main fabric with the collar attached, around the neckline and back seams as well as the armholes, leaving the waist and side seams open.


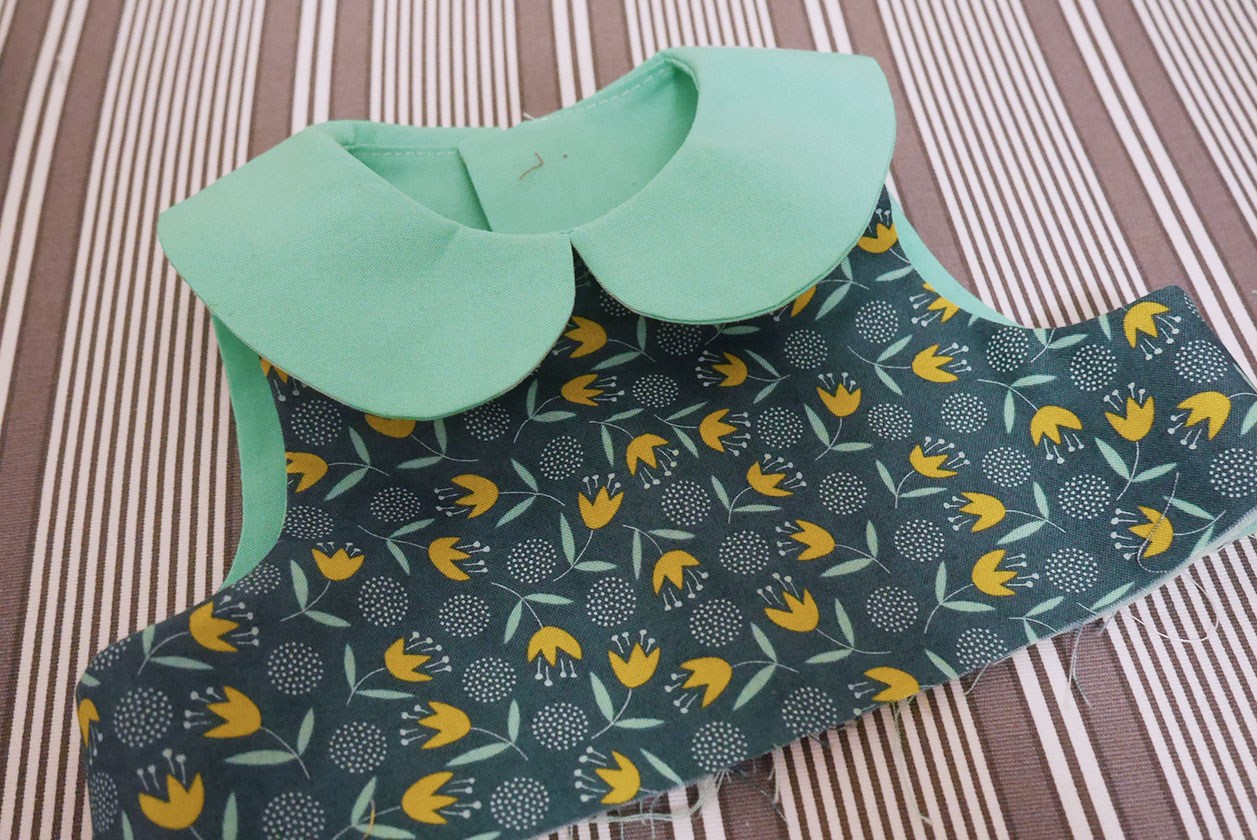
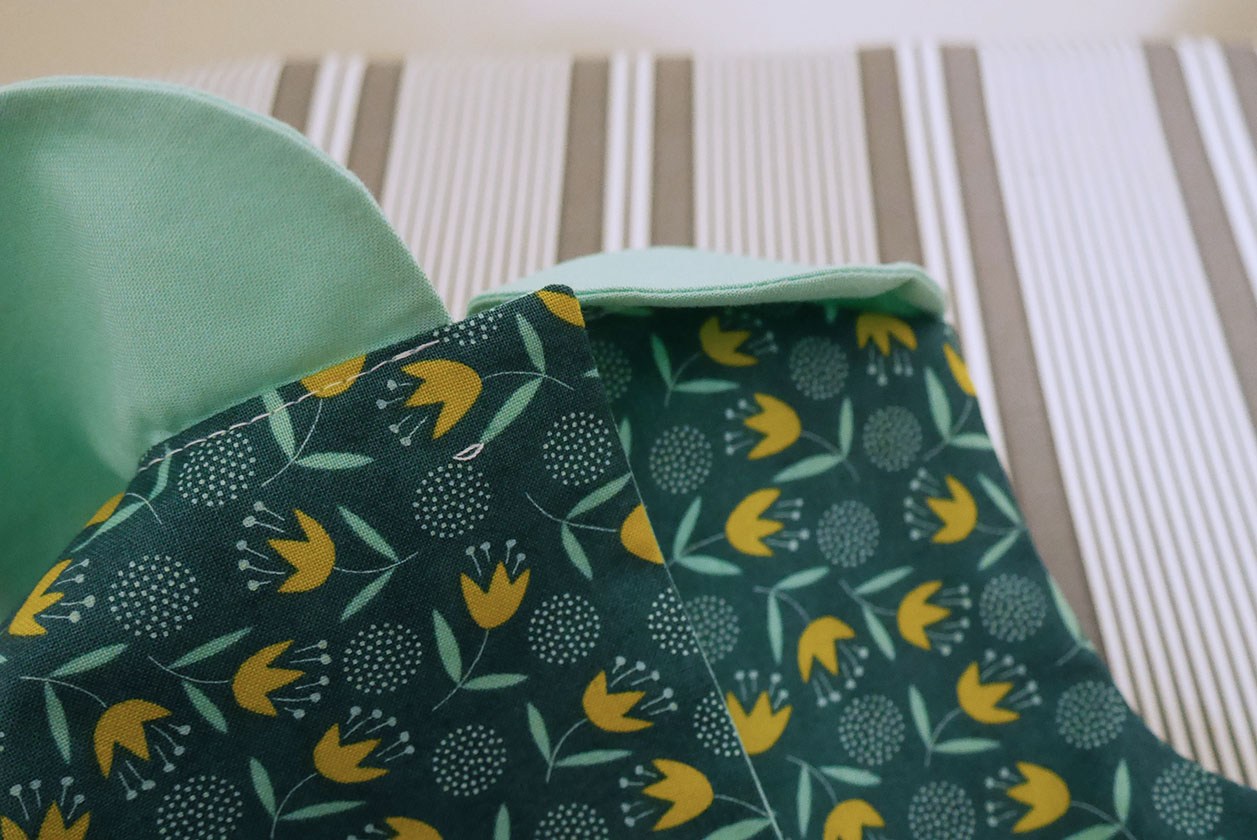
Seams are trimmed back and then it’s time to bag it out by pulling everything through the shoulder. Once turned out, the side seams can be finished and the collar can be understitched to the main body so that it sits nice and neatly when pressed.
Next up is the bottom section. Centre front and centre backs are sewn up as well as the side seams, joining all four panels. For the ochre onesie, I wanted to try and pattern match the seams. I managed to get the centre front and one side seam bang on. Unfortunately, I was out by a half seam allowance on one leg panel so the centre back and other side seam was eh…a tad off!

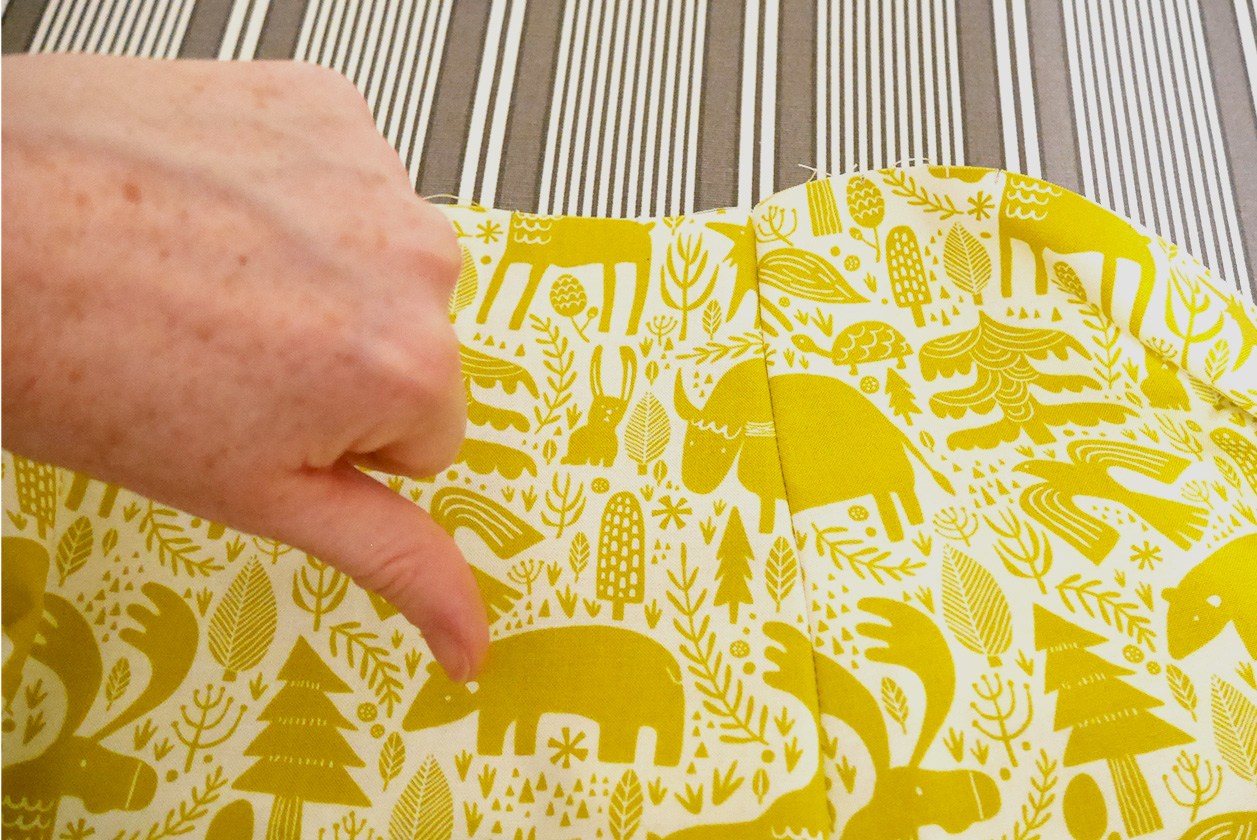
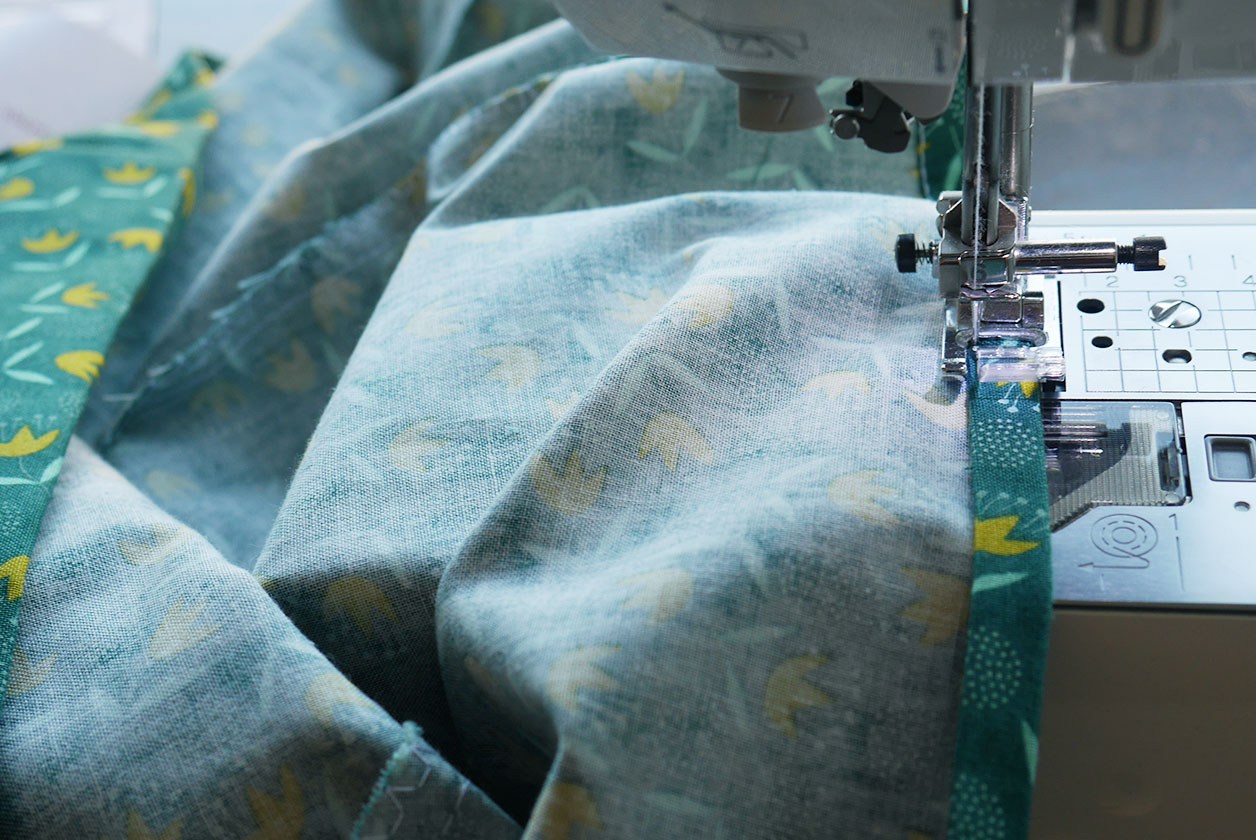
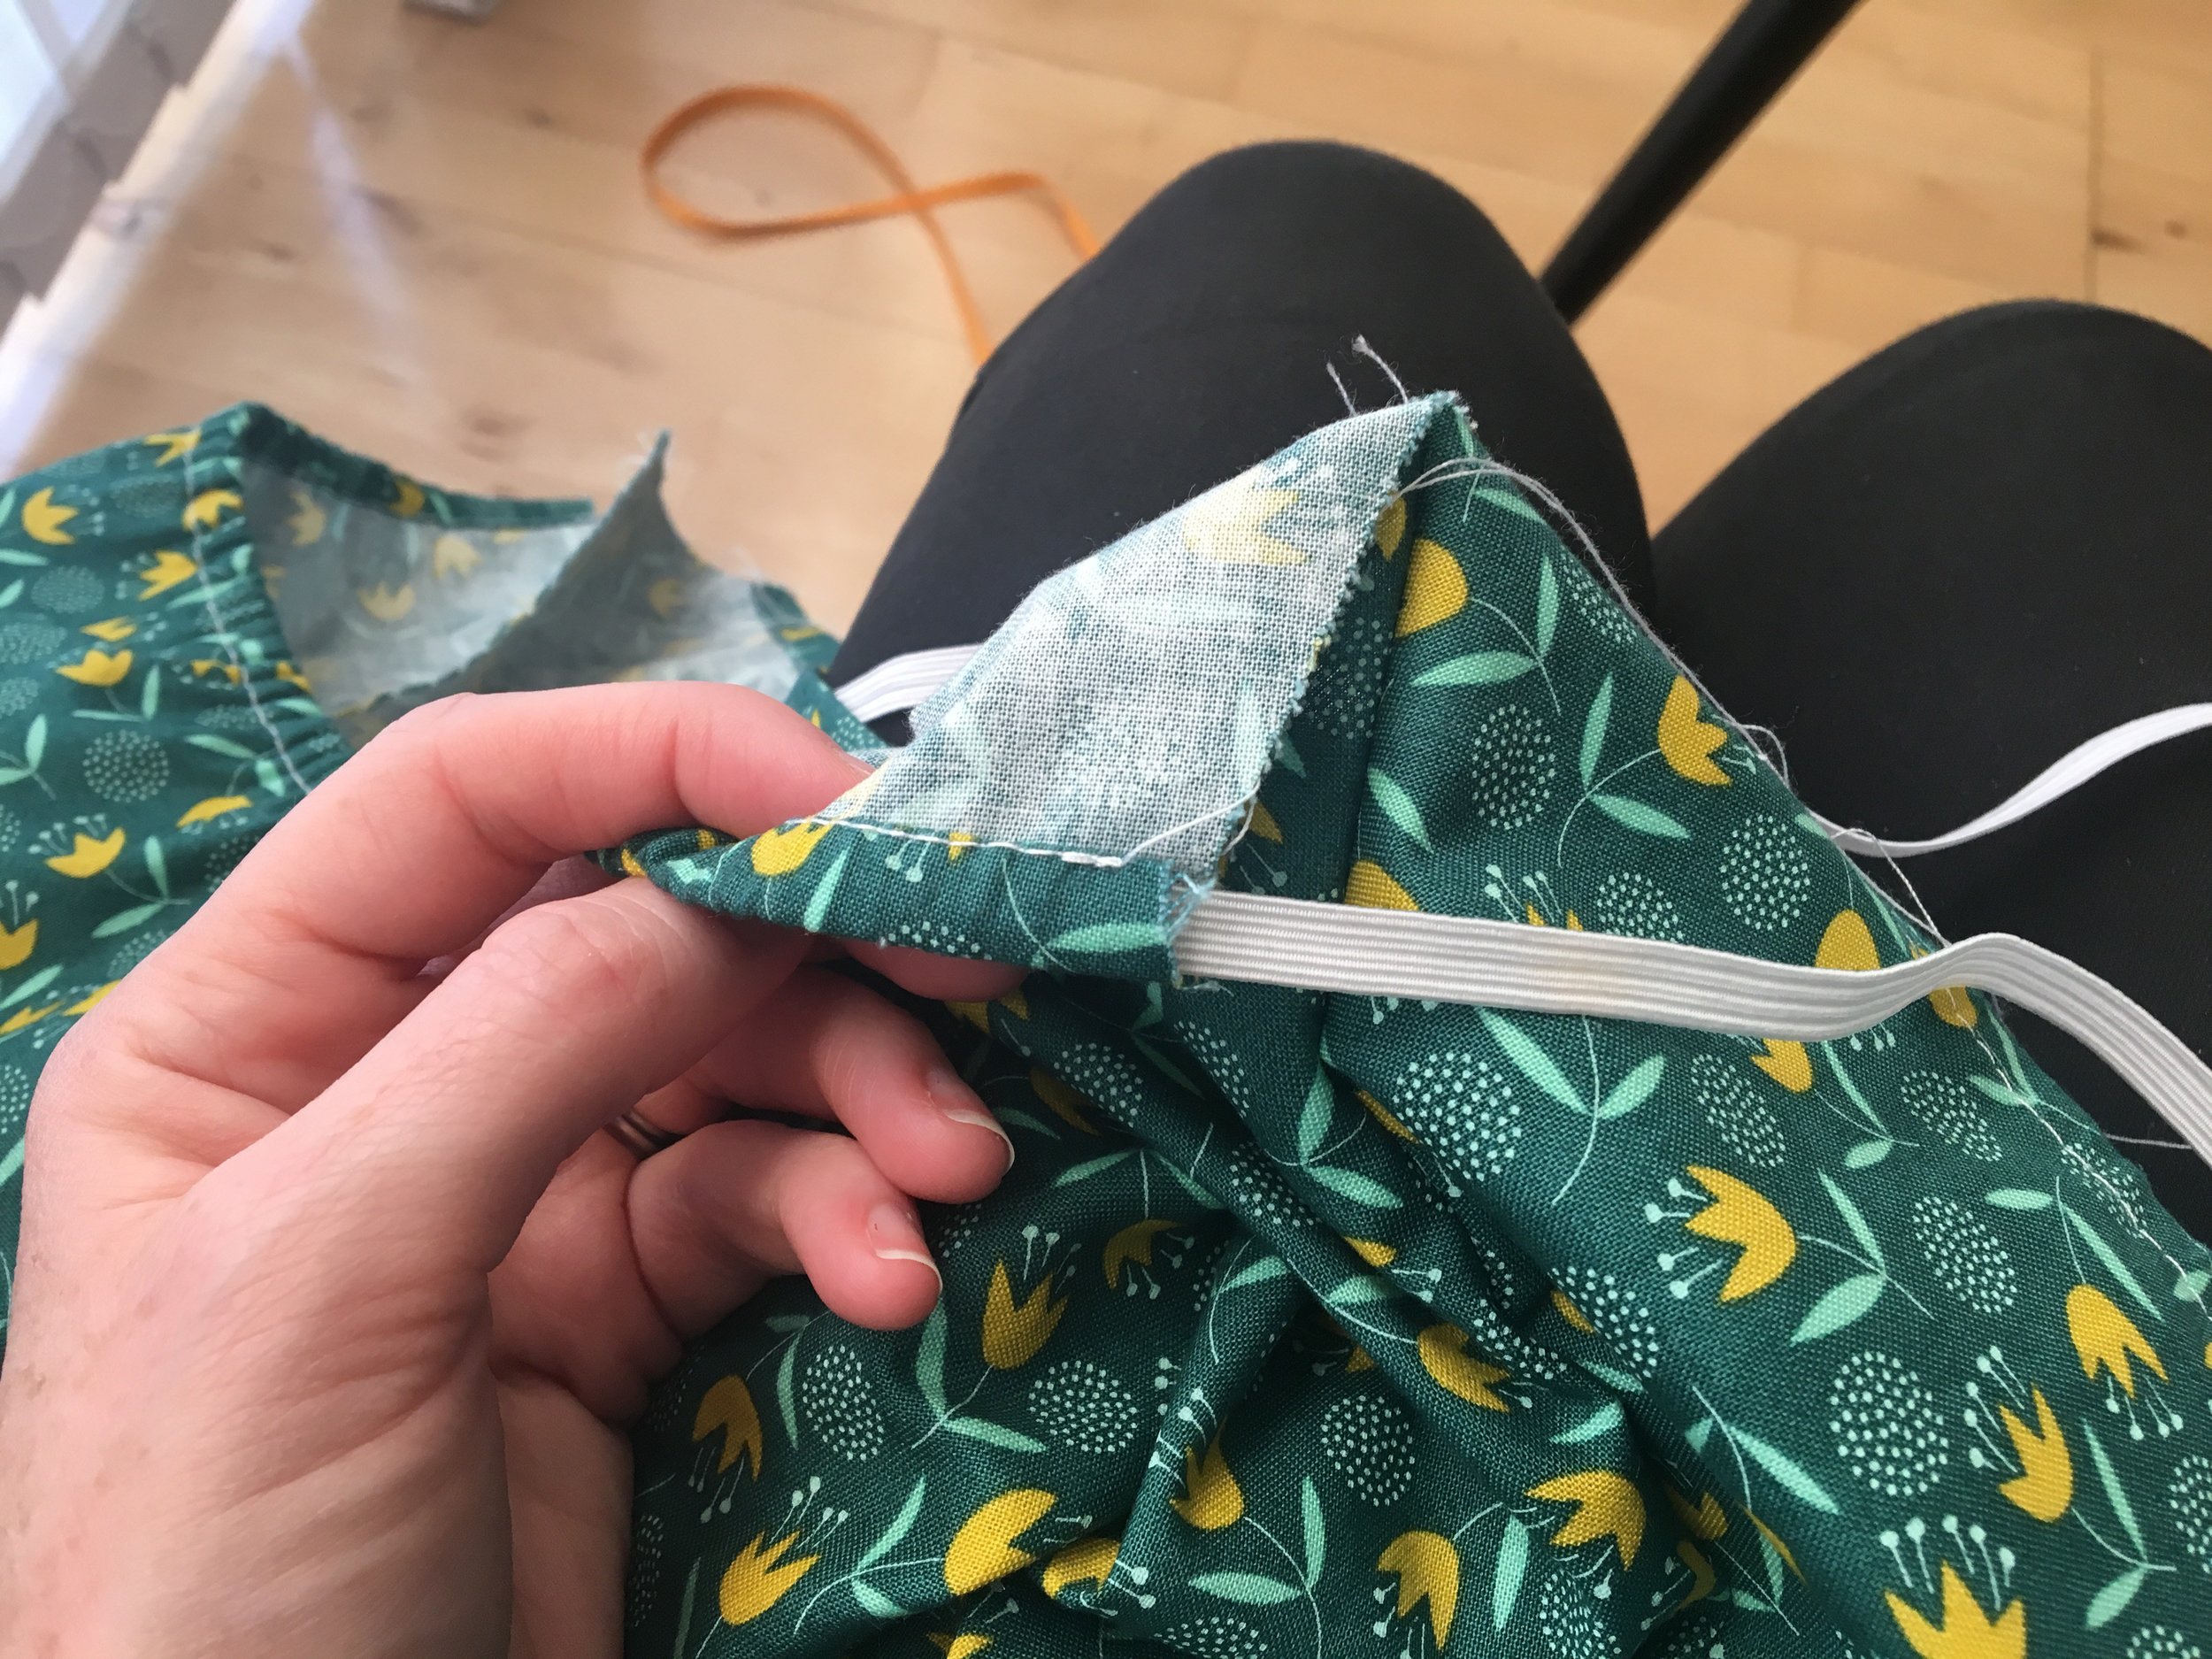
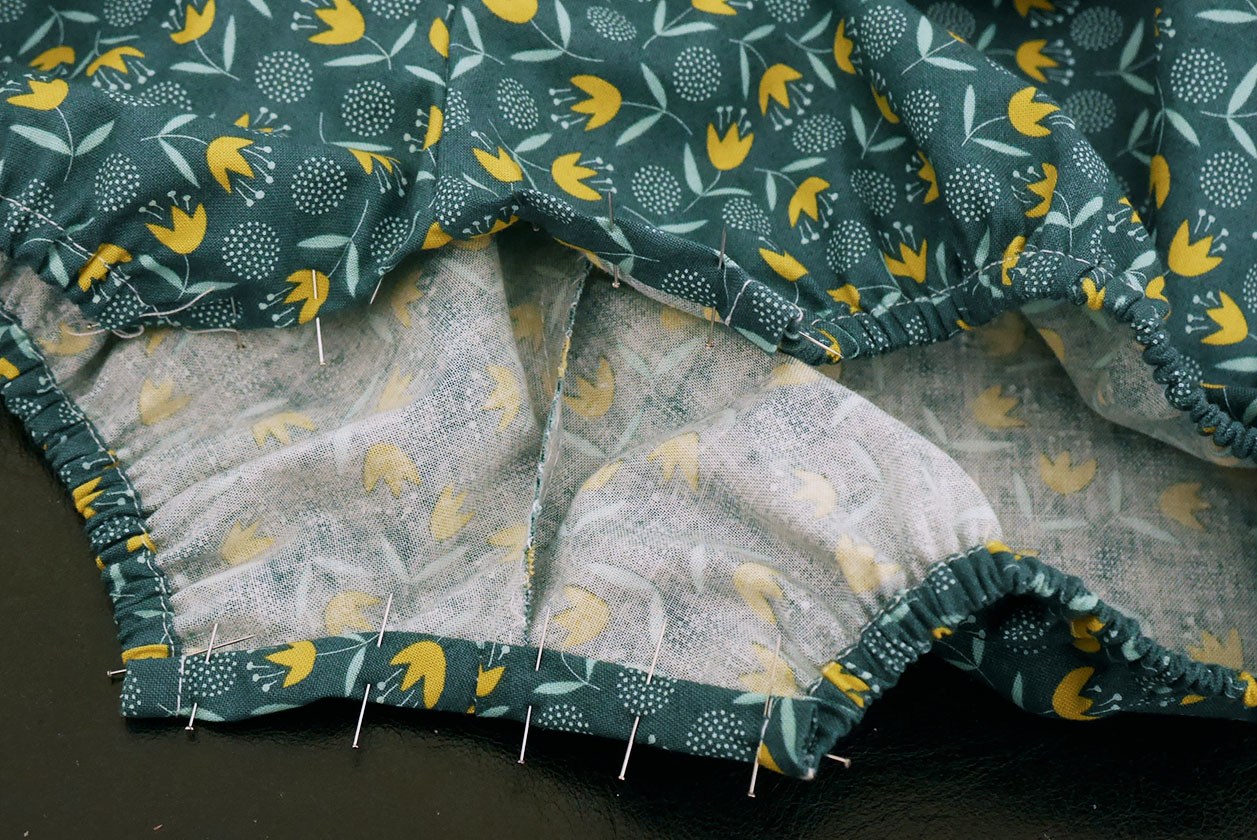
I went with the pleated option for the waistlines for my little onesies but the instructions also guide you through a gathered version. Once the top and bottom have been attached, the hem in sewn to allow a channel for the leg elastic.
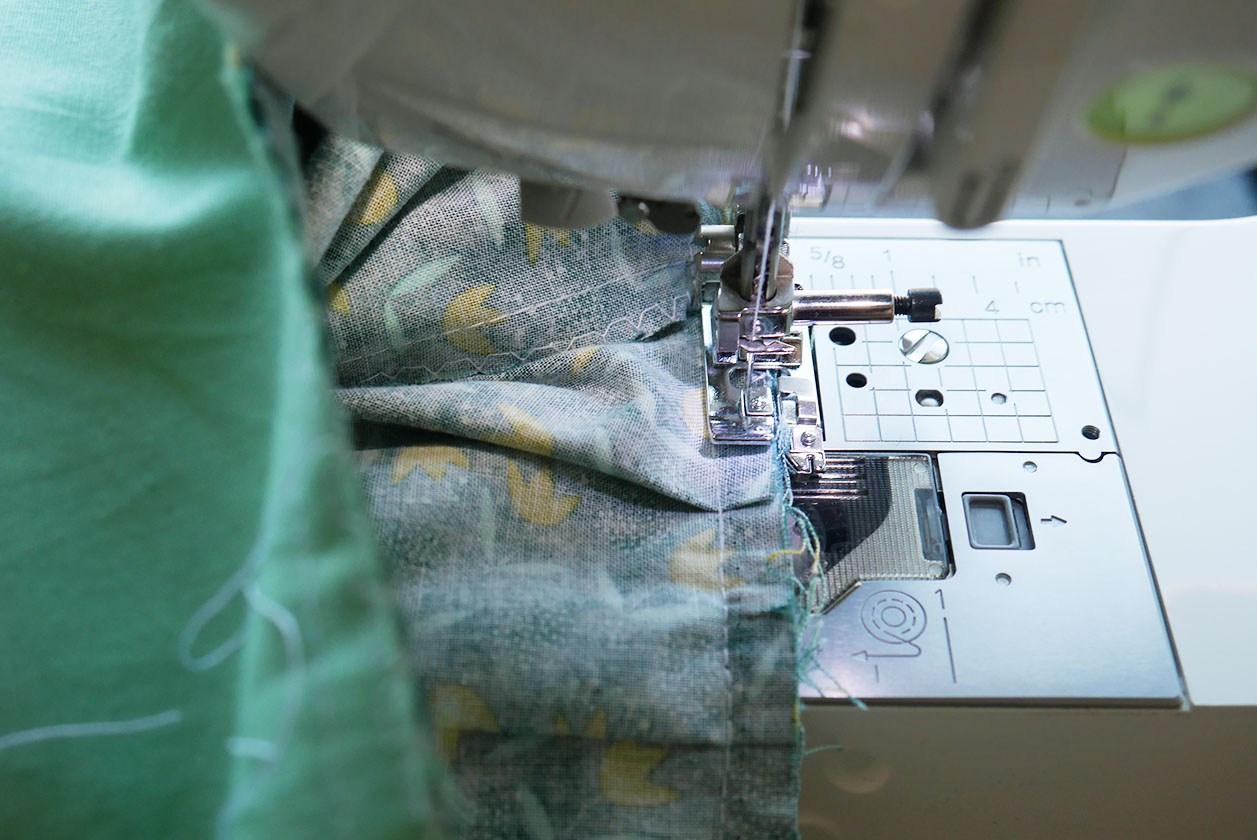
Finish the bottoms by turning up the hem of the opening and adding fasteners.

And lastly the finishing touches…the buttons! My proudest moment of this make? Check out the little bunny on centre back for pattern matching – Boom!

So there you have it. Two very cute little onesies.
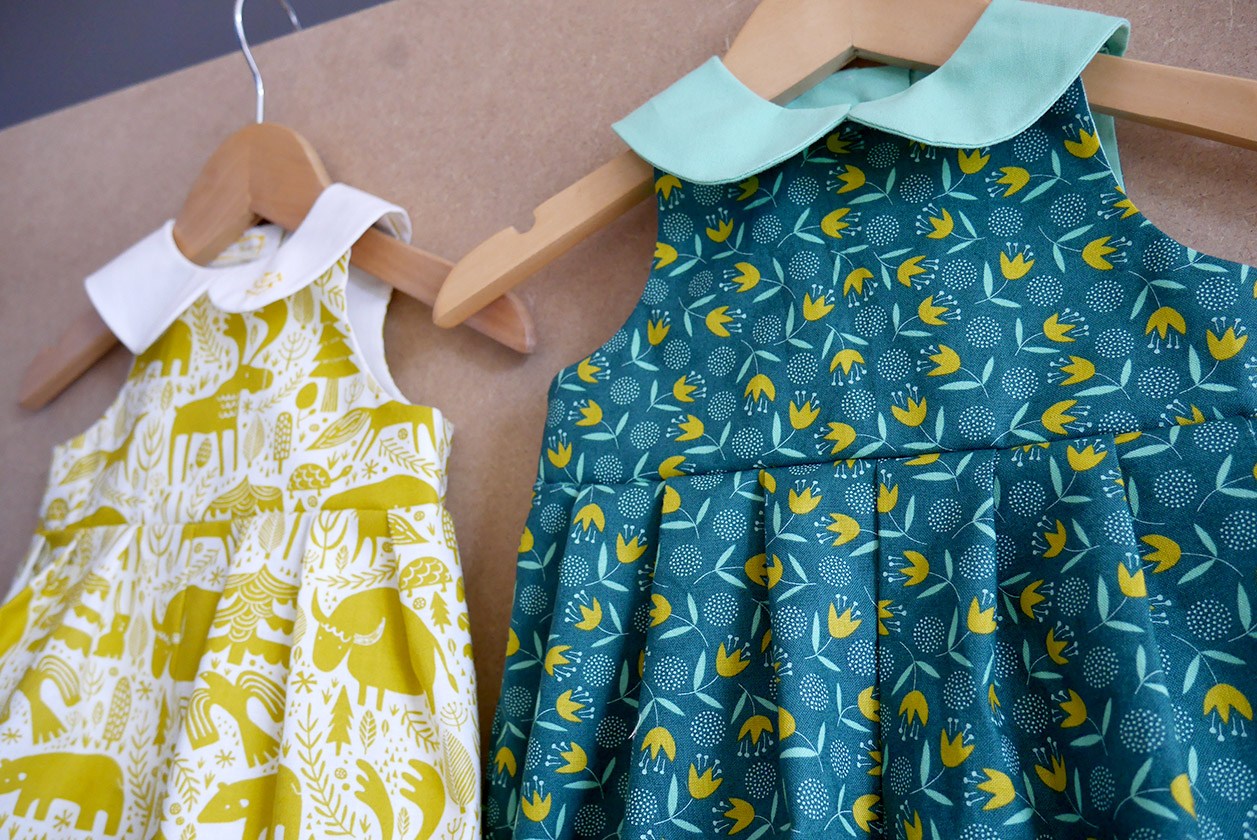
WHAT WENT WRONG: As you can see from above, I inverted the pleats on the ochre version but not on the tulip version… can I pretend that was intentional?! But pattern wise, it was a great straightforward make. The only thing I did notice was that the shoulder seams didn’t match up exactly so I had to adapt my pattern pieces slightly.
LESSONS LEARNED: Instead of snap fasteners, I might try poppers in future for extra strength. I’m hoping when the little munchkin is crawling around that the legs don’t keep popping open!
VERDICT: This pattern is in Spanish and I only speak English so I was relying mainly on diagrams and a bit of gut instinct. Considering this, the pattern is excellent! Really easy to follow as there were no mistakes along the way. I would definitely look at Lara’s patterns again for some more baby makes.
It helped that the fabric I was using was really nice to work with. It’s been a while since I’ve made anything in cotton so I’d forgotten how straight forward it is to handle and sew. Being able to make these up in prints that were designed by a friend meant an awful lot to me and I know you’ll be seeing more of her gorgeous prints in the fabric world for sure.